Step 1: The Raw Material
Plastics are organic compounds that are derived from a mixture of petrochemicals. Made up of mainly carbon, sometimes along with oxygen, nitrogen or sulfur, the chemical composition of plastics are essentially organic polymers, i.e., a substance which has a molecular structure built up chiefly or completely from a large number of similar organic units bonded together.
The plastic is bought in the form of granules, as shown in the image below. The granules can be bought in different colors, depending on the requirements. Granules are a convenient form as they expose a larger surface area of the plastic, which reduces the amount of heat energy that needs to be applied to melt the plastic in Step 2.

Step 2: Melting and Pumping
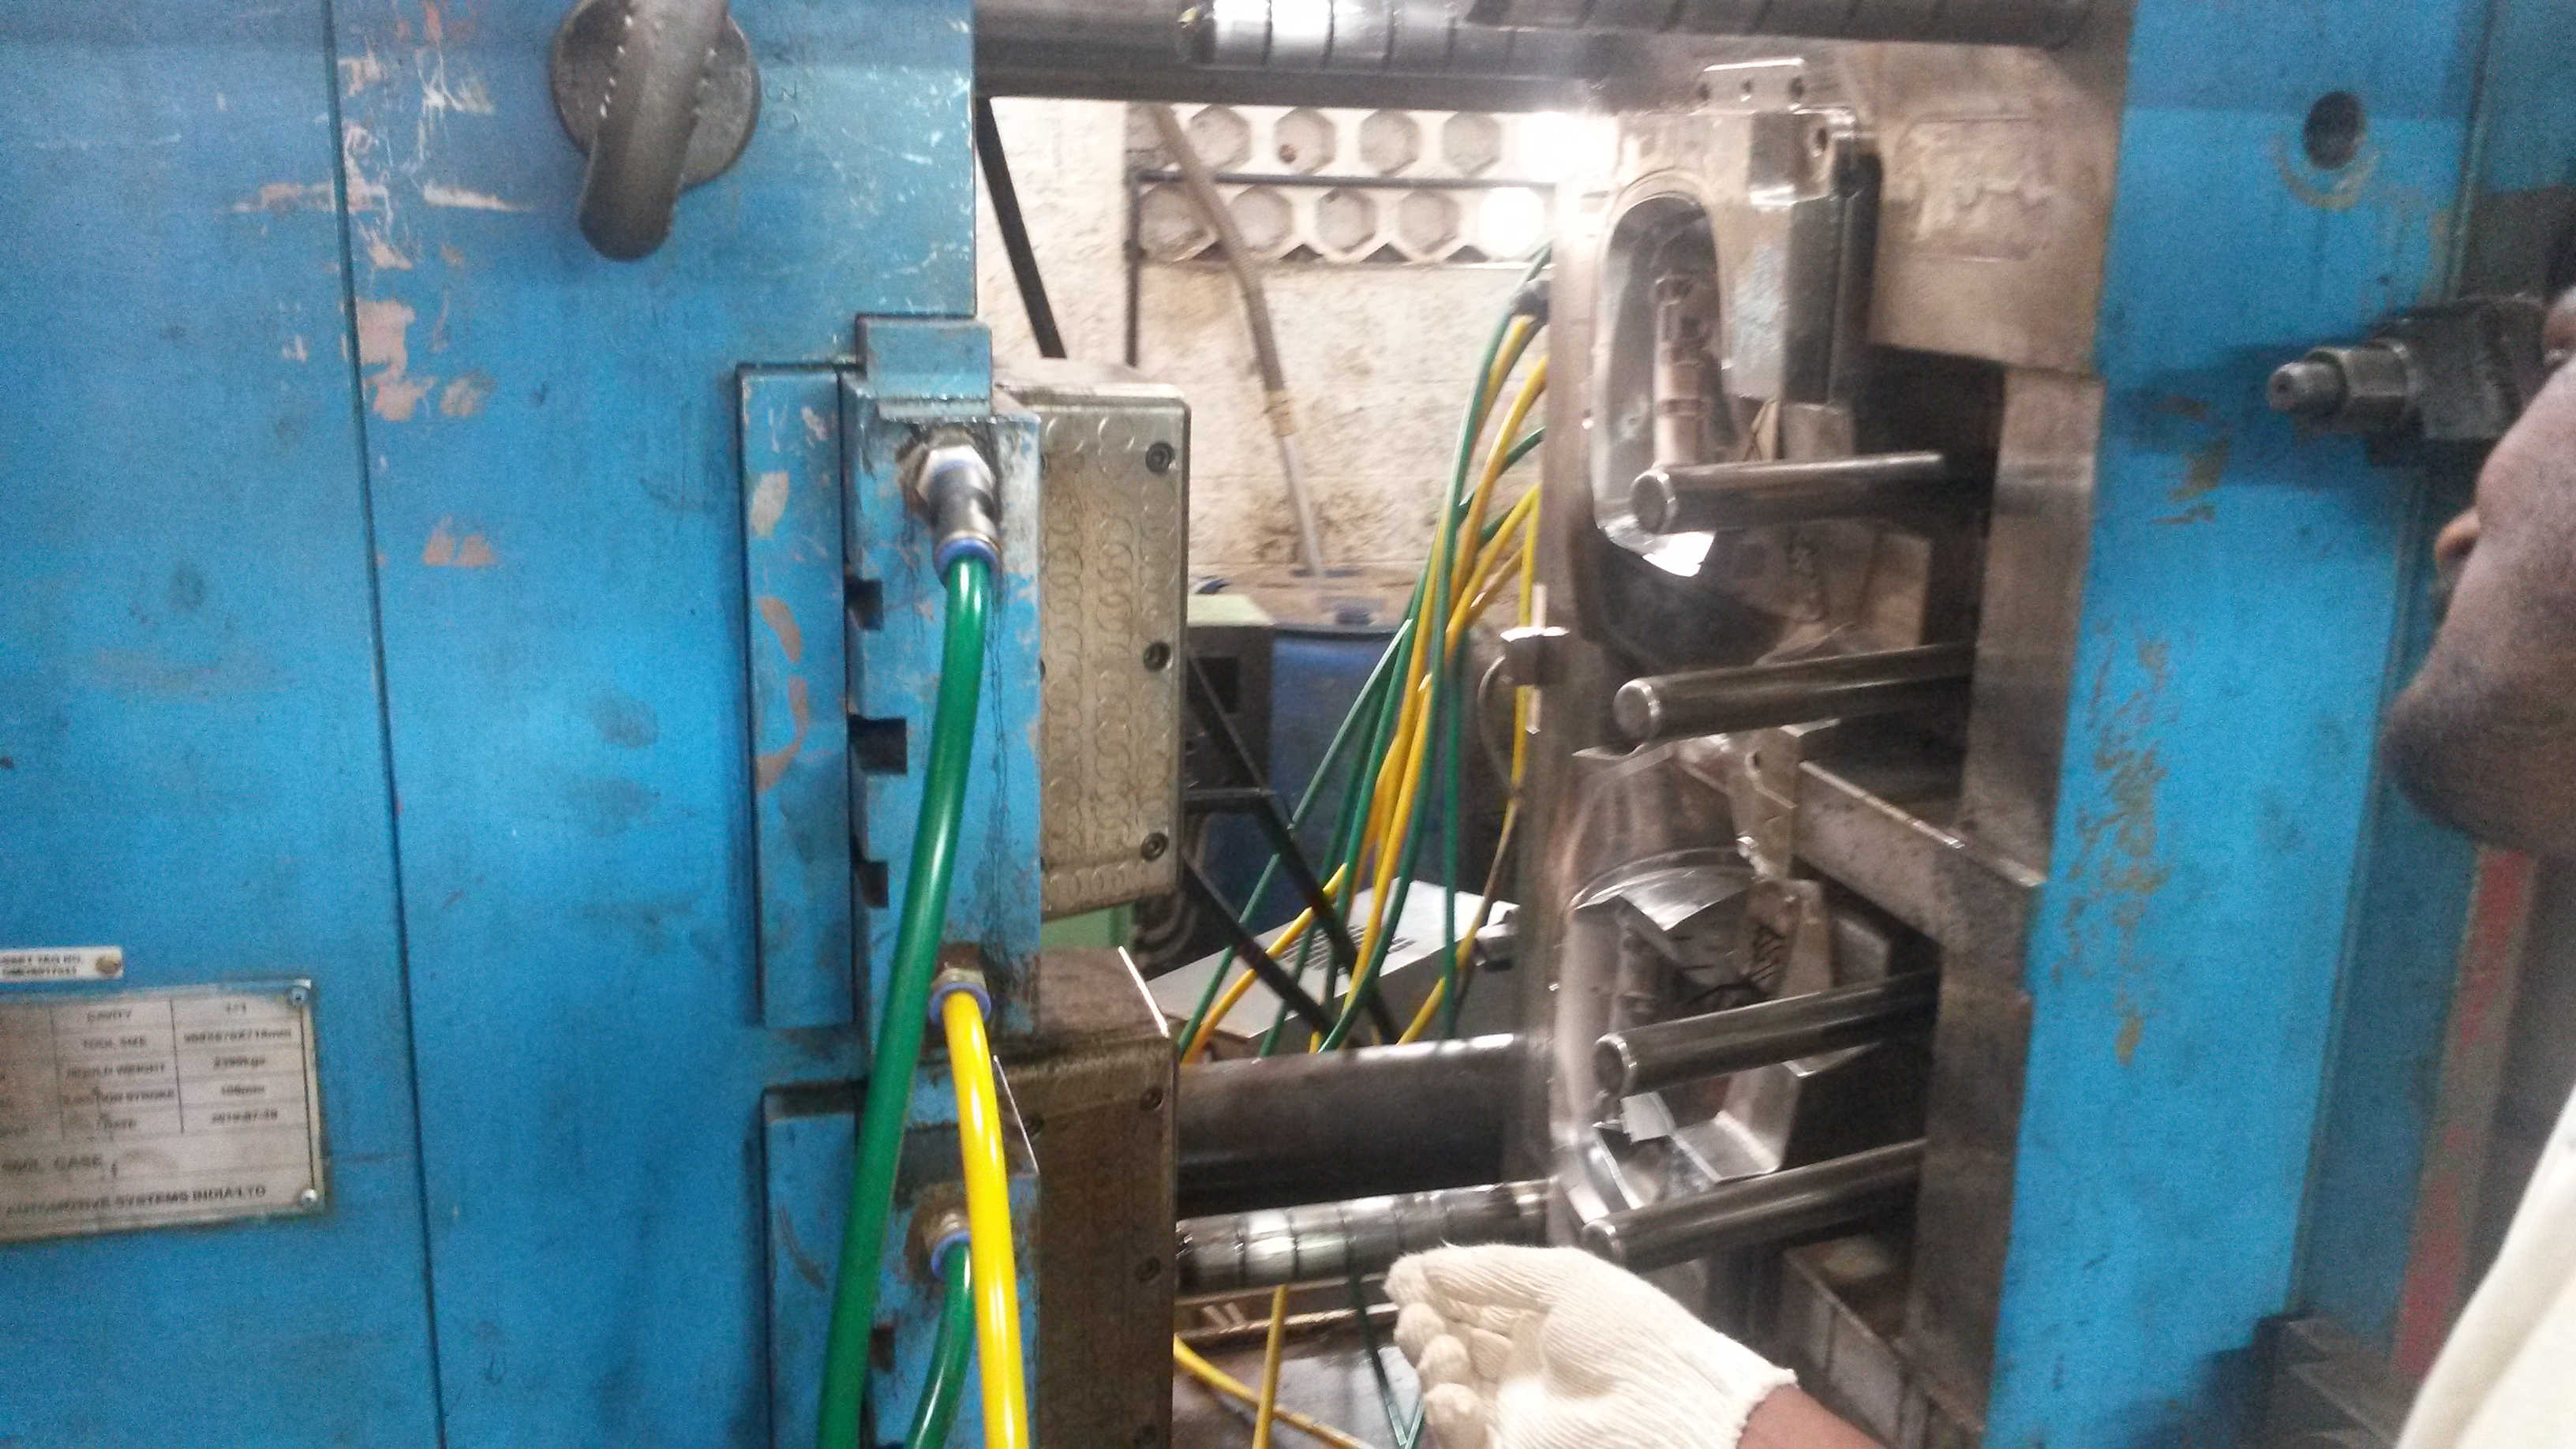
The plastic granules are heated to approximately 700 degrees Celsius and then pumped through the pipes shown below.
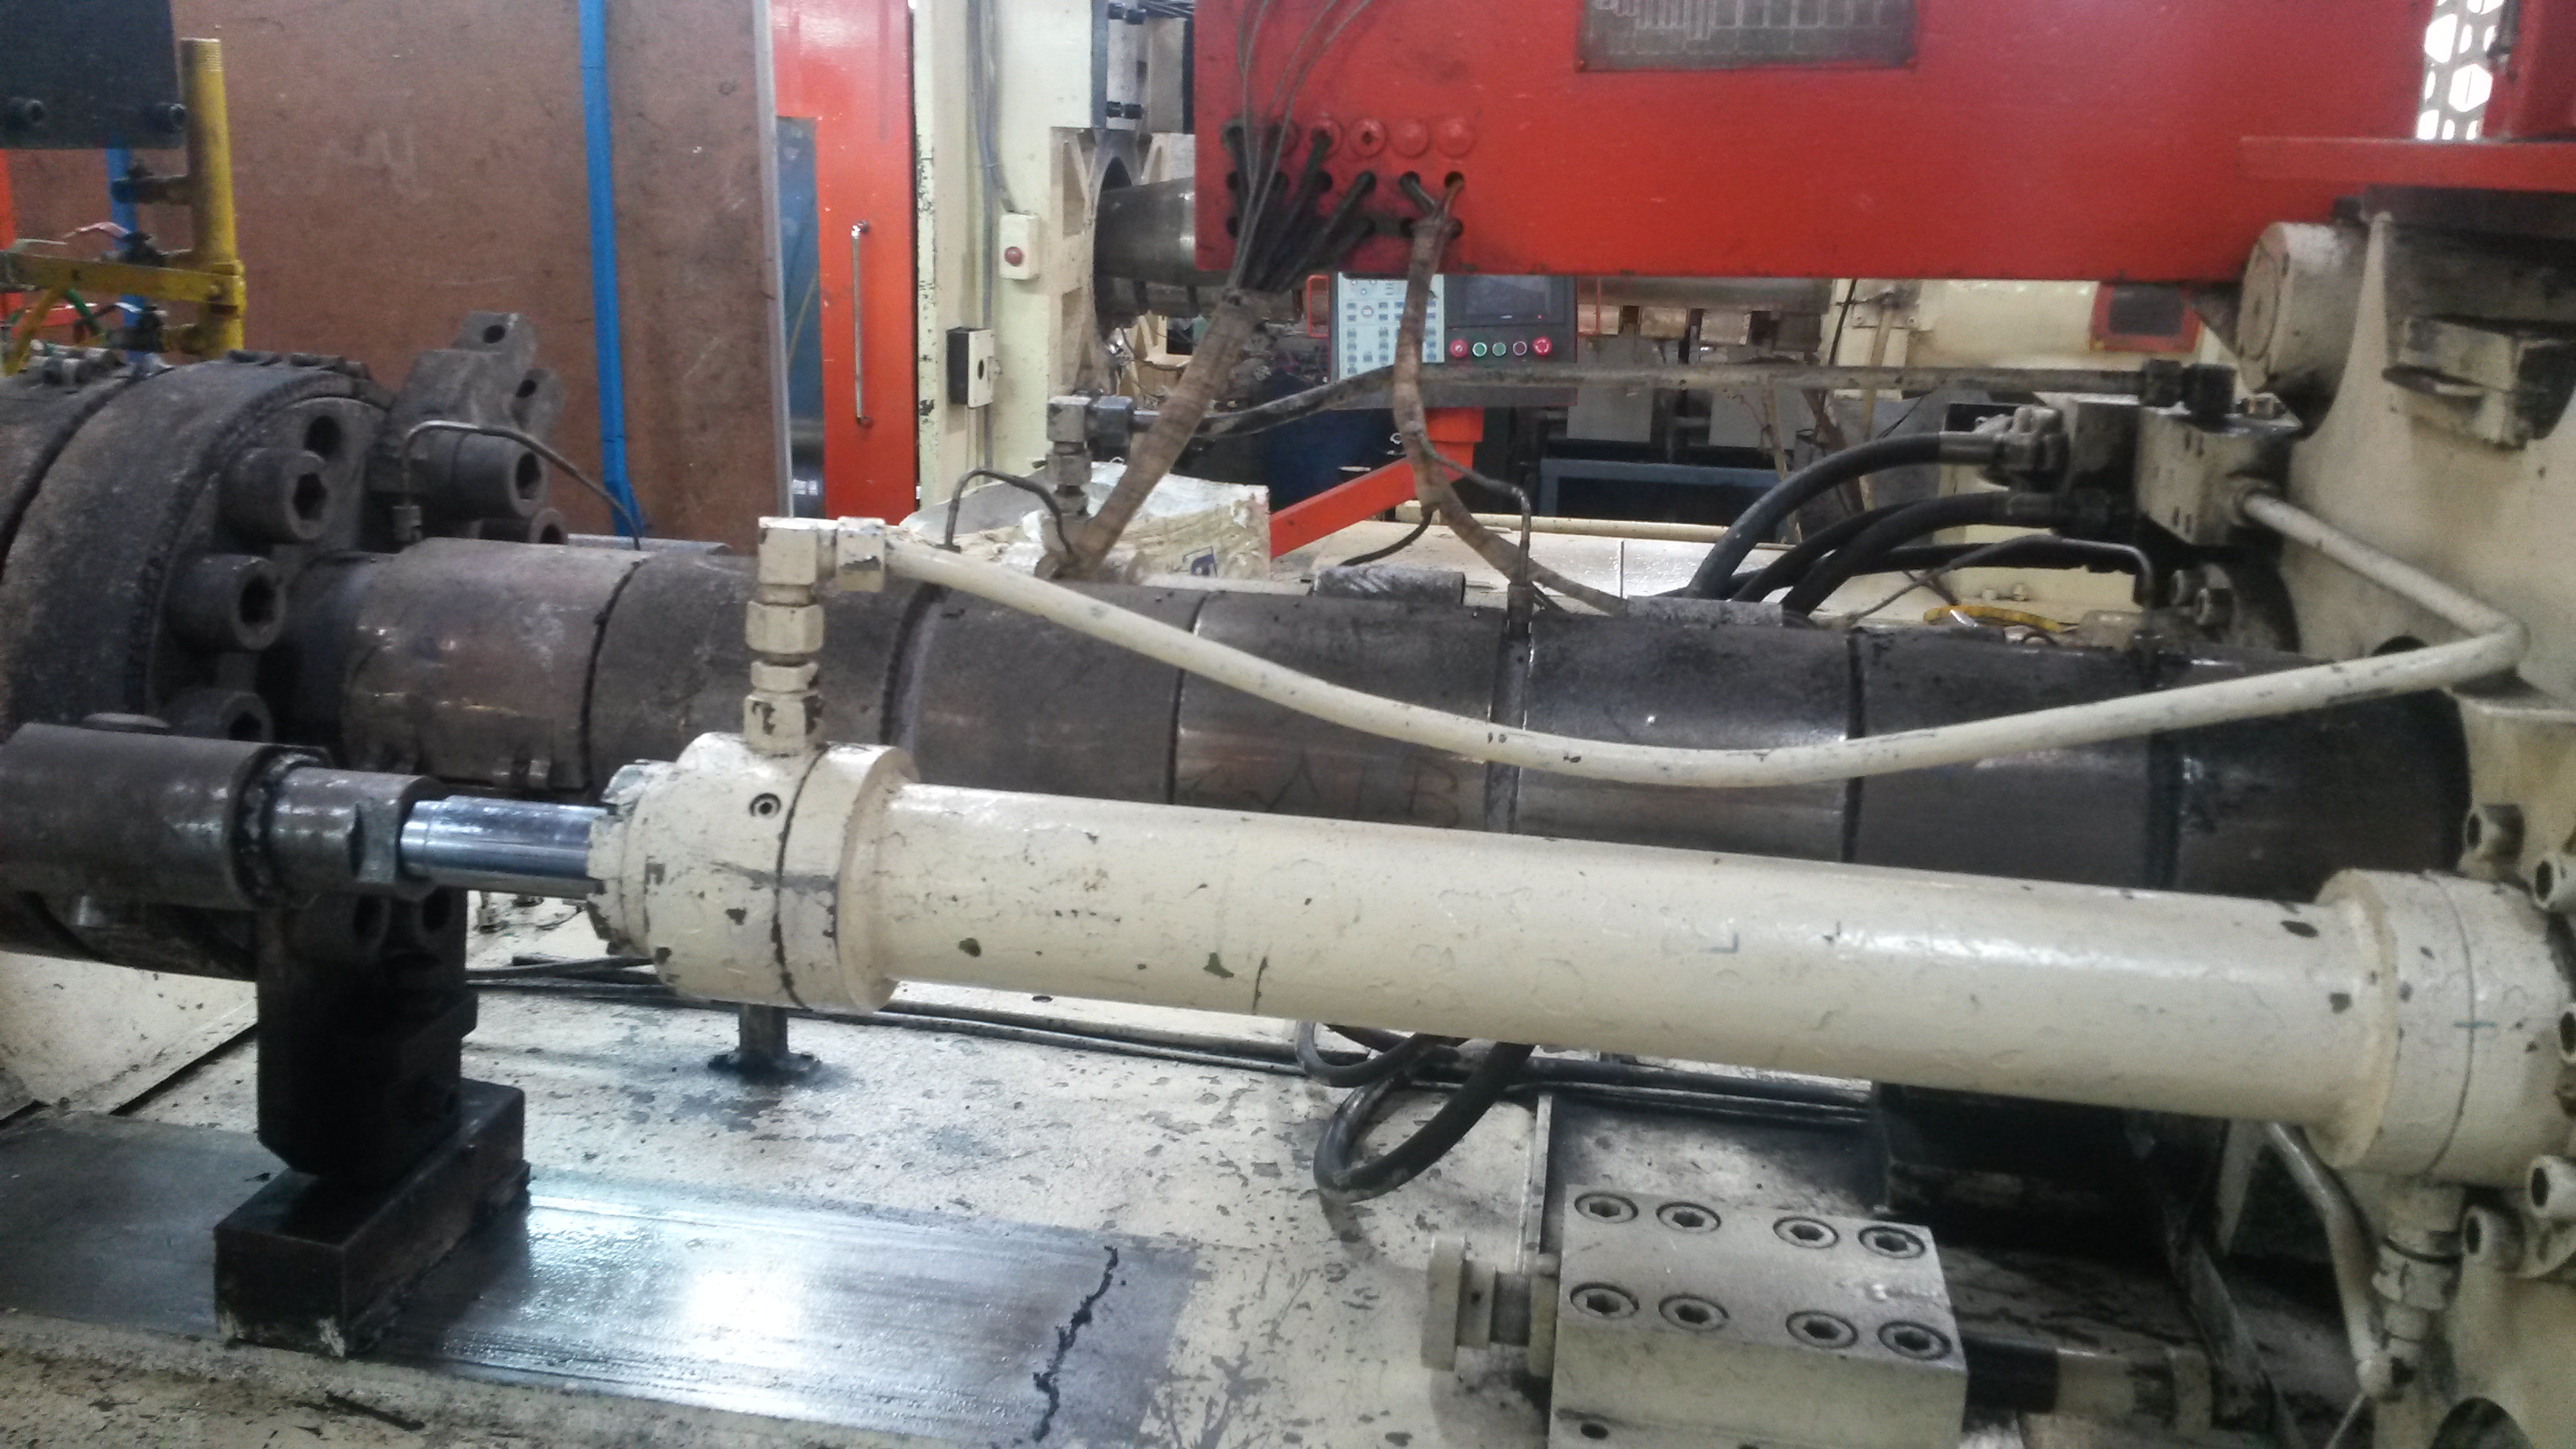
At the end of the pipe, there is a small opening through which the plastic flows out and enters the mould as the figure below illustrates. The size of the opening is extremely small to ensure an even flow of the plastic. The speed of flow also needs to be controlled to ensure that the right amount of plastic flows through the hole.
Step 3: Moulding
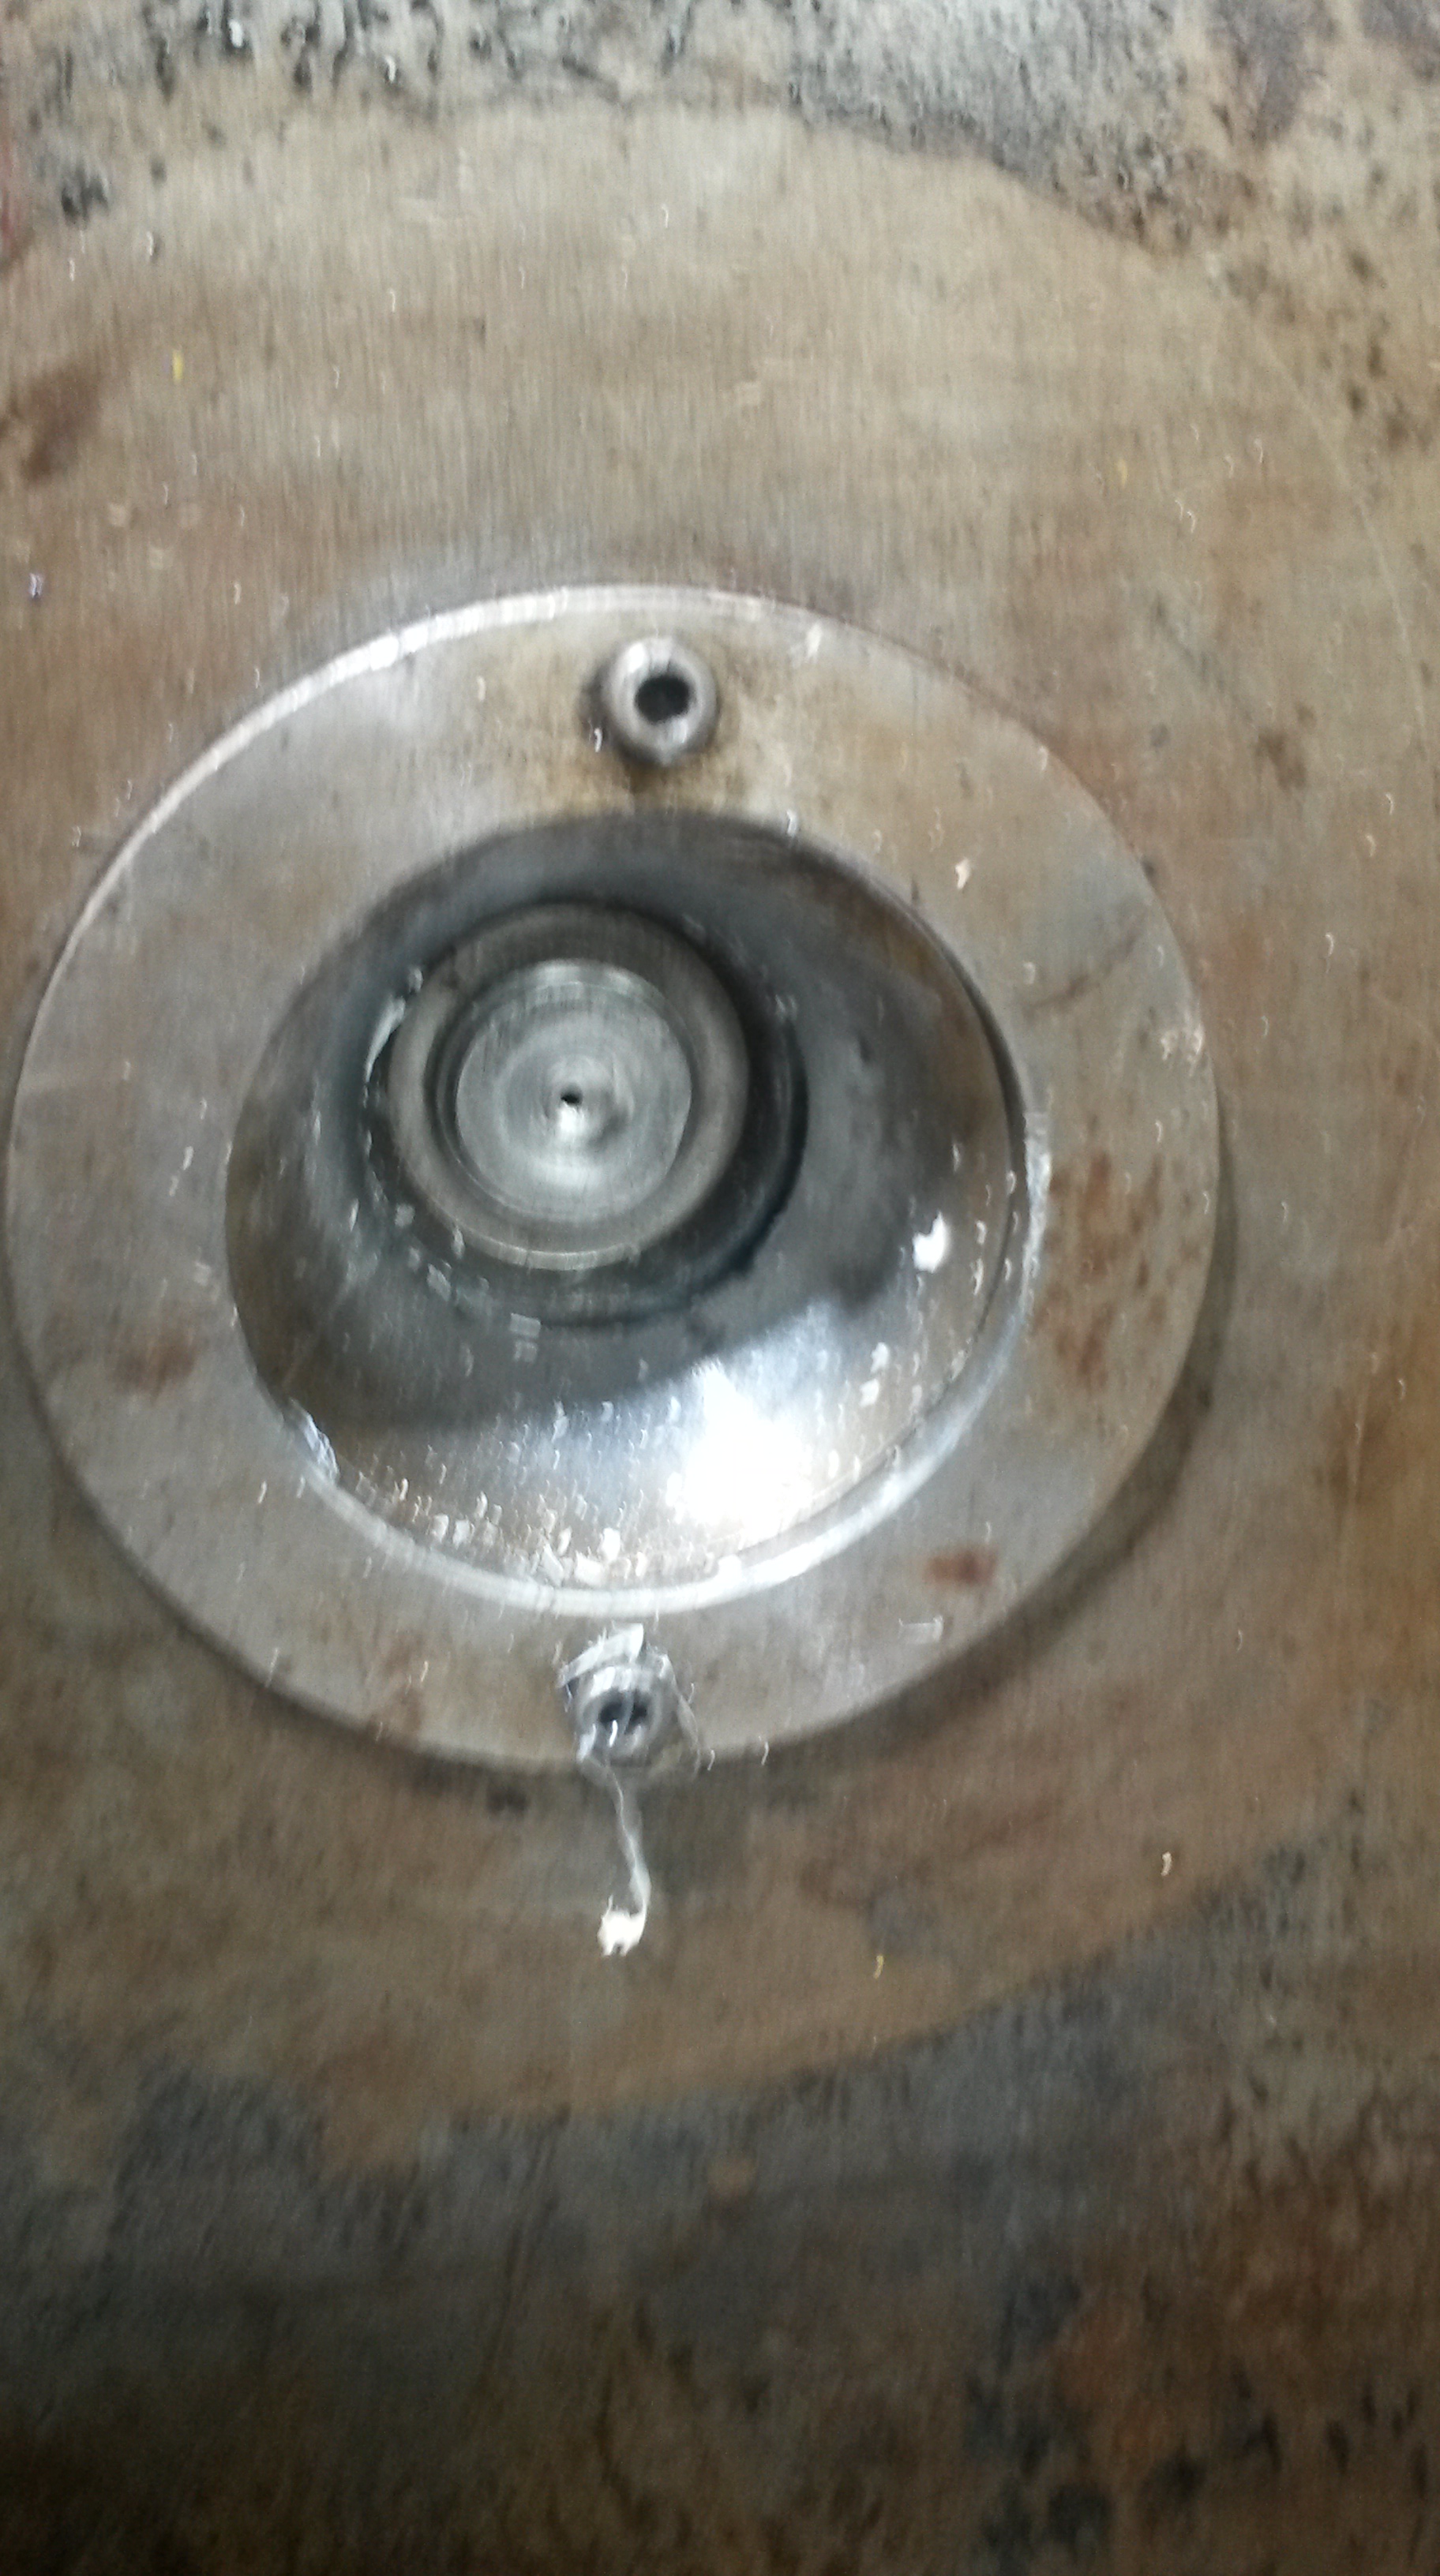
The actual mould has two parts – a cavity and an insertion. Both are made out of metal, as metals have high melting points and can withstand the high temperature of the plastic that flows into the mould. The cavity and insertion are shown below; the insertion leaves a gap in the cavity which is filled by the plastic. The insertion also has intricate carvings, inside which plastic also flows.

The injection mould is designed in such a way that it mimics the final gaps in the plastic that the product requires.
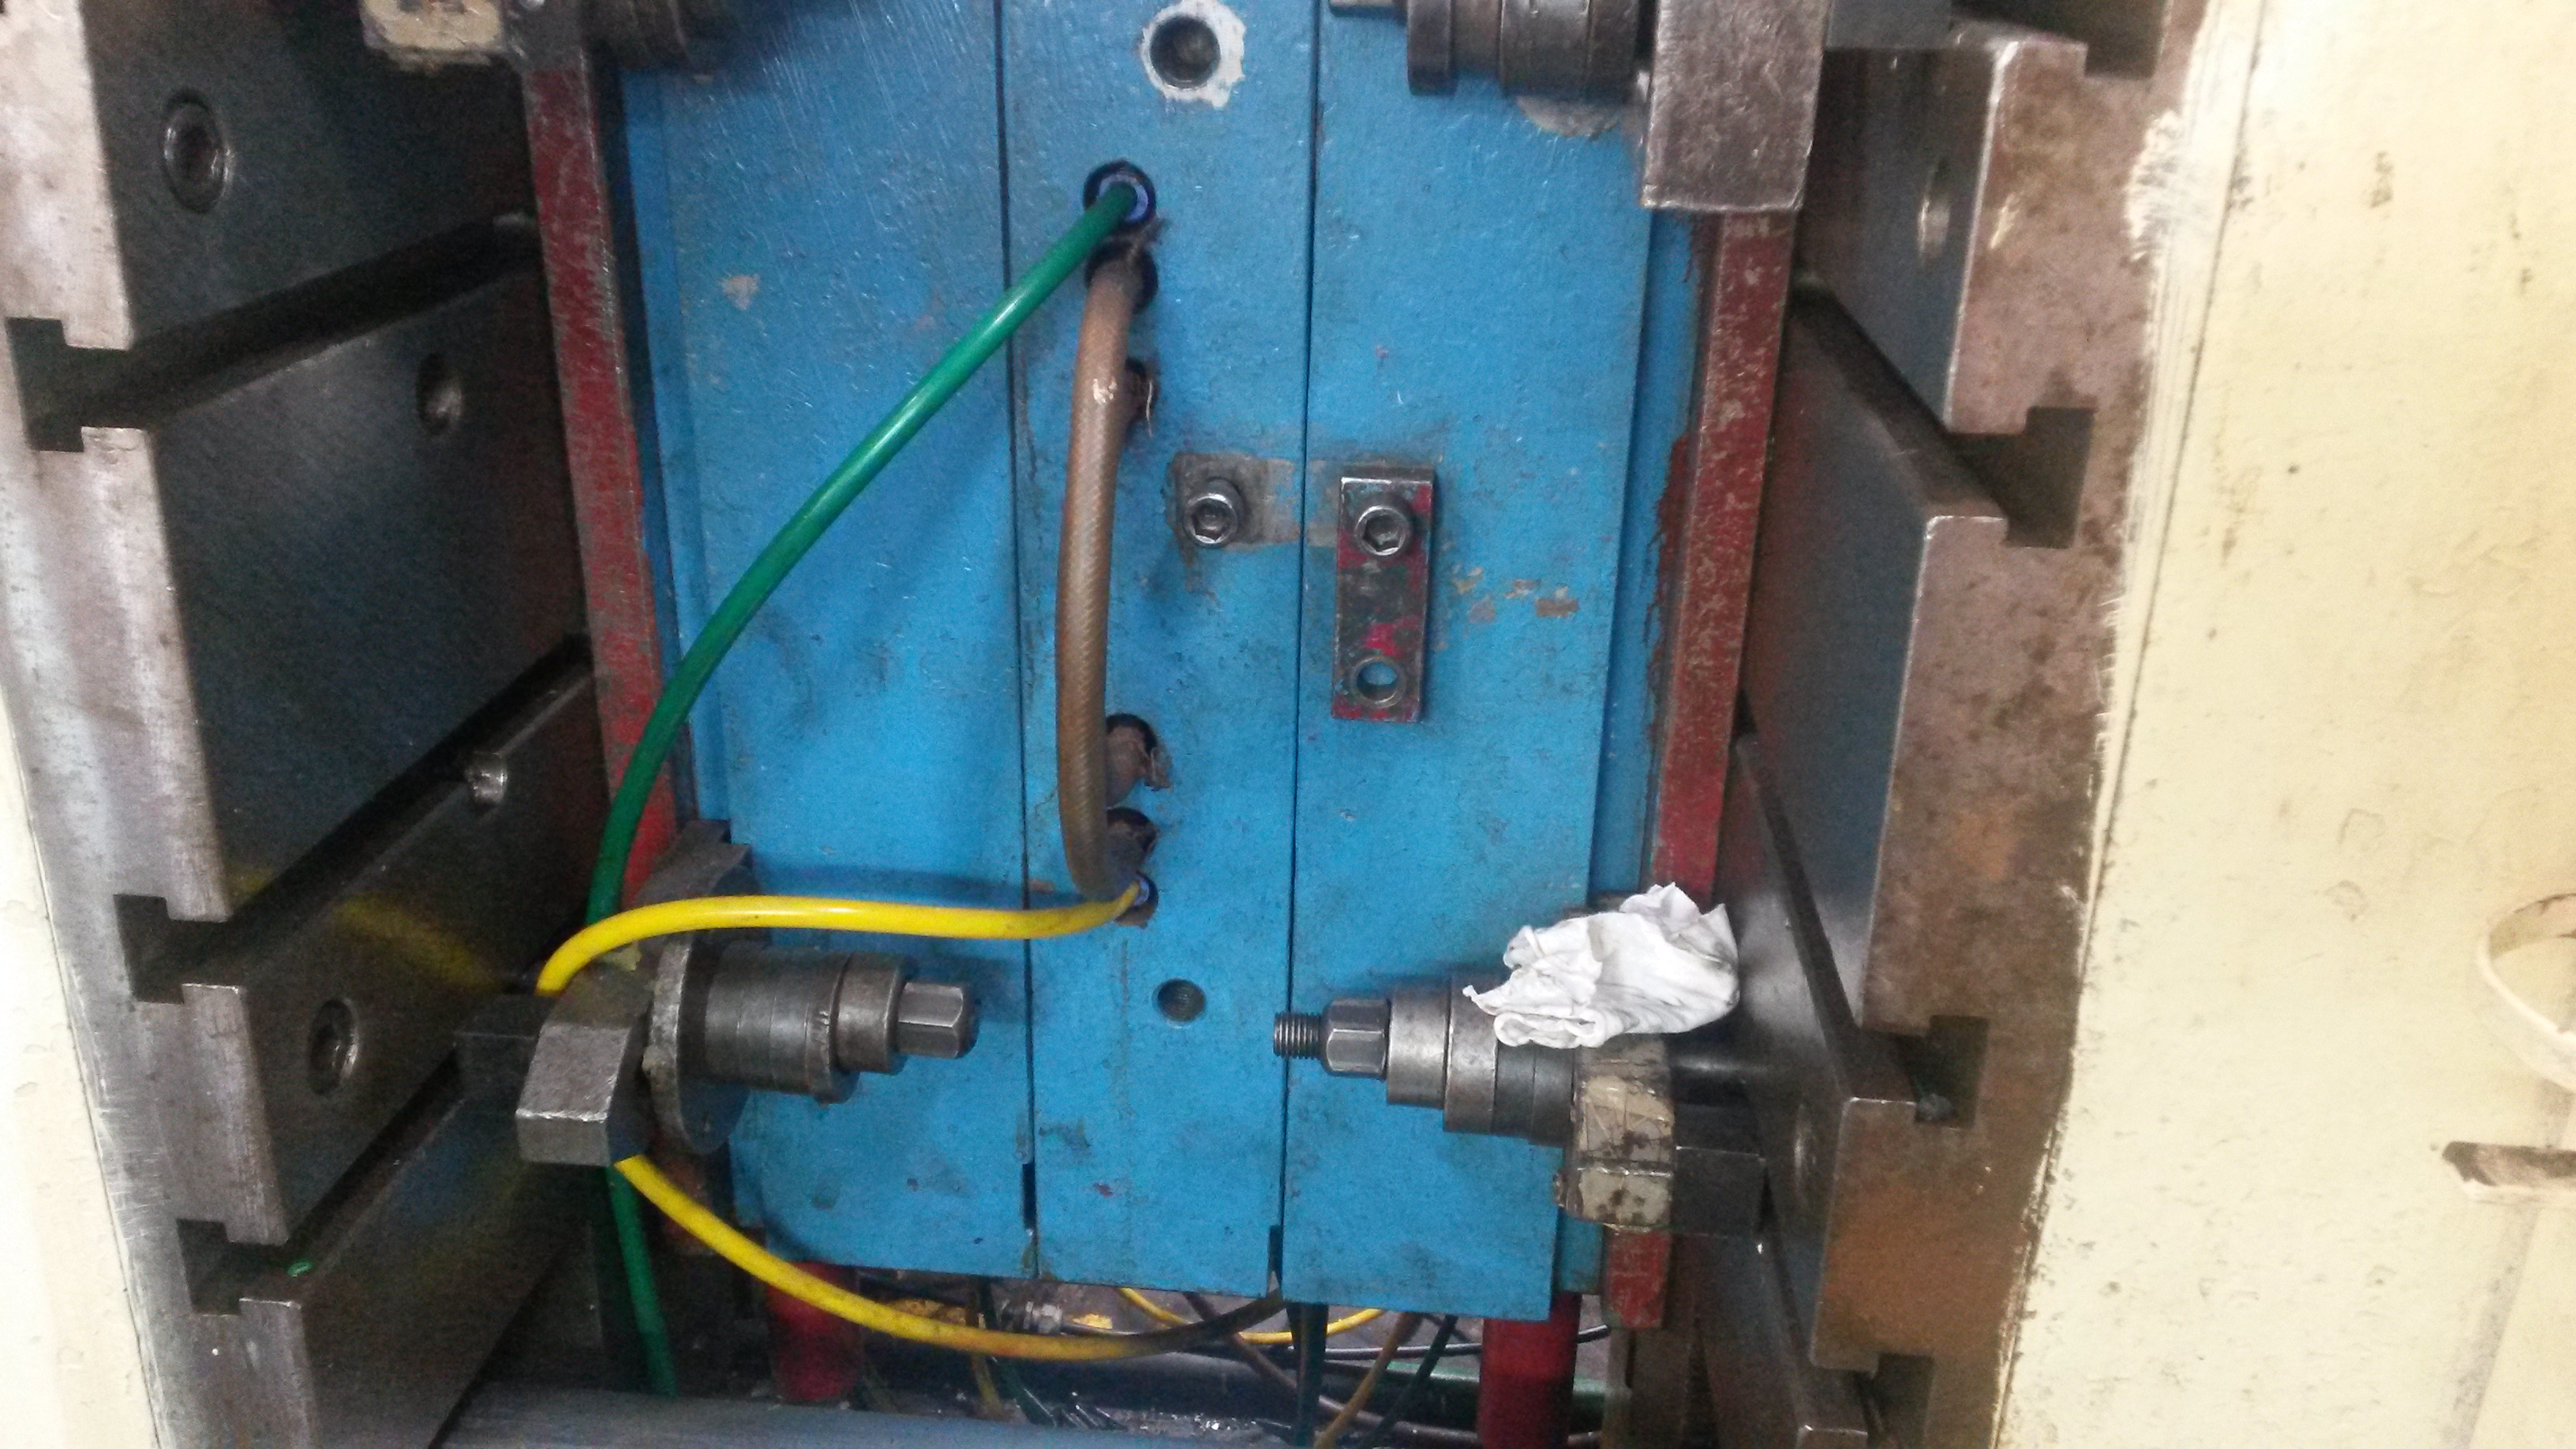
The two parts of the injection mould are then pushed together, as shown. This triggers a valve to open allowing the molten plastic to flow into the mould. The machine is timed so that it closes for the length of time that is required for the molten plastic to flow into and completely fill the mould. Simultaneously, the yellow and green pipes shown bring in water and take out water that cool the molten plastic, solidifying it.
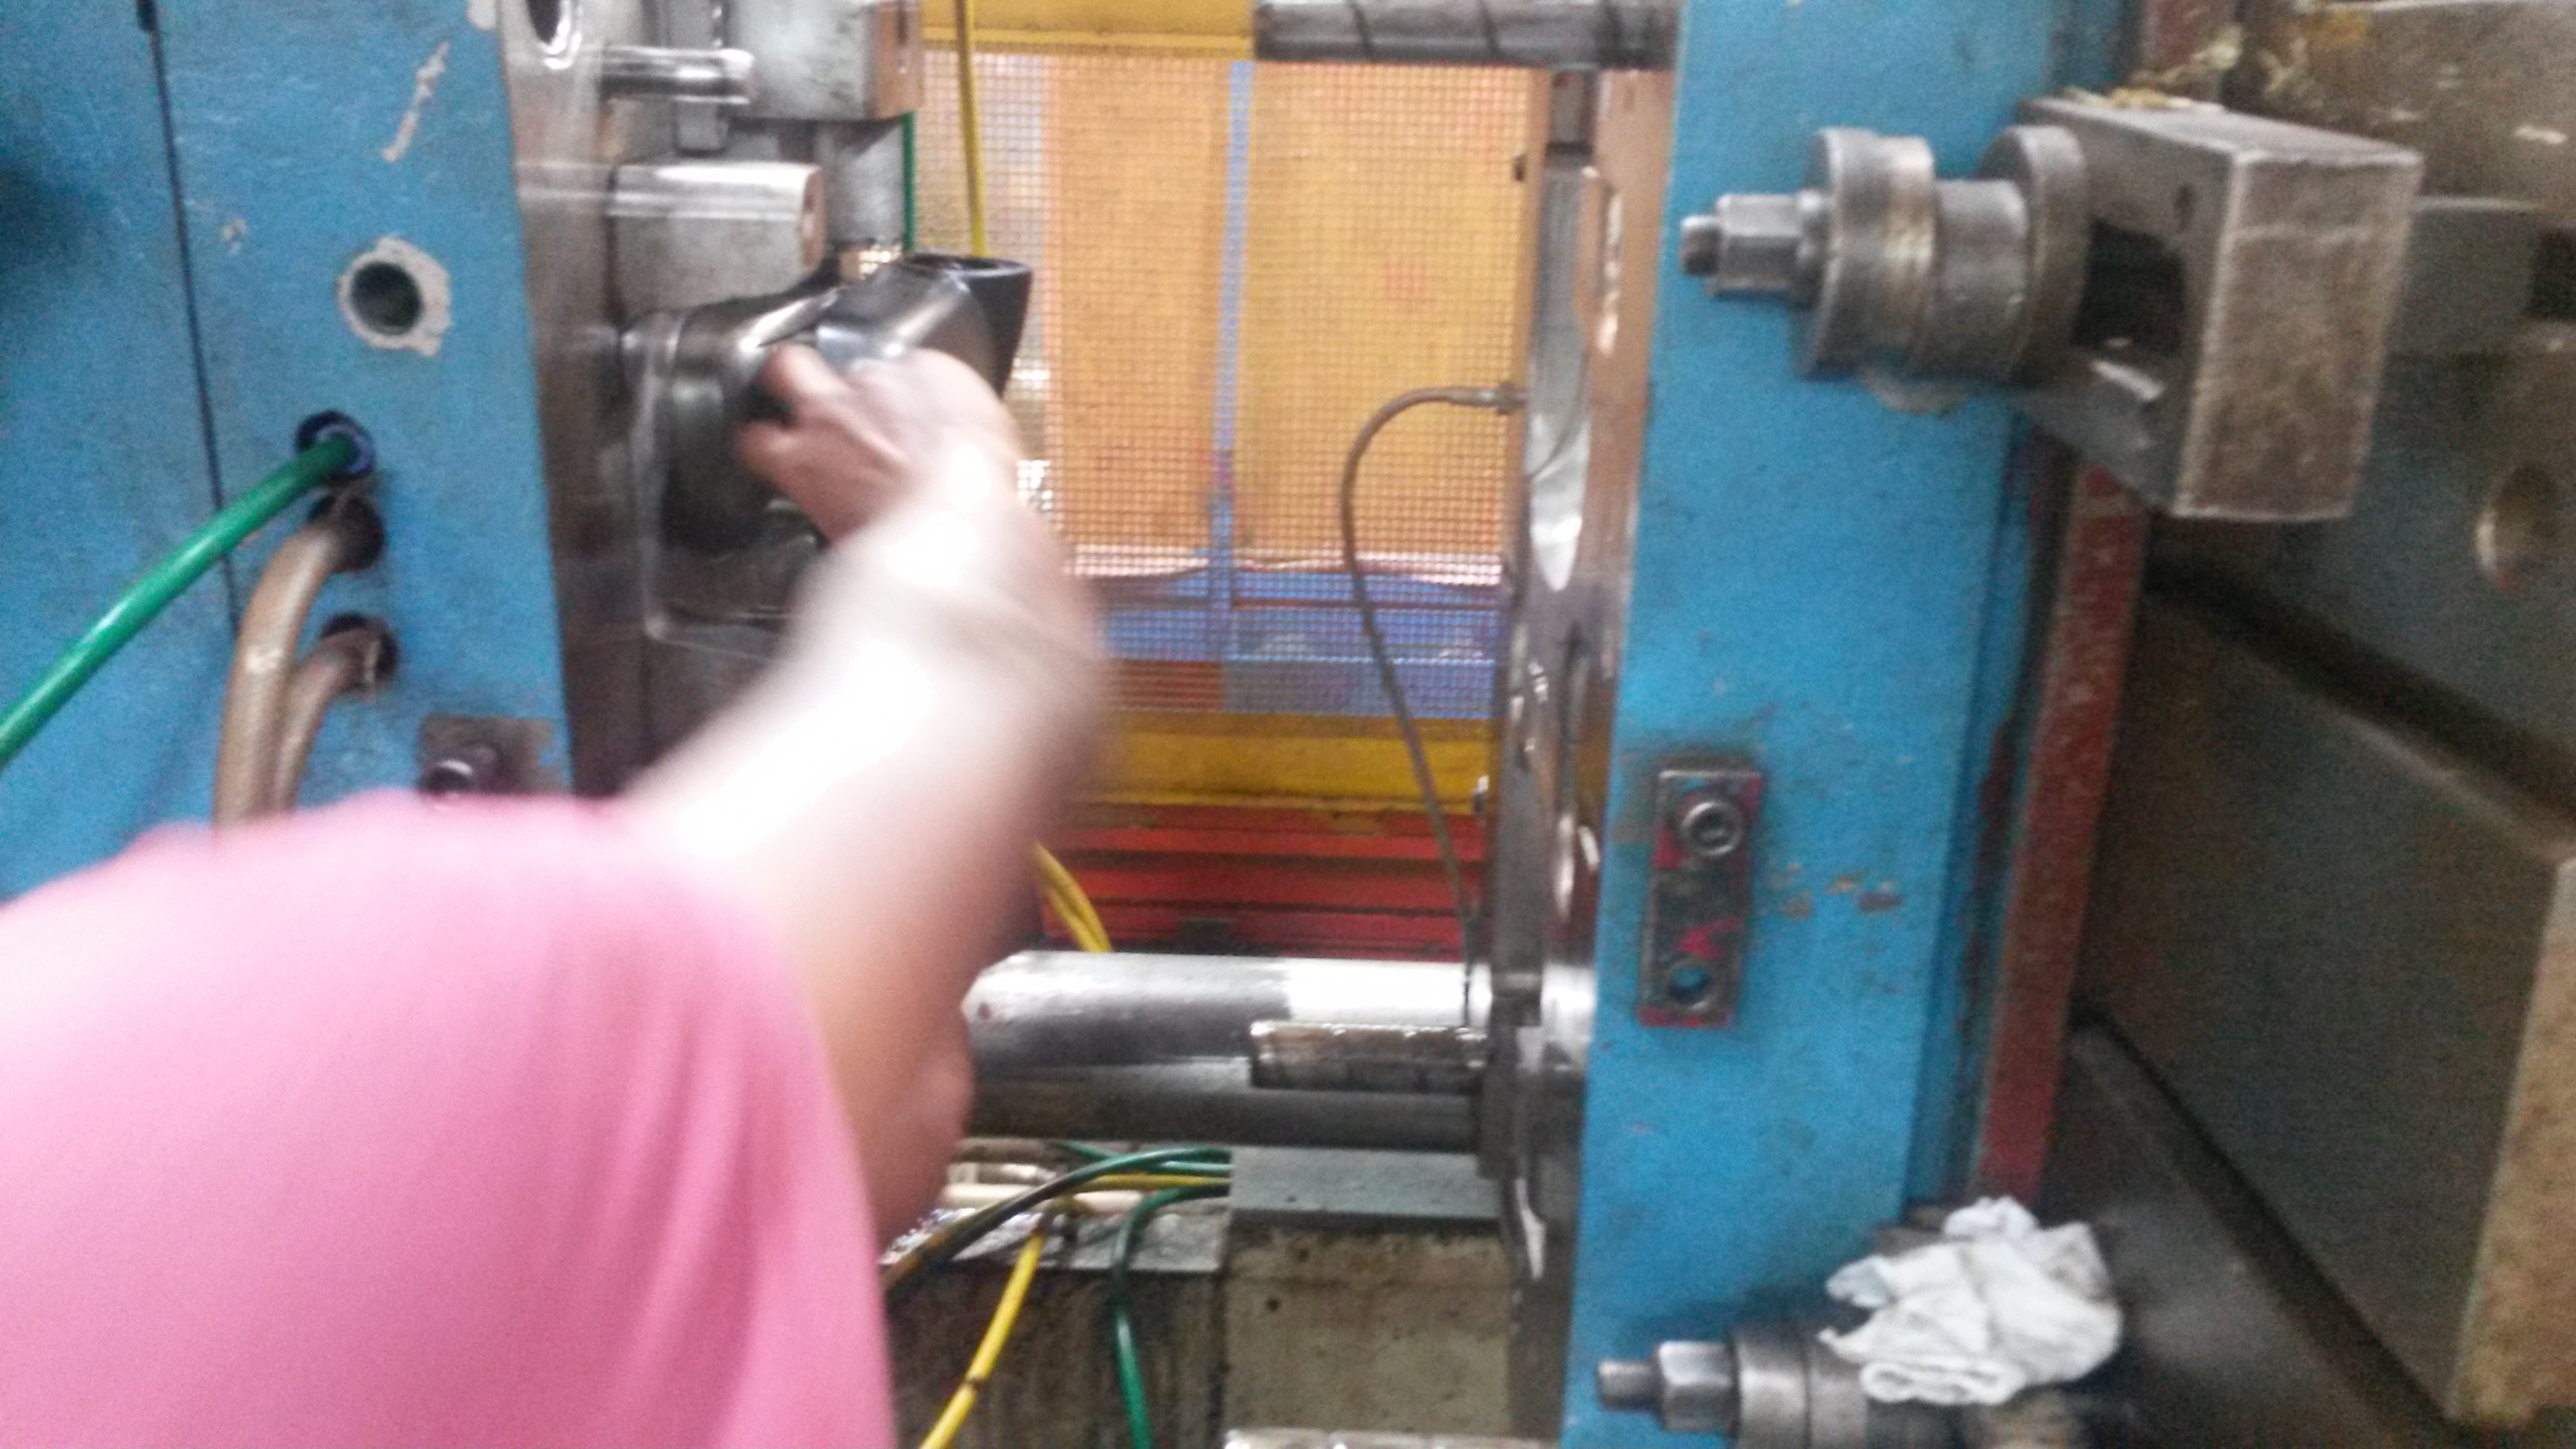
After the required amount of time for the molten plastic to fill the mould and then cool, the cavity and insertion parts of the mould separate once again and the moulded solid plastic is manually removed.
Step 4: Cooling
Although the cooling system in-built in the mould solidifies the molten plastic, sometimes additional cooling is required. This is either done by immersing the product into water or by just letting them rest, in which case they are cooled by the atmosphere.
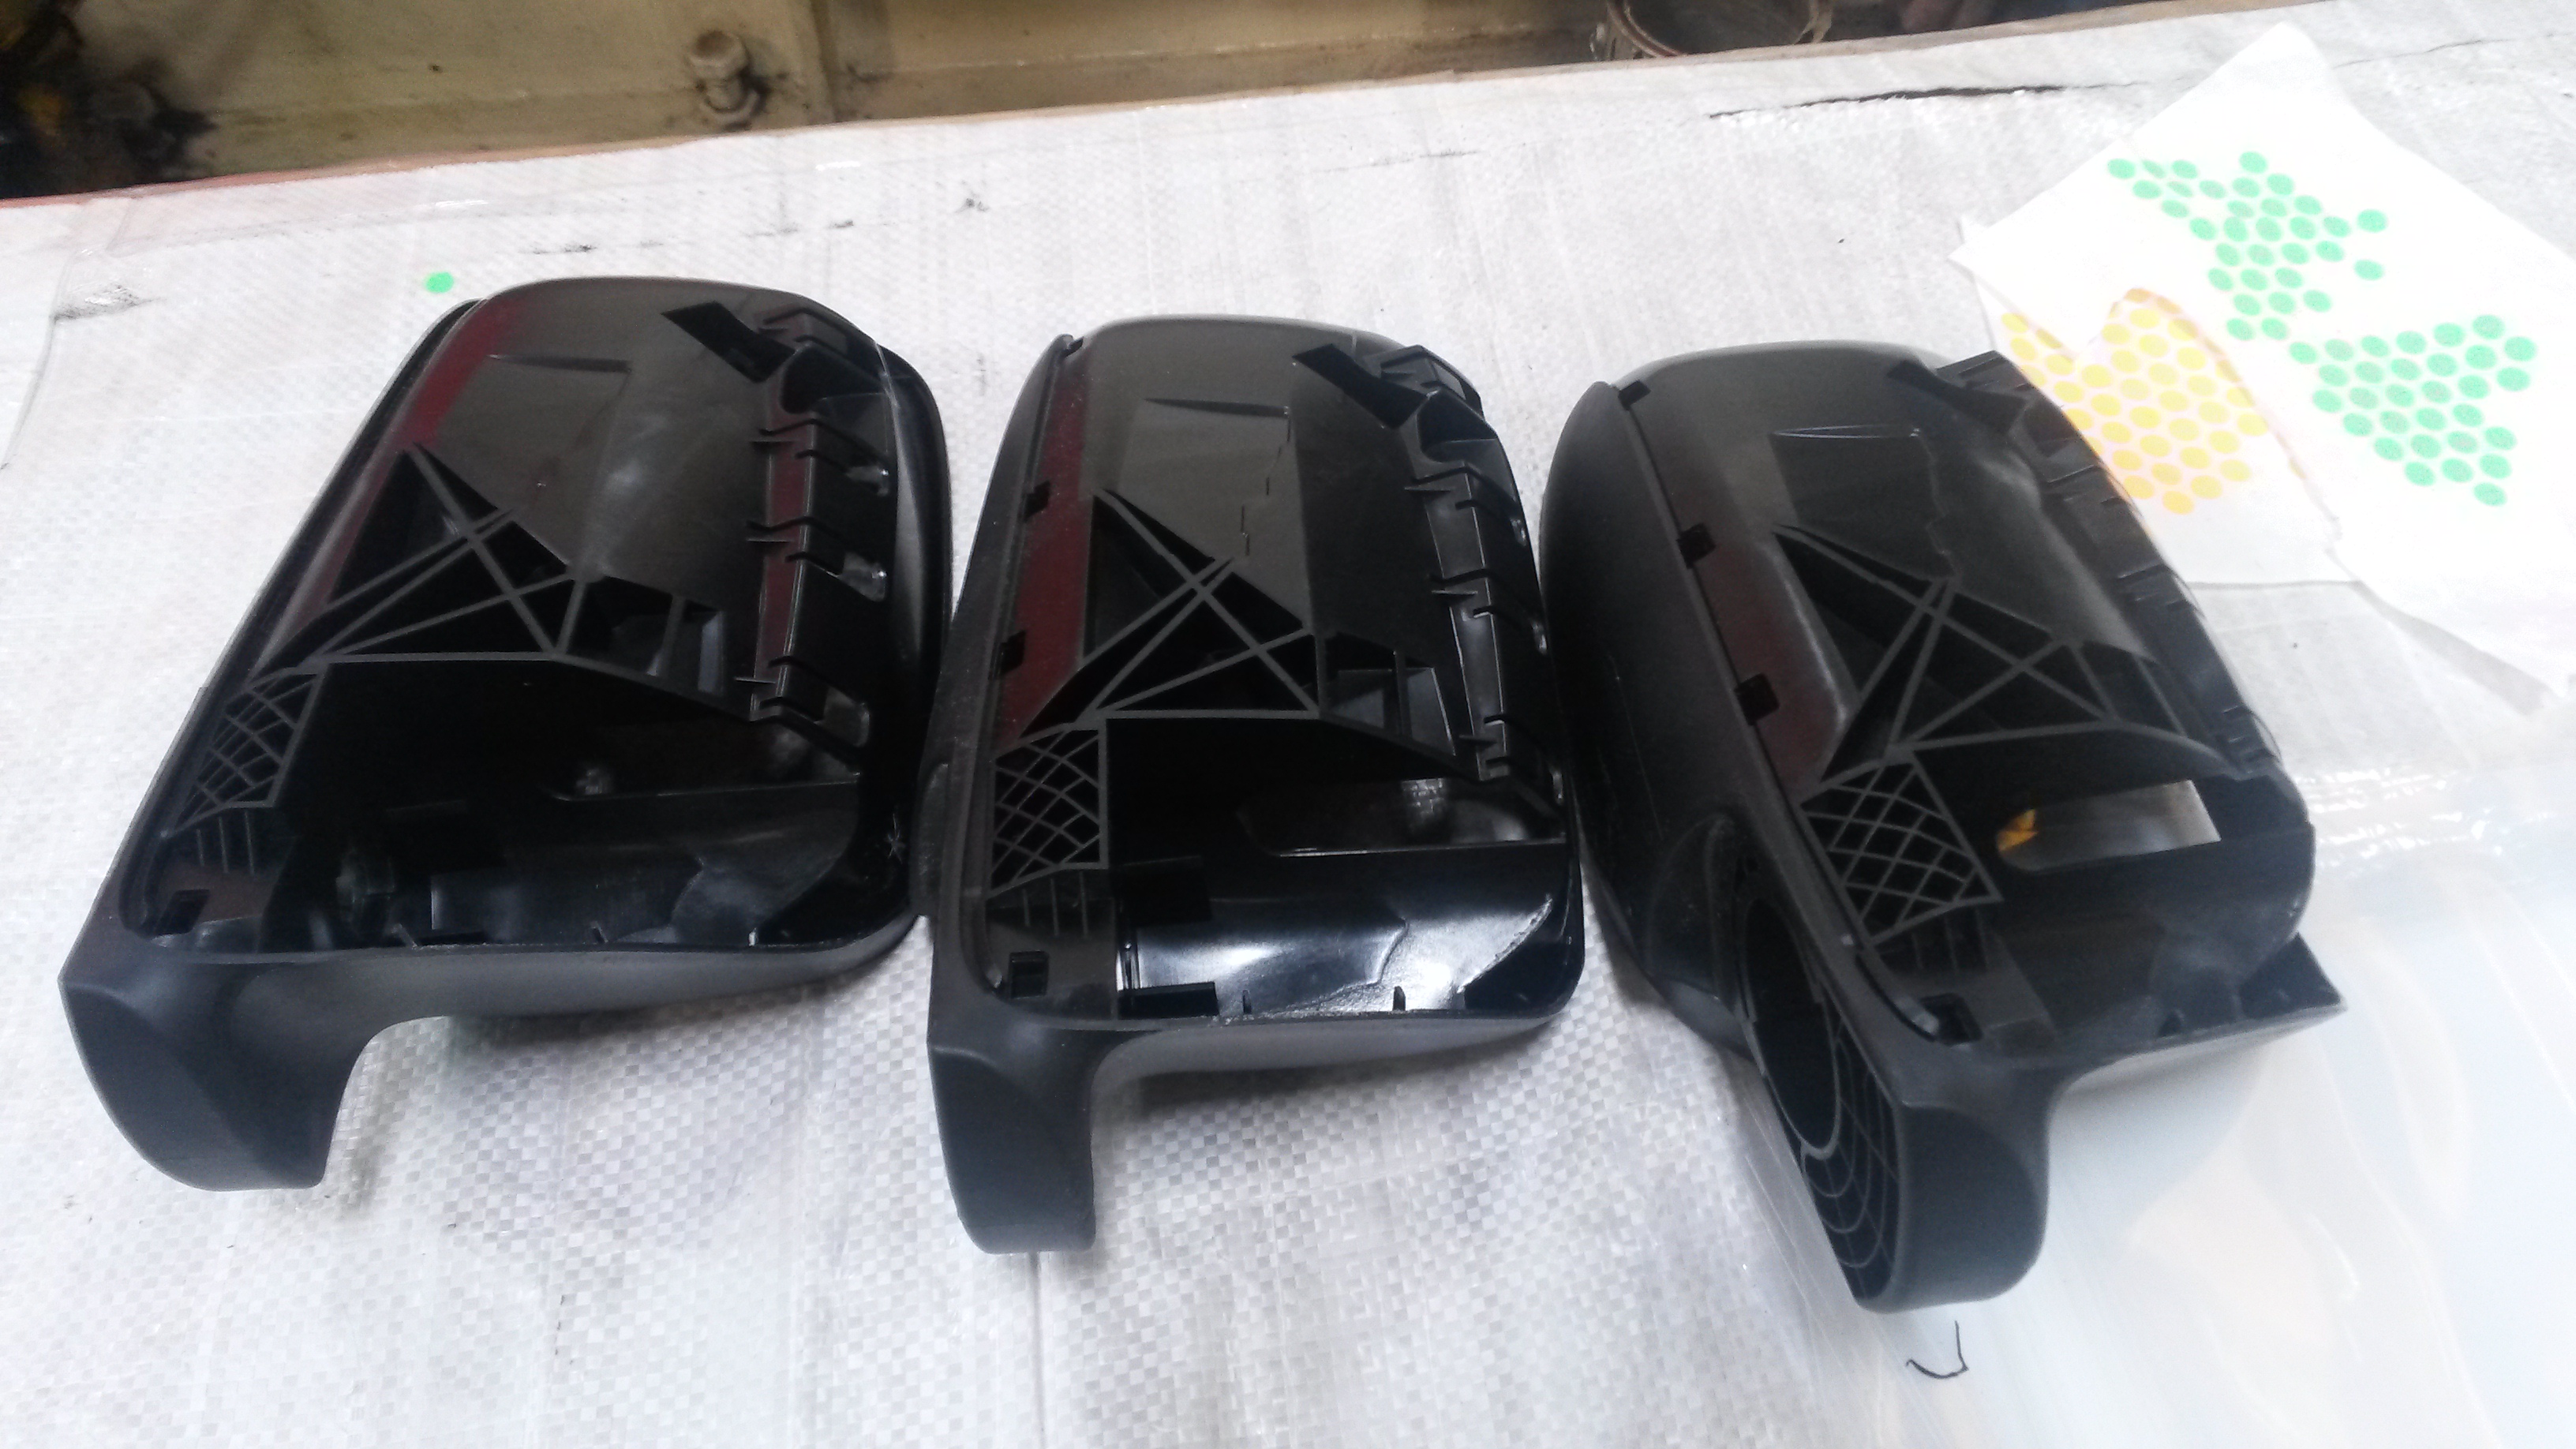
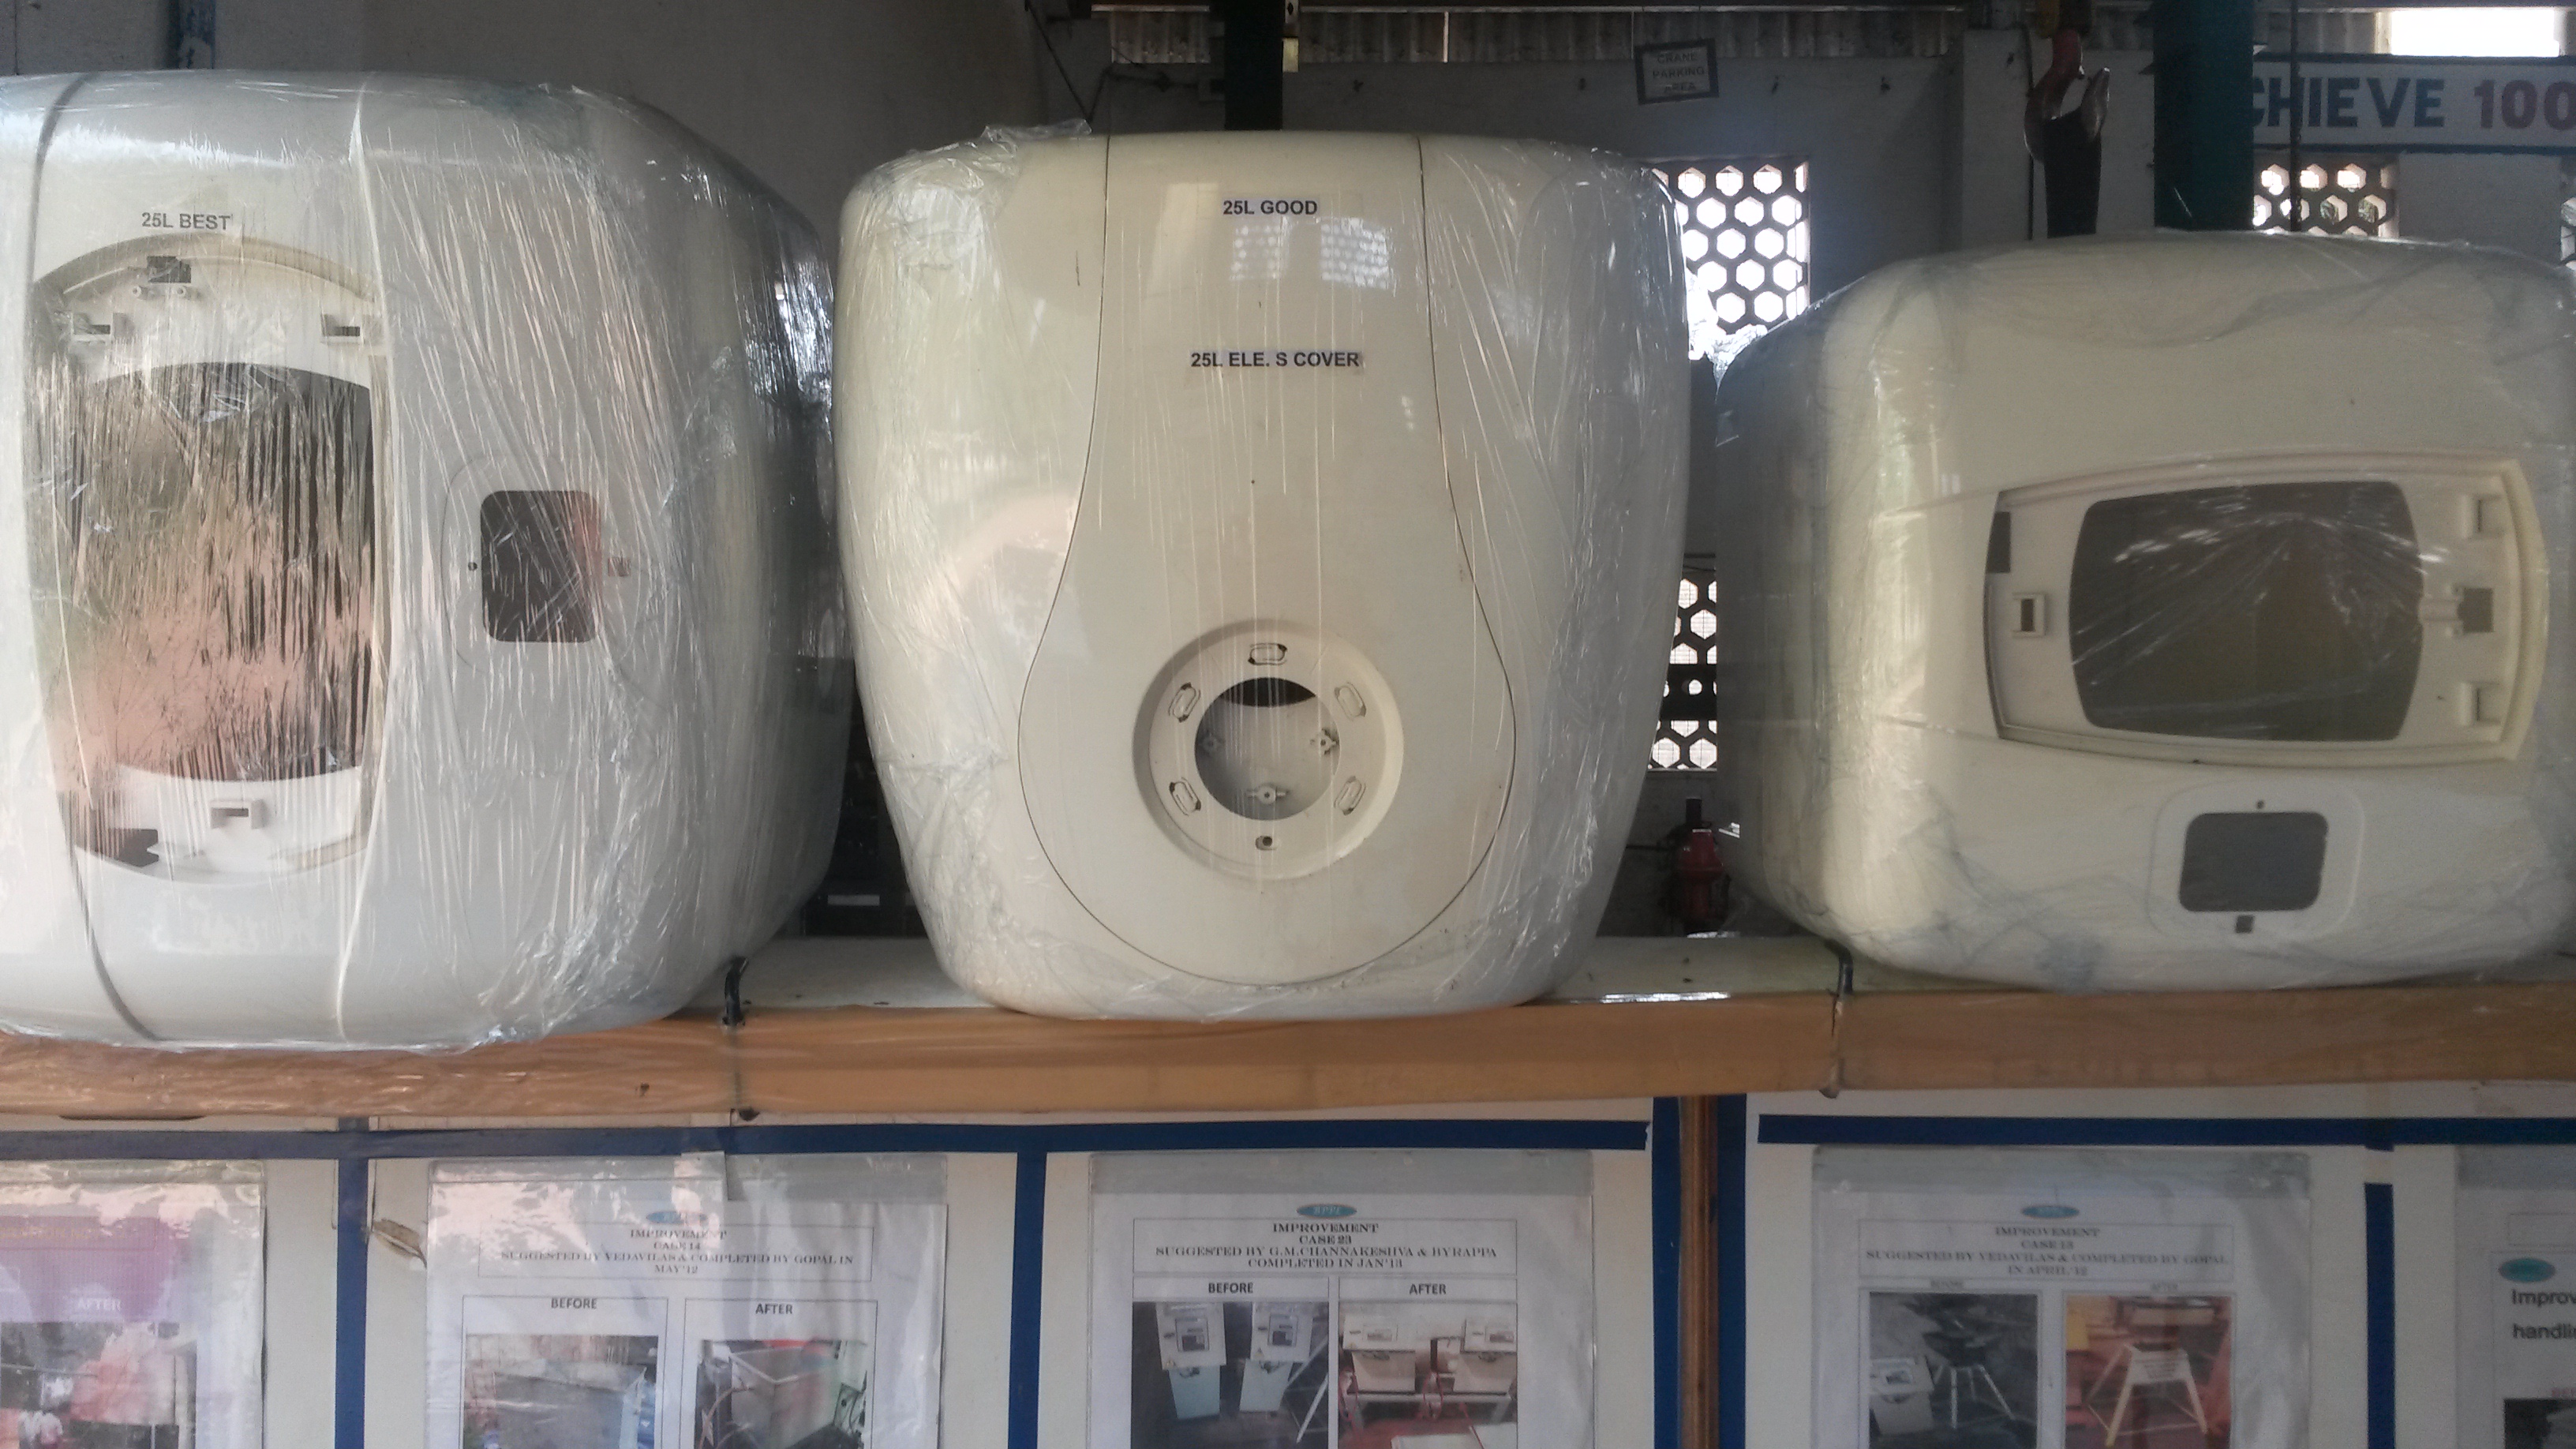
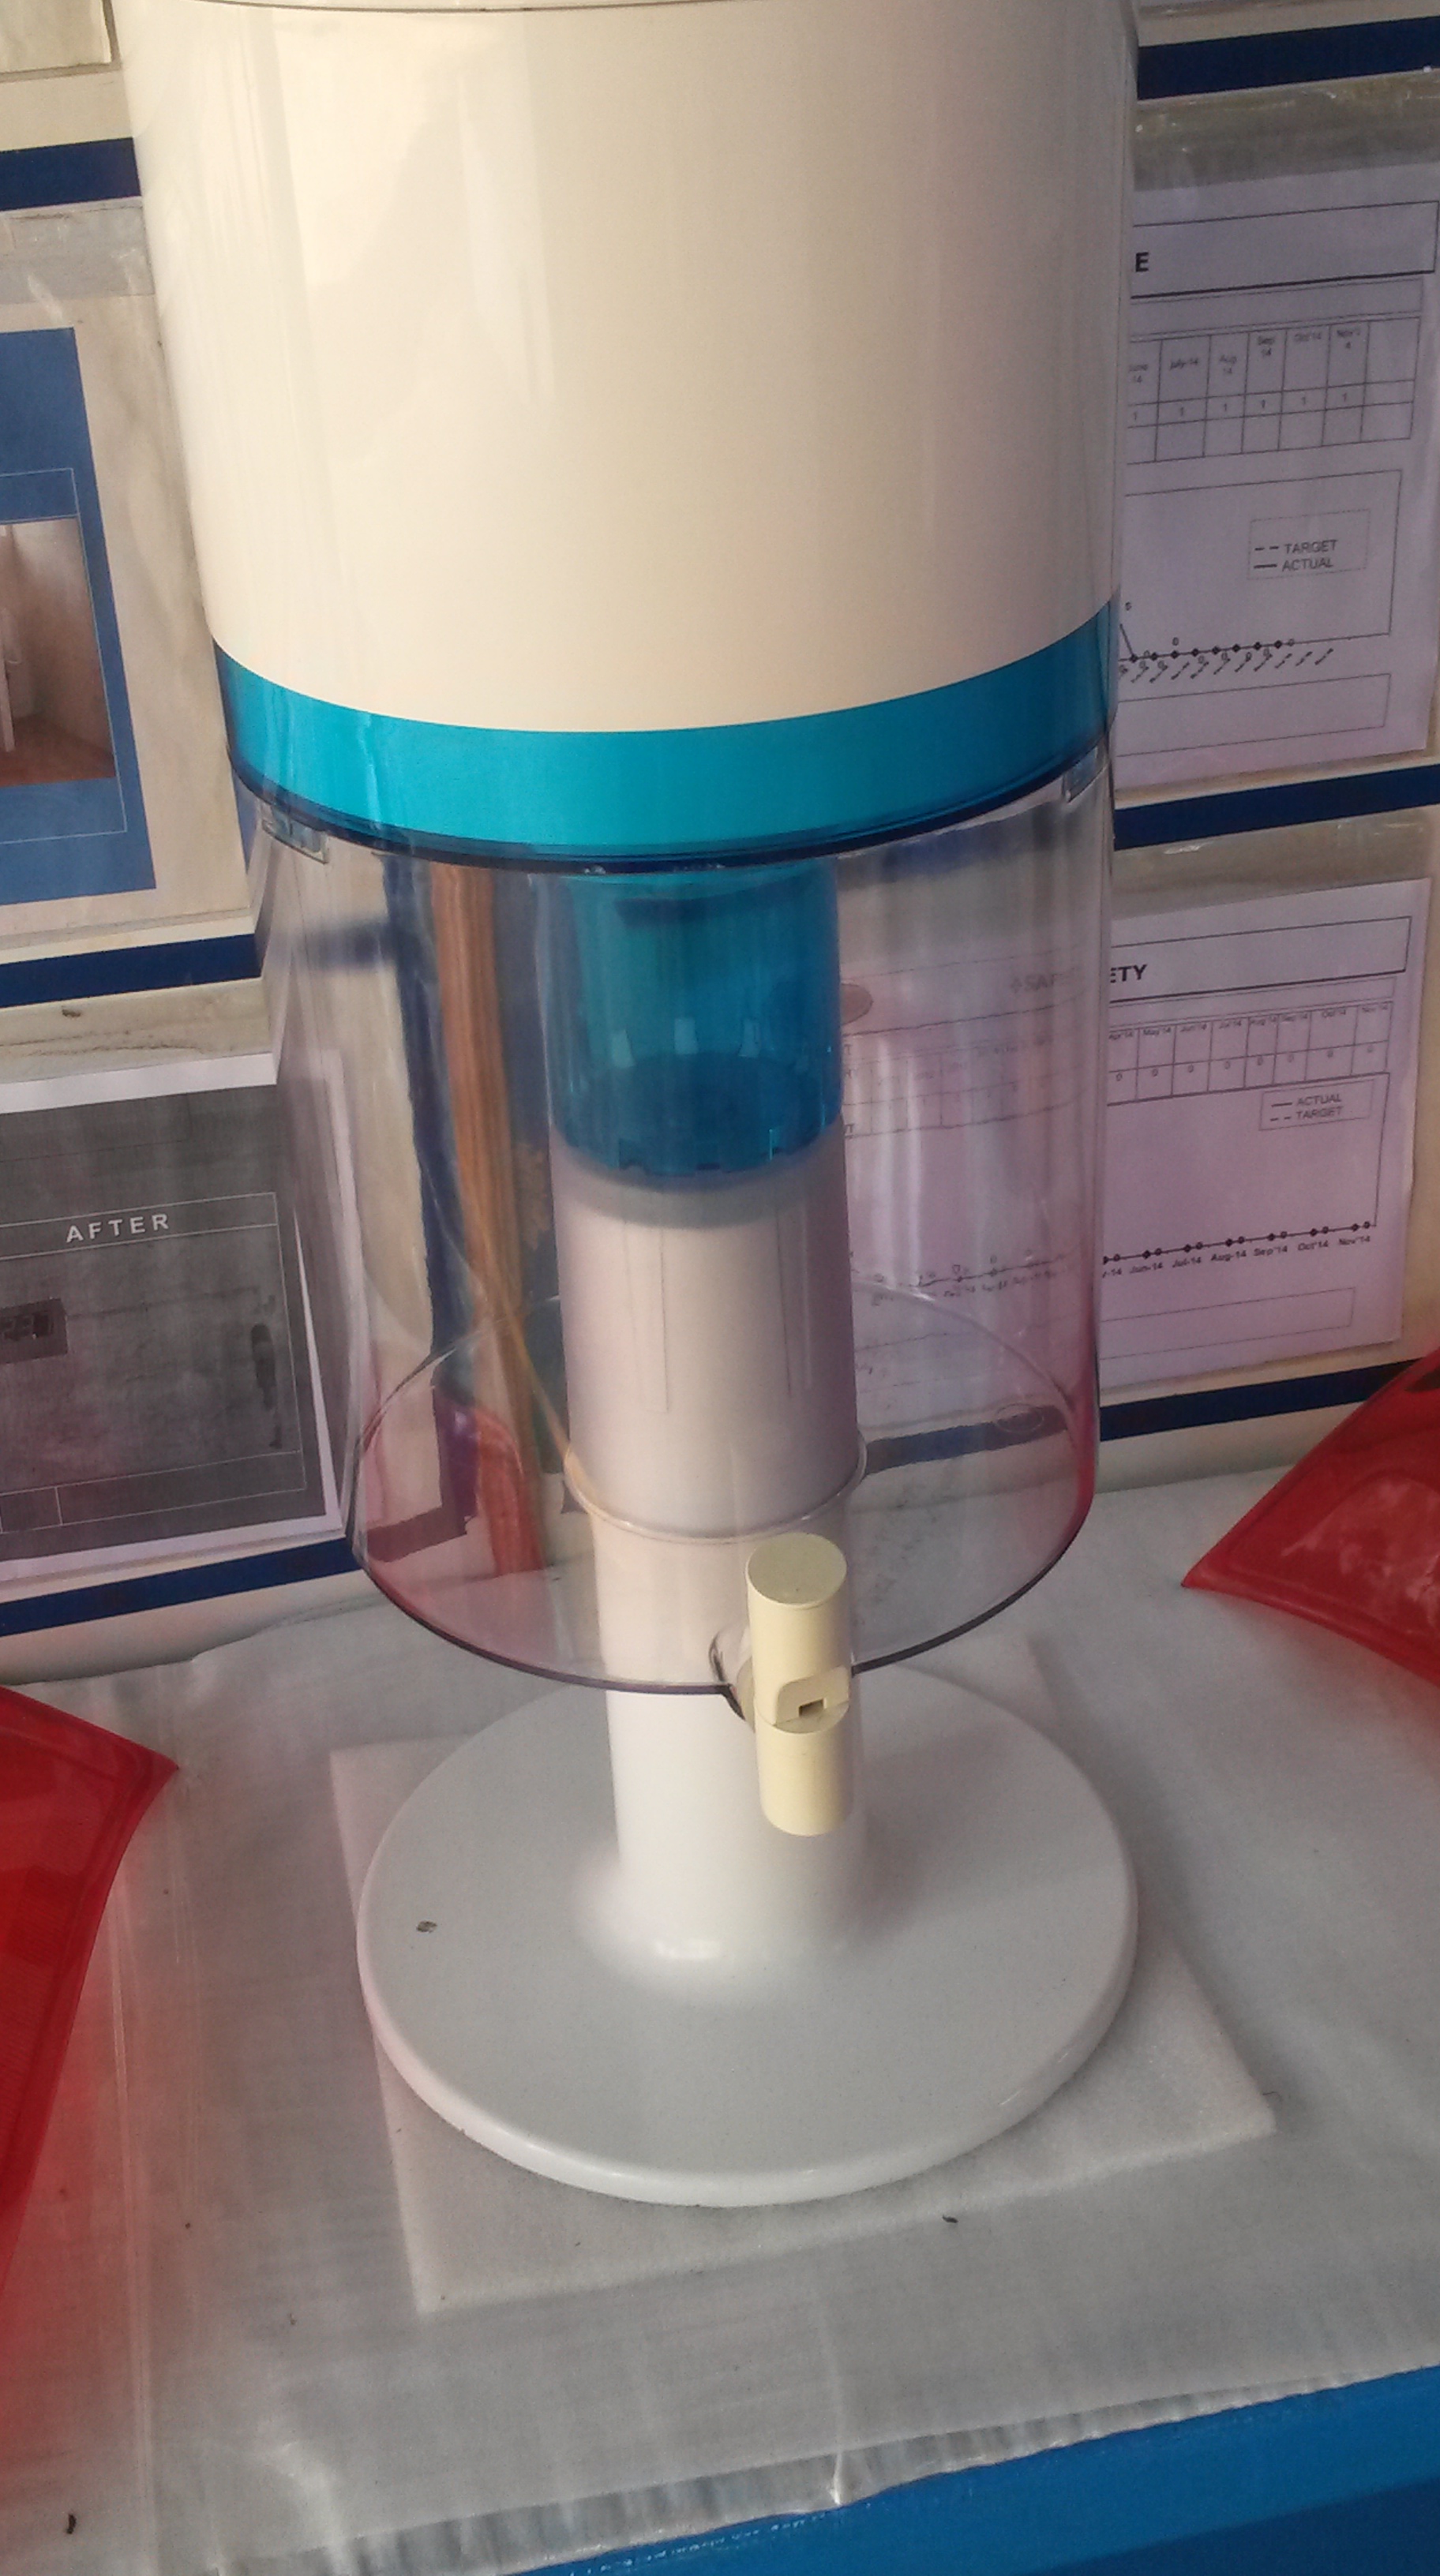
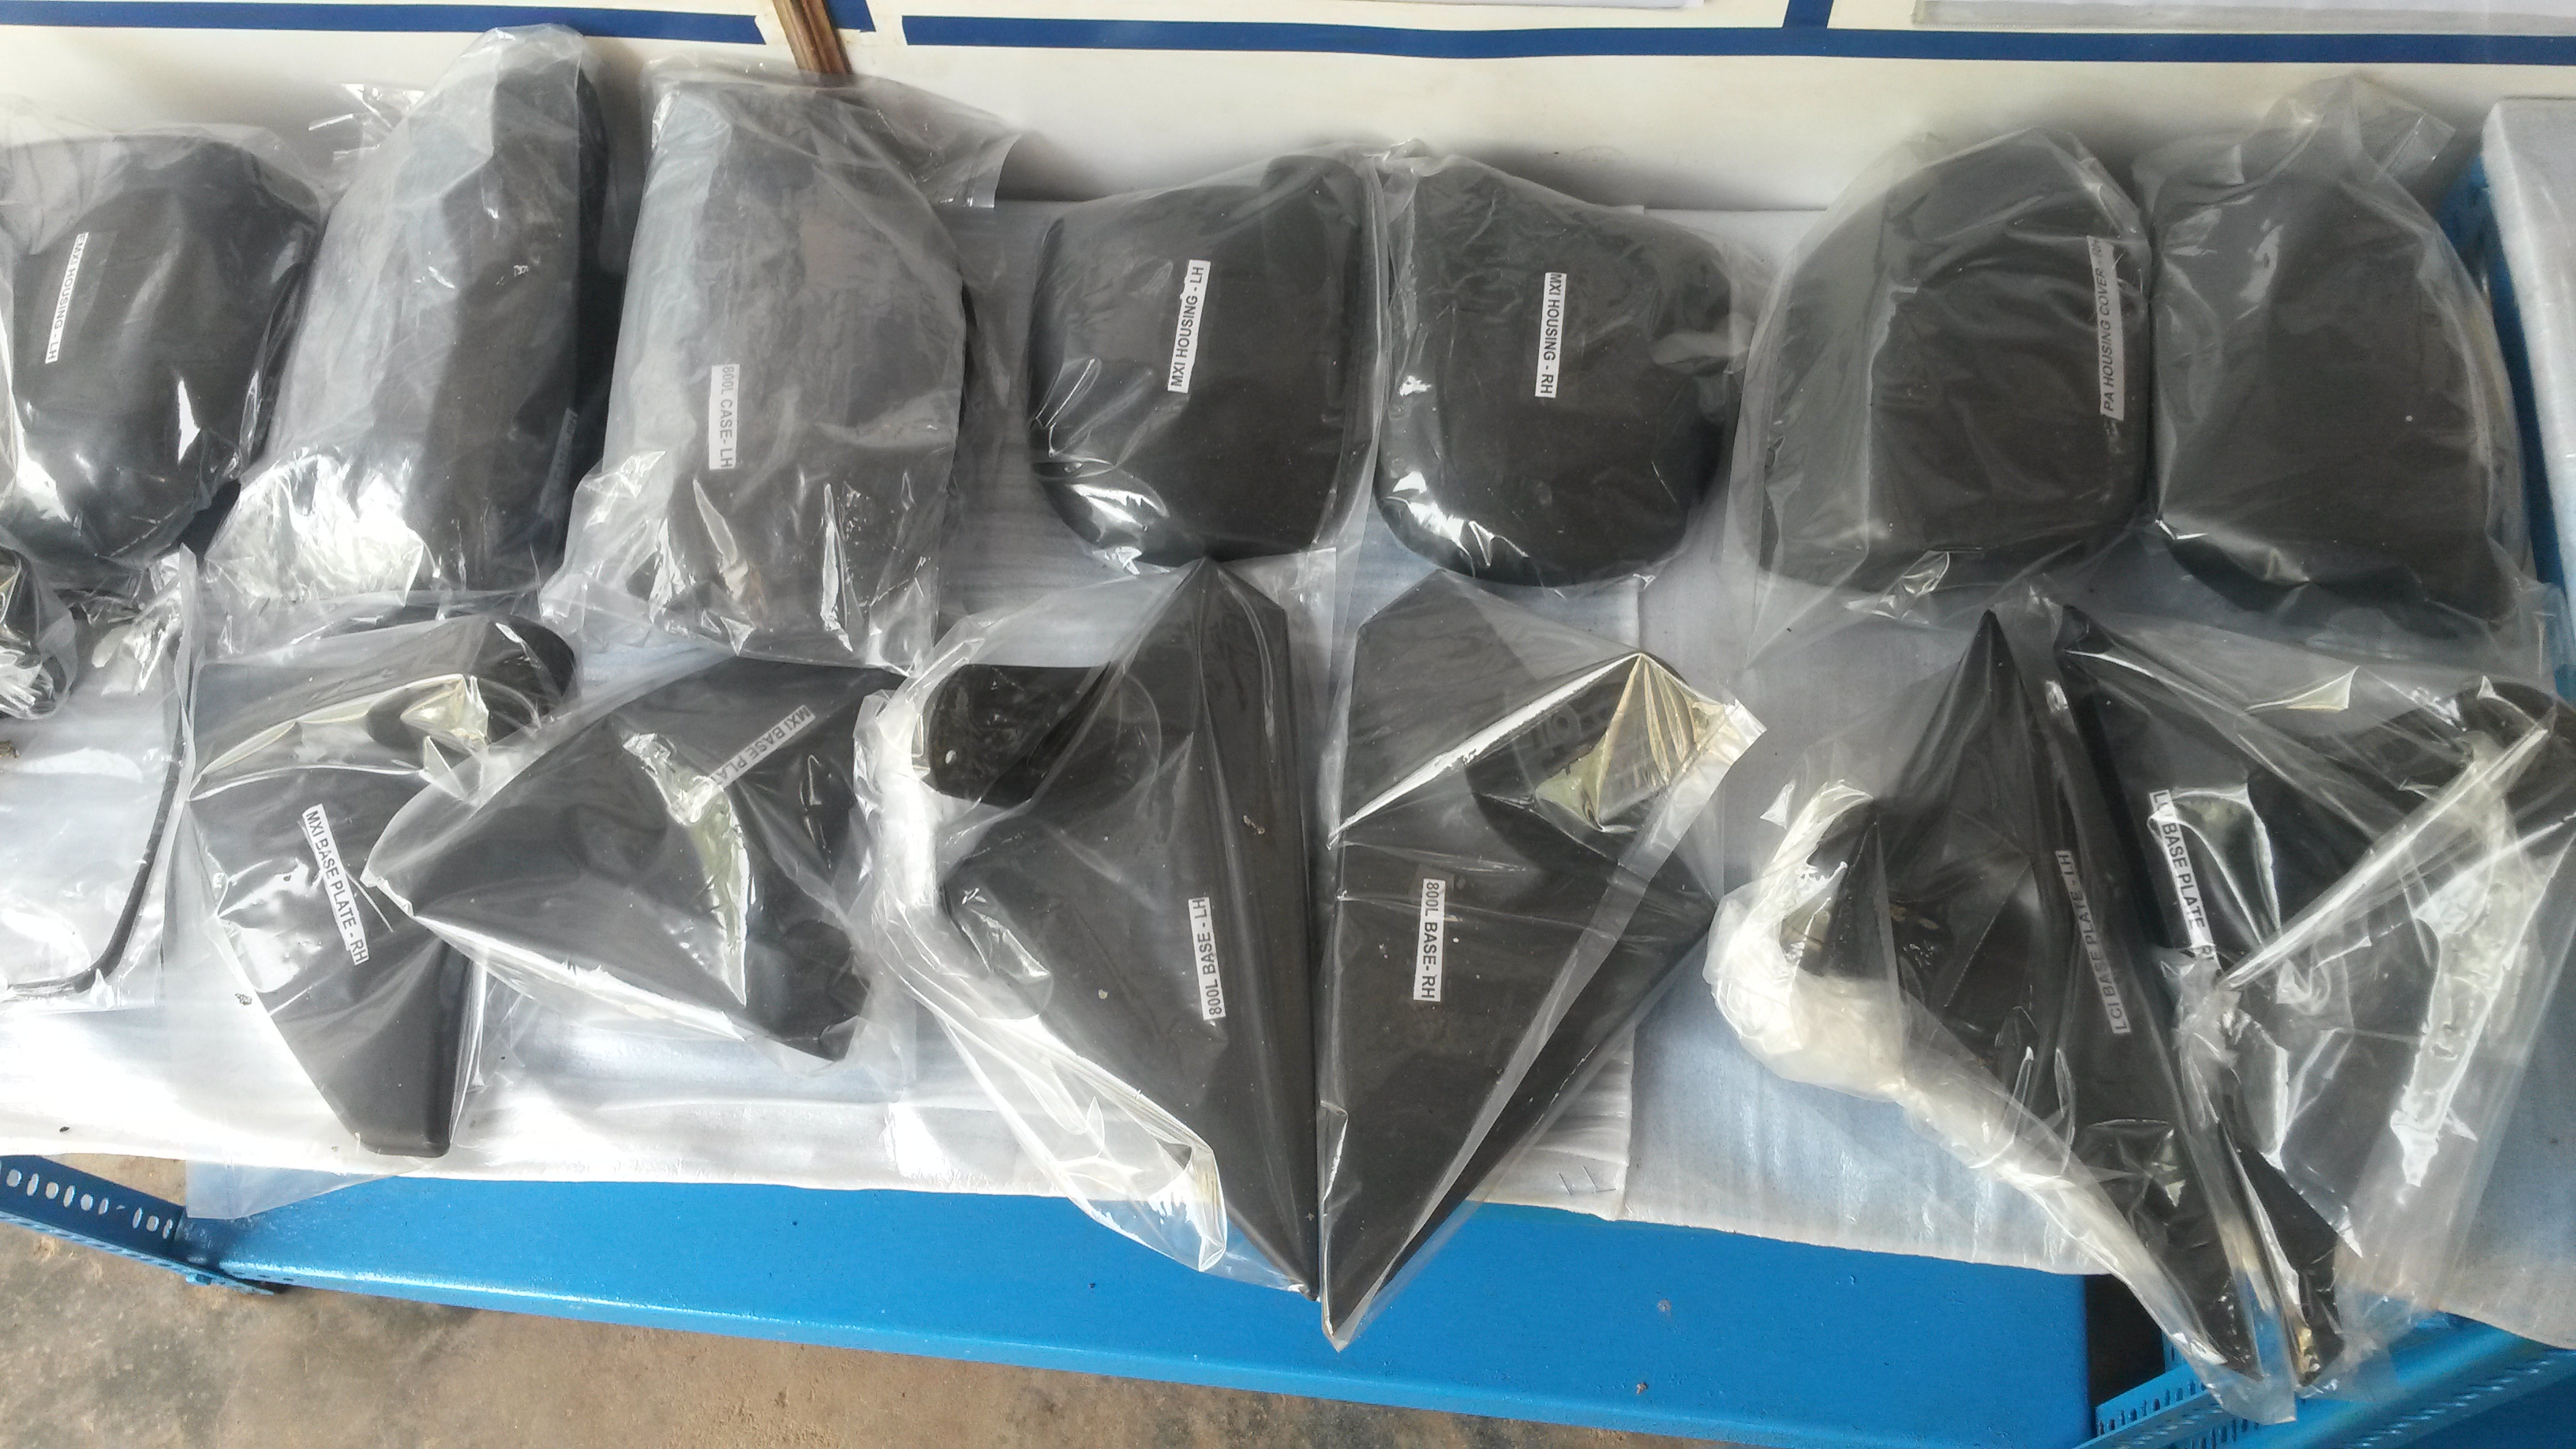
The Finished Product:
After cooling, the product is packaged and prepared for delivery to the various industries in which they are used. Some of the products made in the factory I visited are side- view mirror holders, the body of water heaters and the body of water filters, as shown below.