I visited a factory that manufactures copper wires and the manufacturing process is detailed below. Enjoy reading!
Step 1: The Raw Material
Cables start of as an 8mm (diameter) copper rod. Copper is cost effective and an excellent conductor of electricity.
Step 2: Reducing the diameter of the wire
While cables are thick, they are actually made by winding many smaller wires together, instead of one thick wire. These are called multi-stranded wires, and make the cable more flexible. Furthermore, multi-stranded wires are better conductors than a single thicker wire because the individual wires have greater surface area. They also provide higher resistance to “metal fatigue”, which is when the material is weakened due to fluctuations in the power load flowing through it.
Therefore, the copper wire’s diameter is reduced progressively from 8mm to 4mm to 1.4mm and finally 0.5/0.4/0.3 or 0.1 mm. It is done progressively, as the wire would break if all the required force was applied all at once.
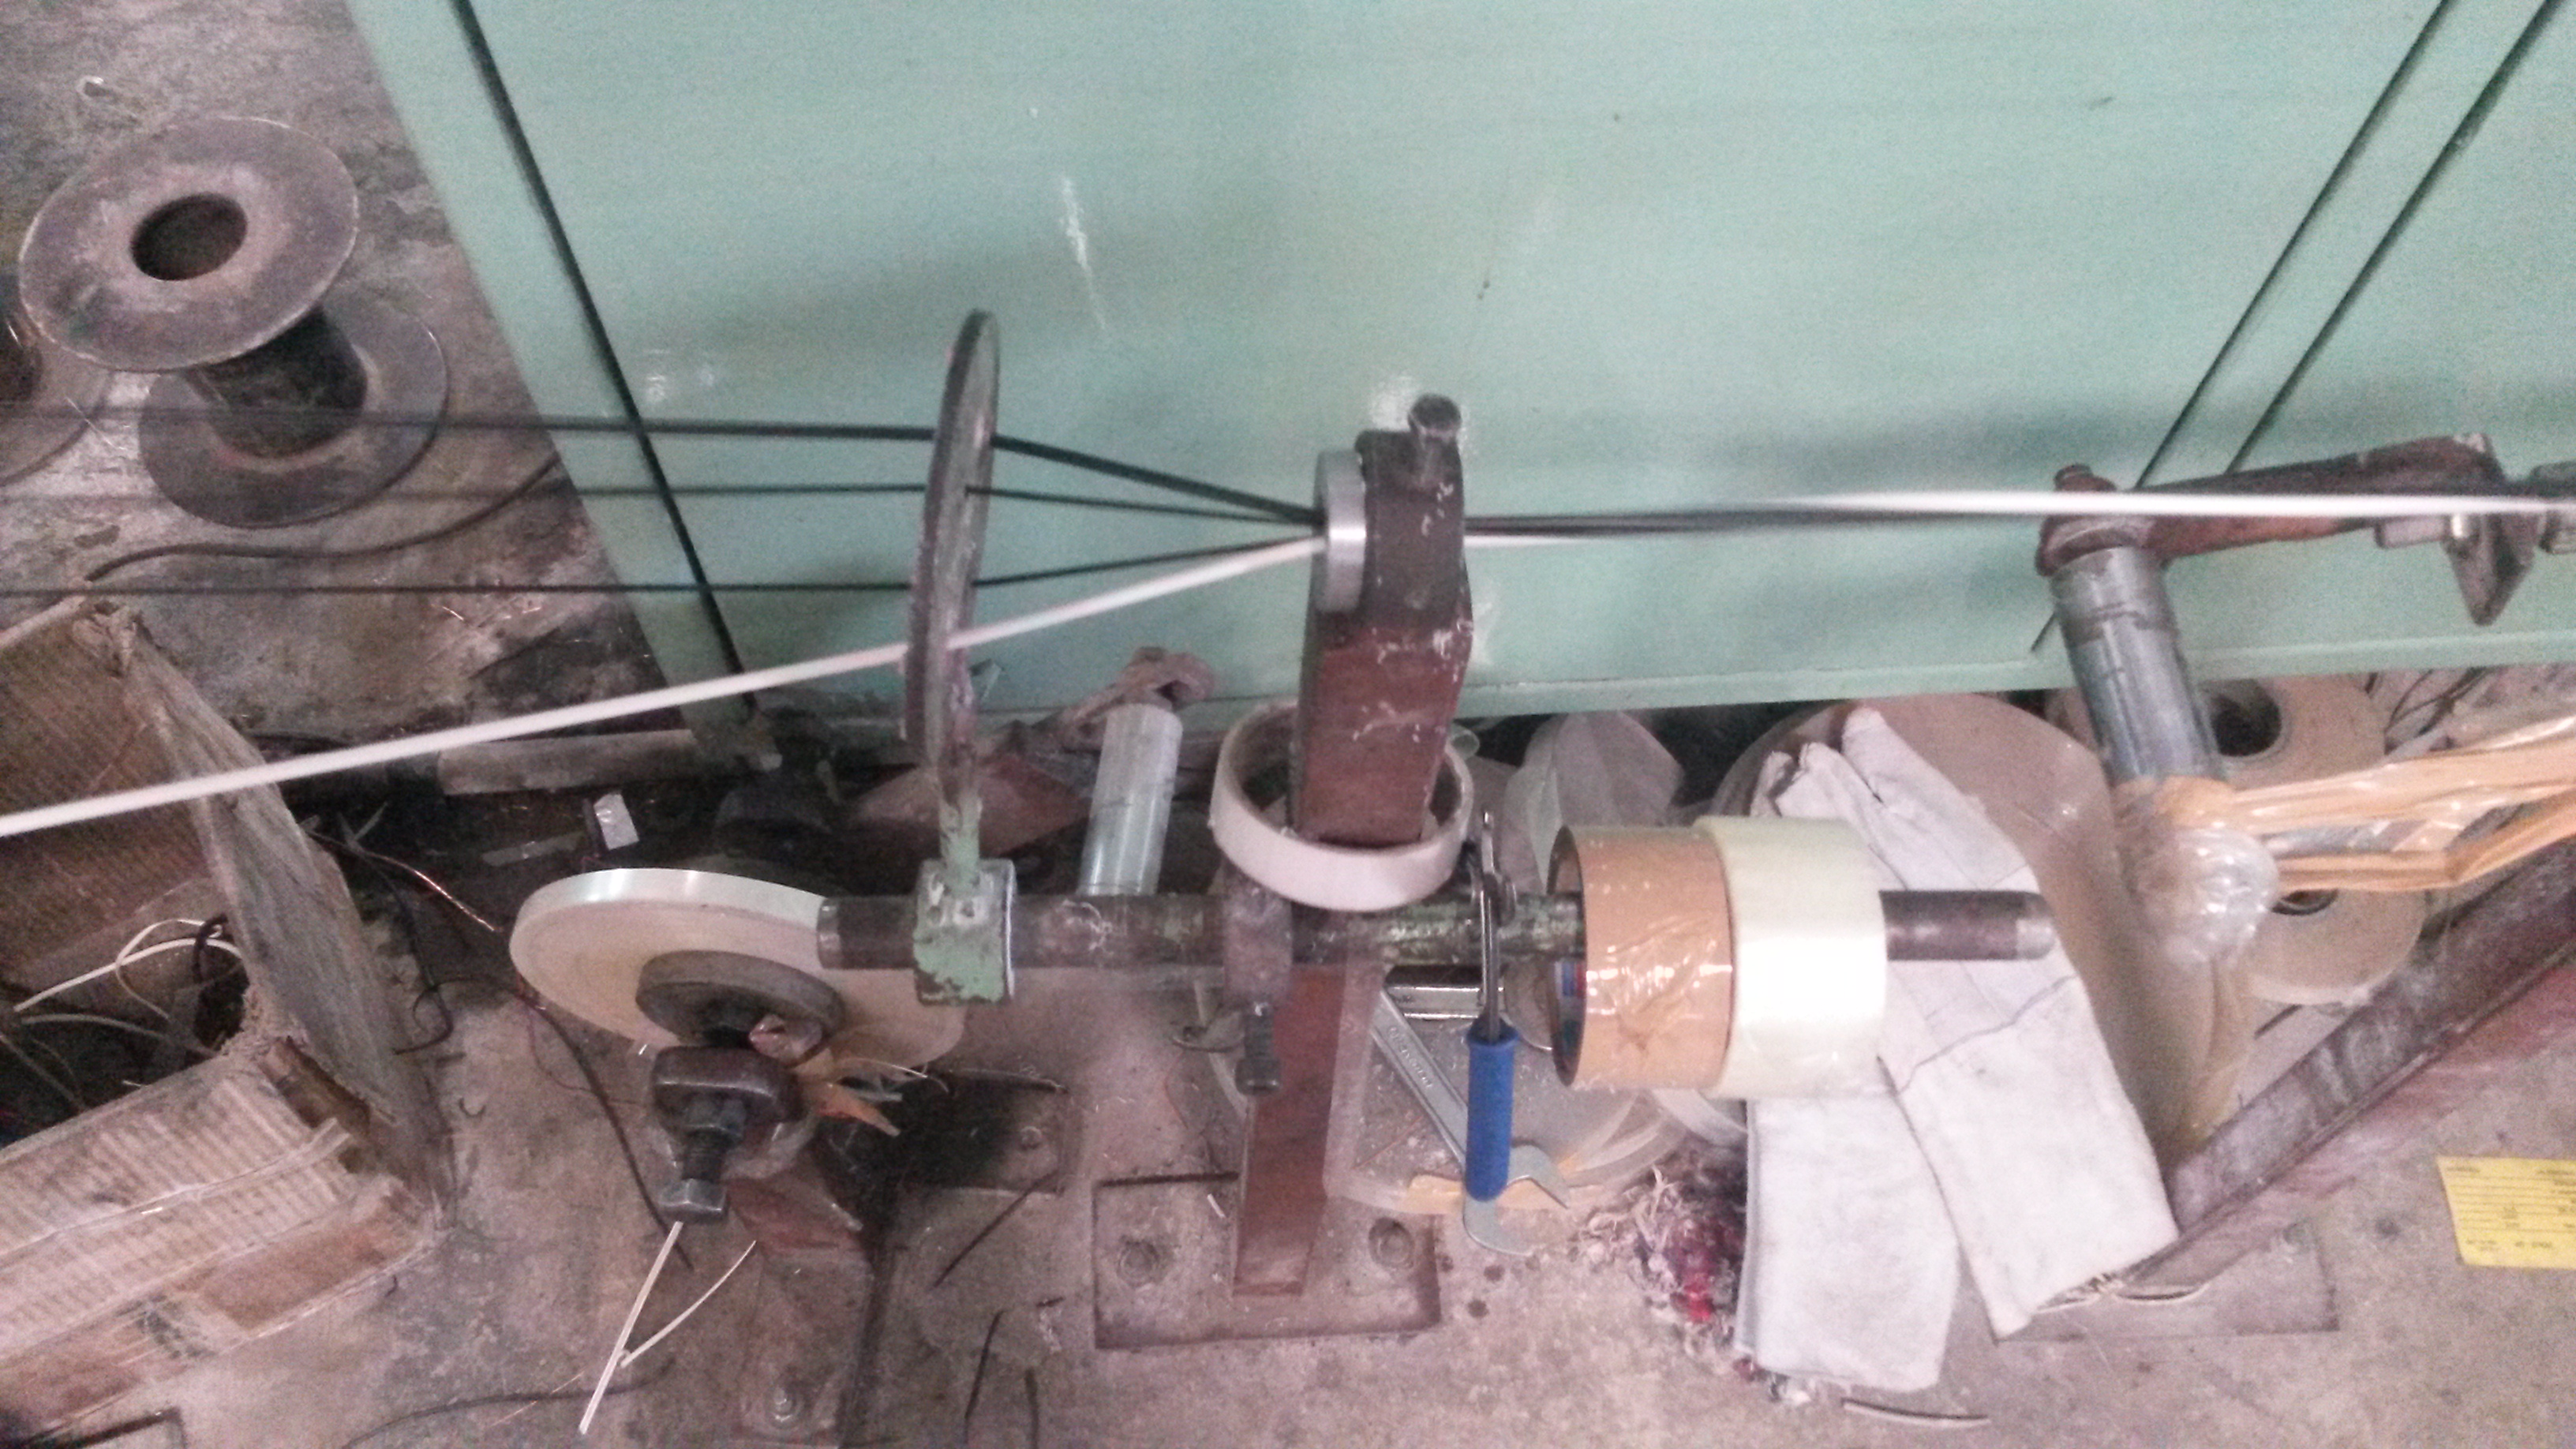
This is done by simply squeezing the wire through a hole of the required diameter, at a slow pace. This generates a substantial amount of heat, so the wire is made to flow through a coolant (the white liquid) and the thinner wire is then wound. These are illustrated by the images below.
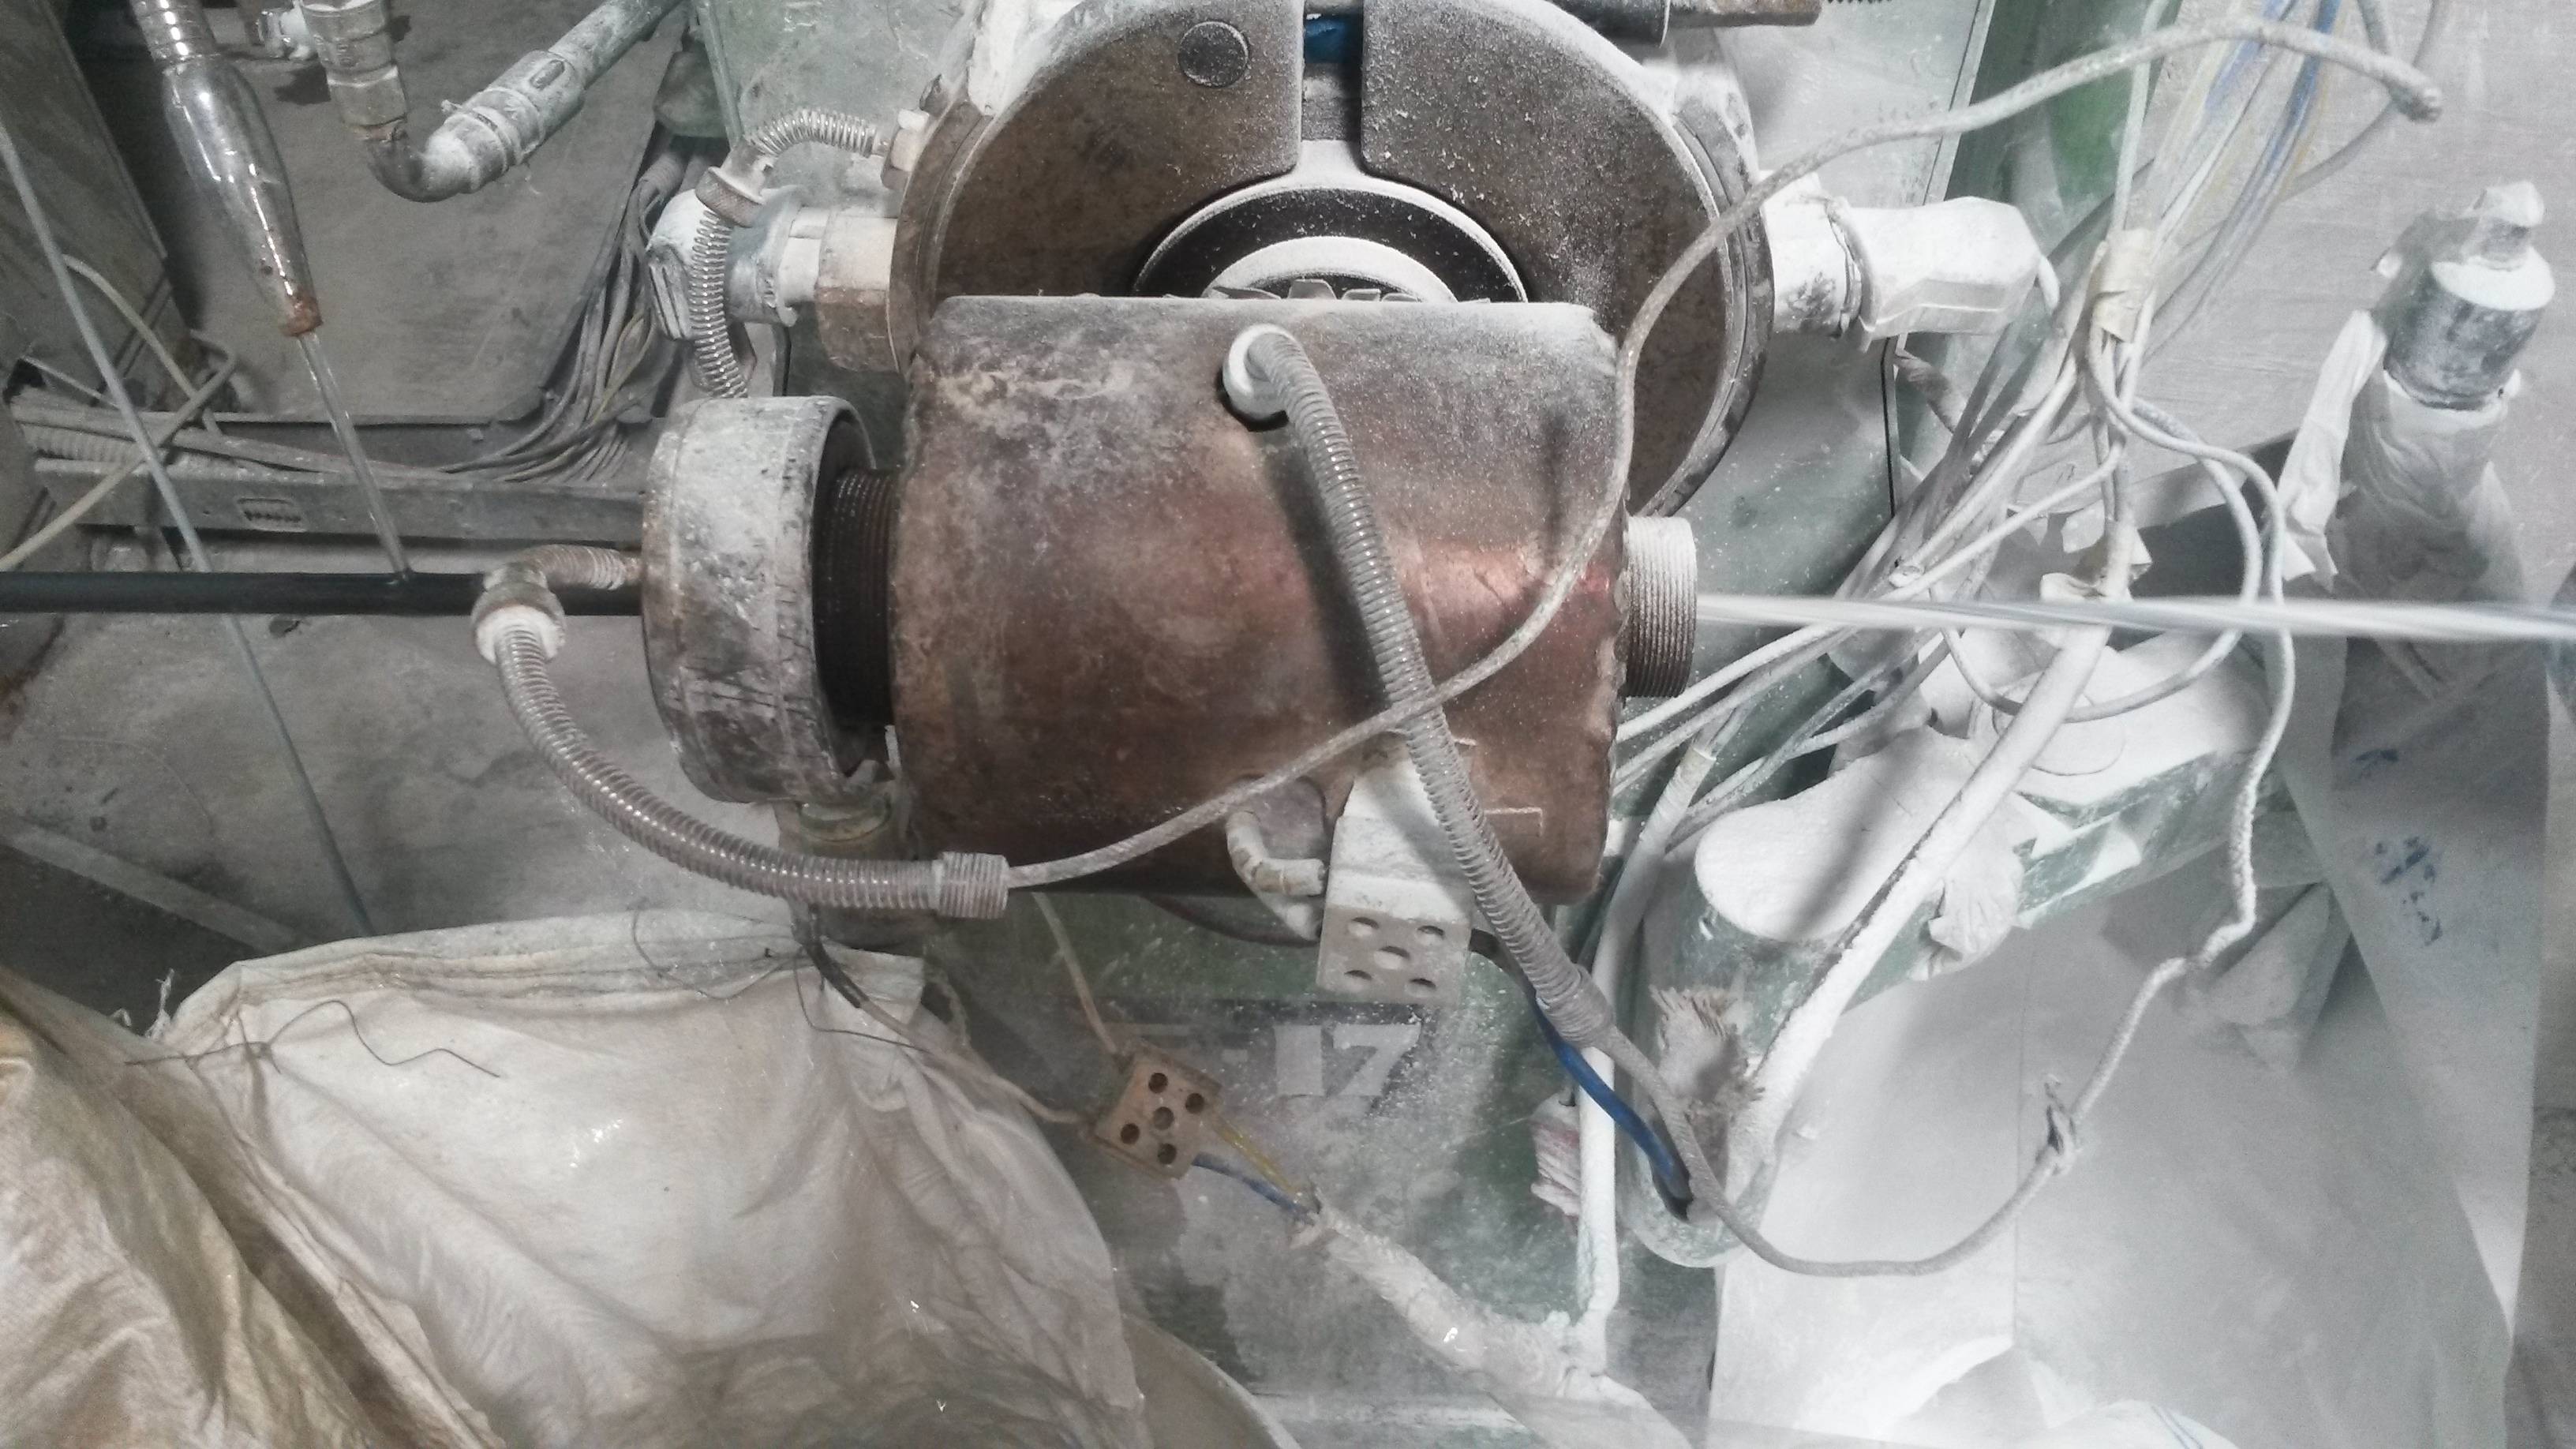
Step 3: Annealing:
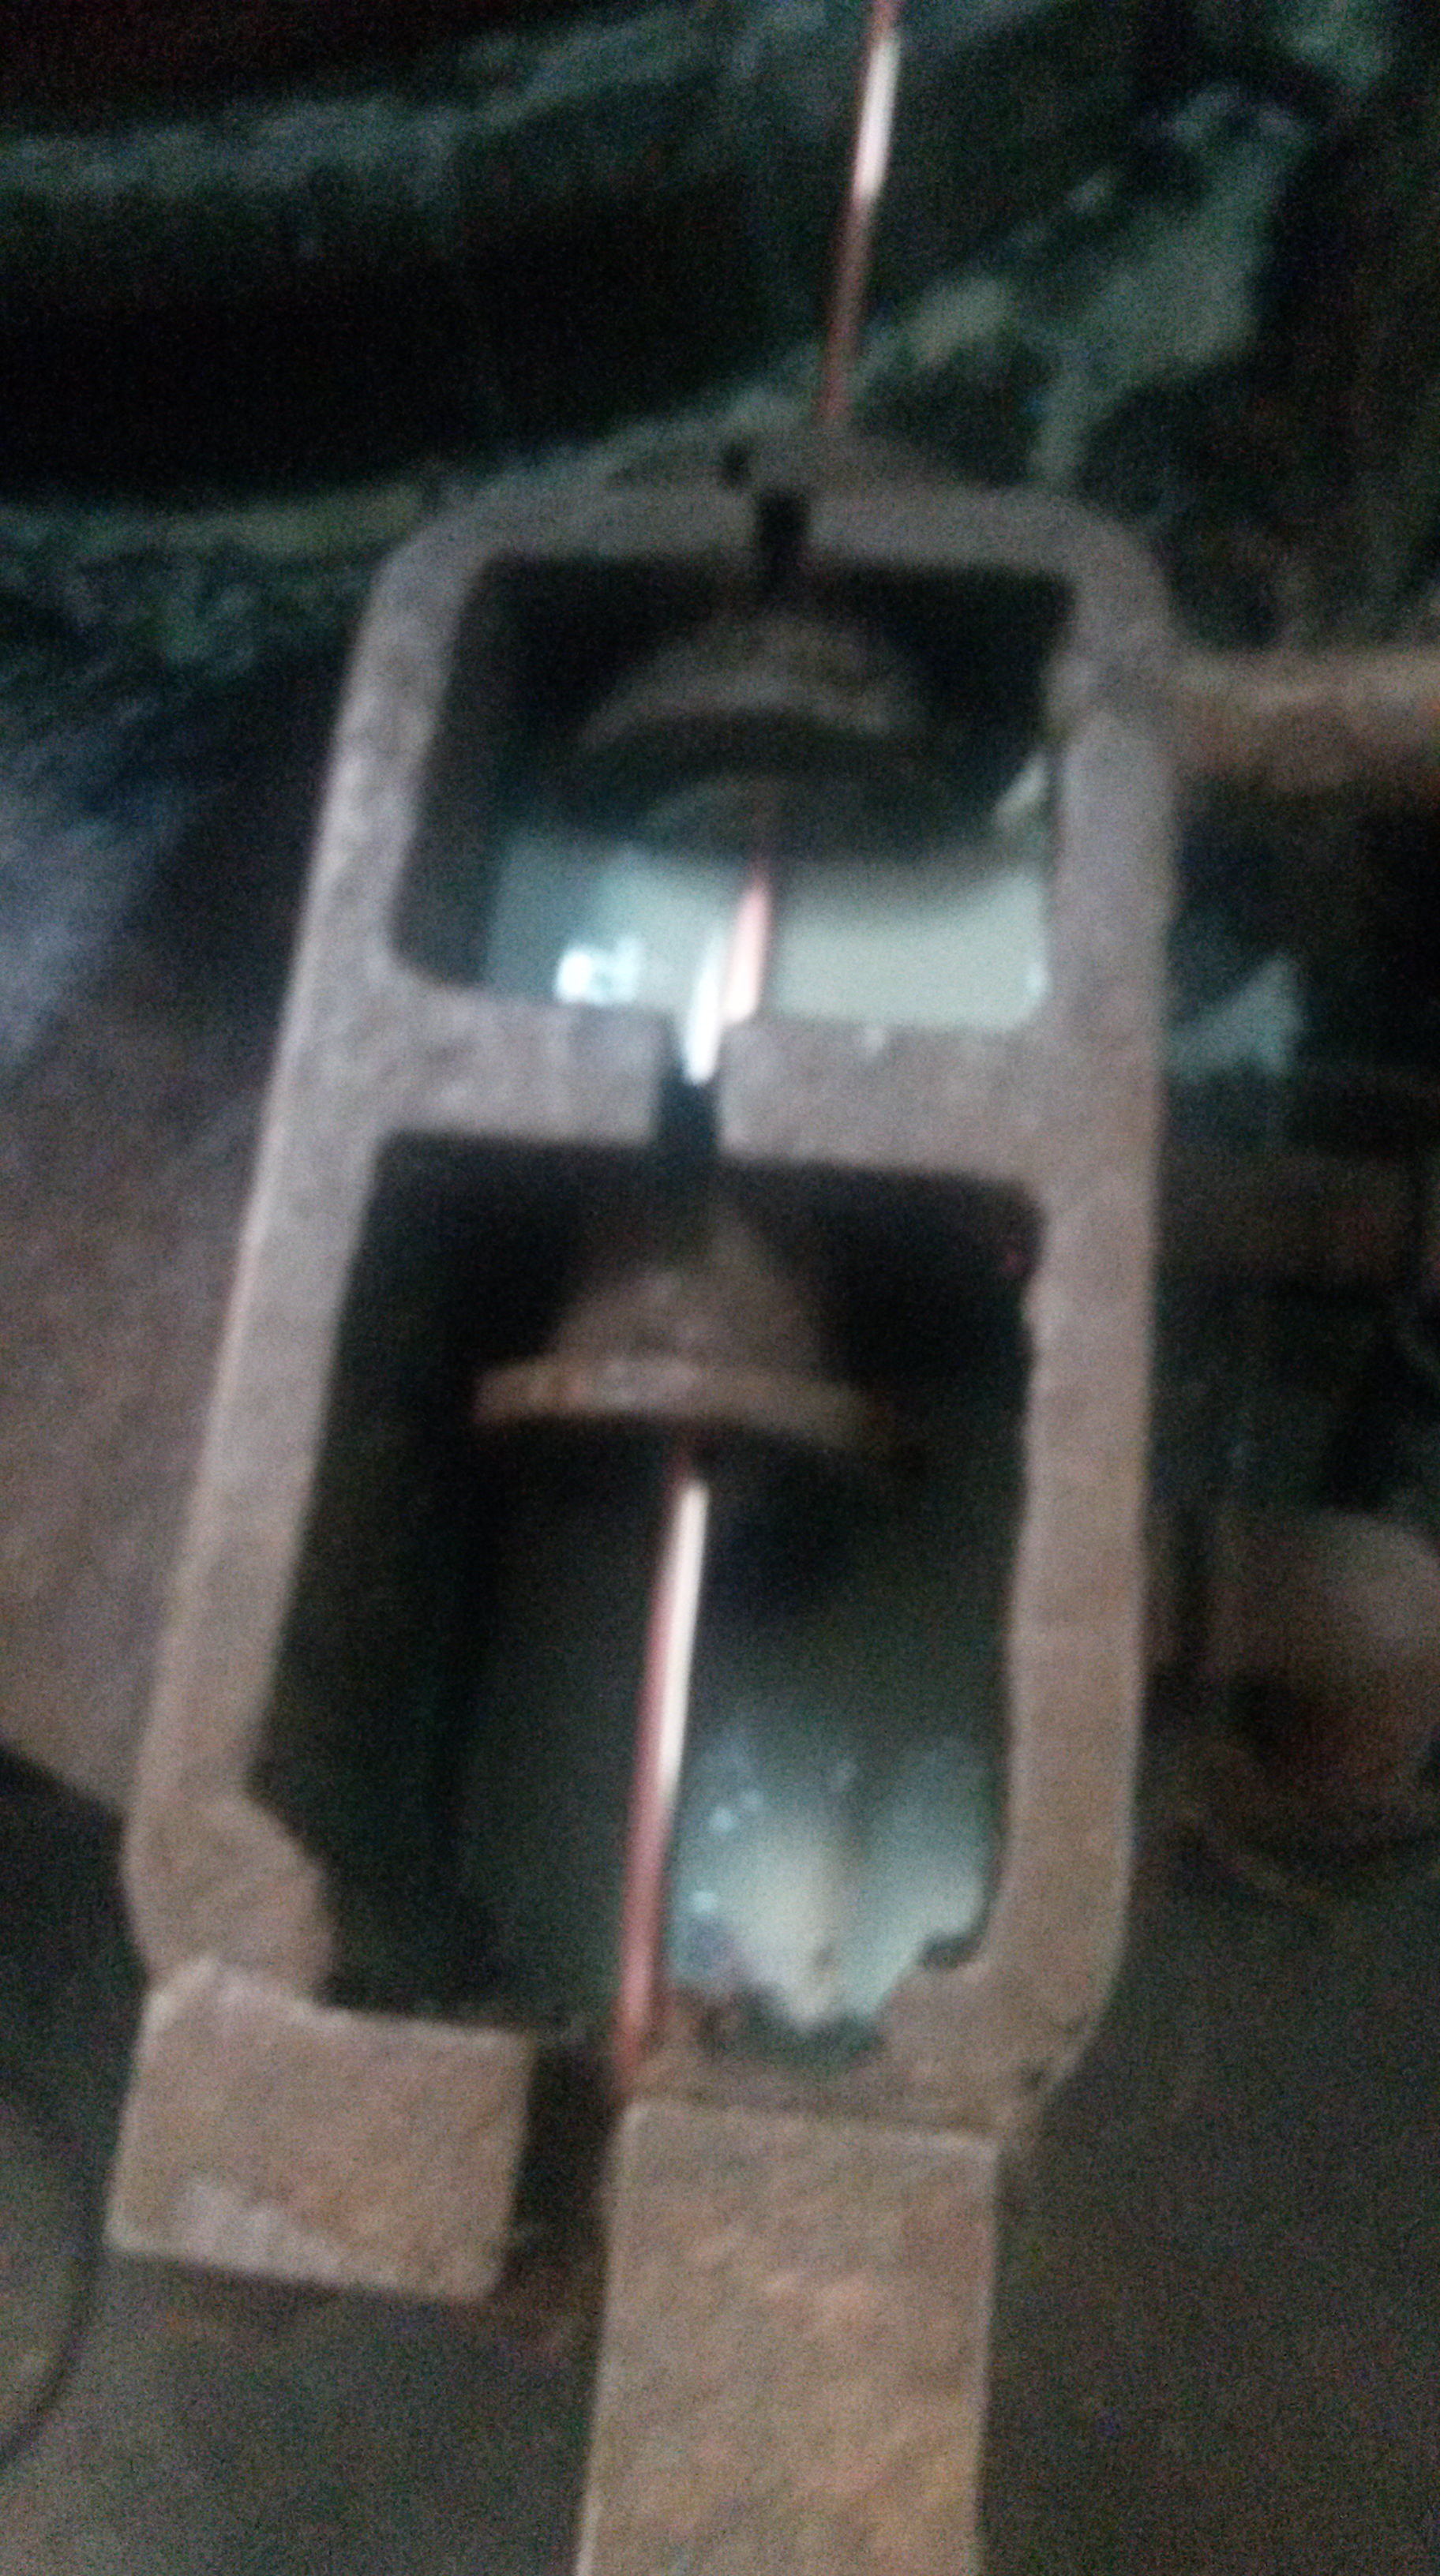
To further increase the flexibility the copper wire, it undergoes a process called annealing, where it is heated to about 400 degrees Celsius under controlled pressure for about 4 to 5 hours in the container shown below.

Annealing increases the copper’s ductility (its ability to be stretched into a wire) as the heat increases the kinetic energy of the atoms, making the material less rigid. The copper is then cooled, which can be done slowly in air, or through “quenching”, where it is cooled quickly in water. Copper retains the properties induced by annealing even when it is quenched unlike other ferrous materials, such as steel which must be cooled slowly for annealing to work.
Step 4: Bunching:
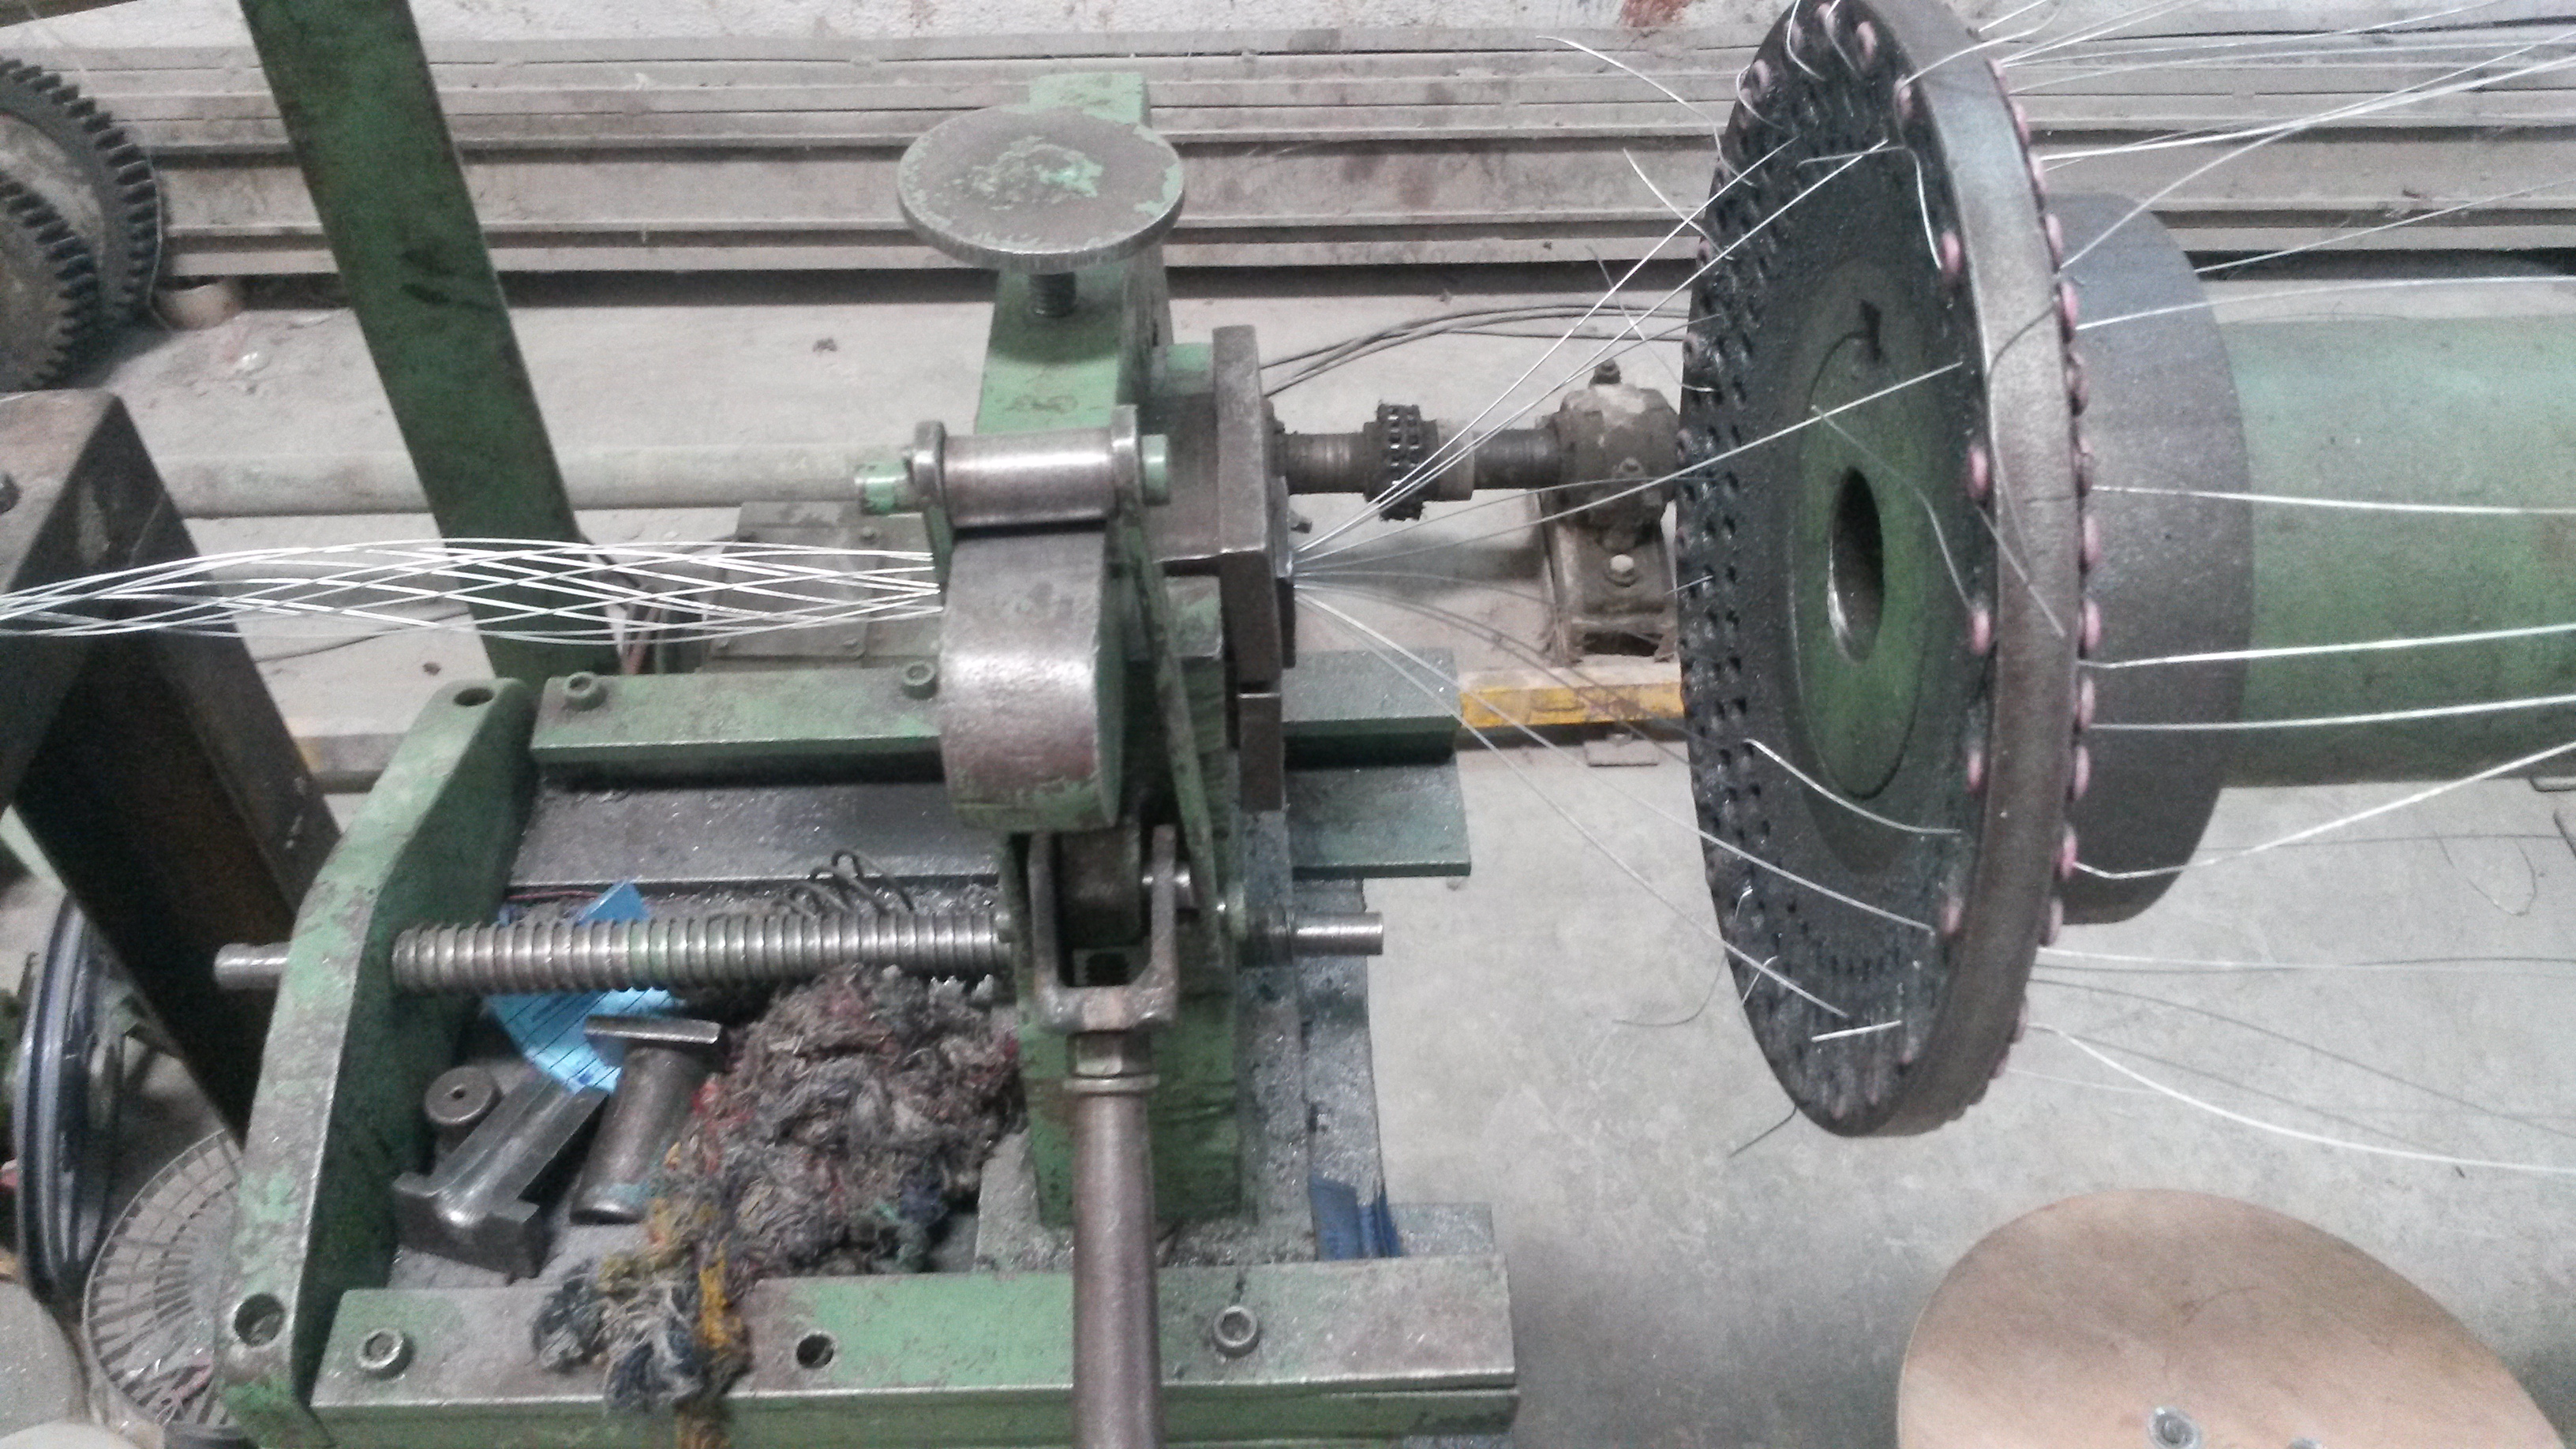
The thin, annealed wires are finally bunched together to create one thick cable by the machine shown in the image below. The machine takes thin wires from several coils and then winds them together. The wound wires are then pushed through a hole which strengthens the bunching to make it permanent.
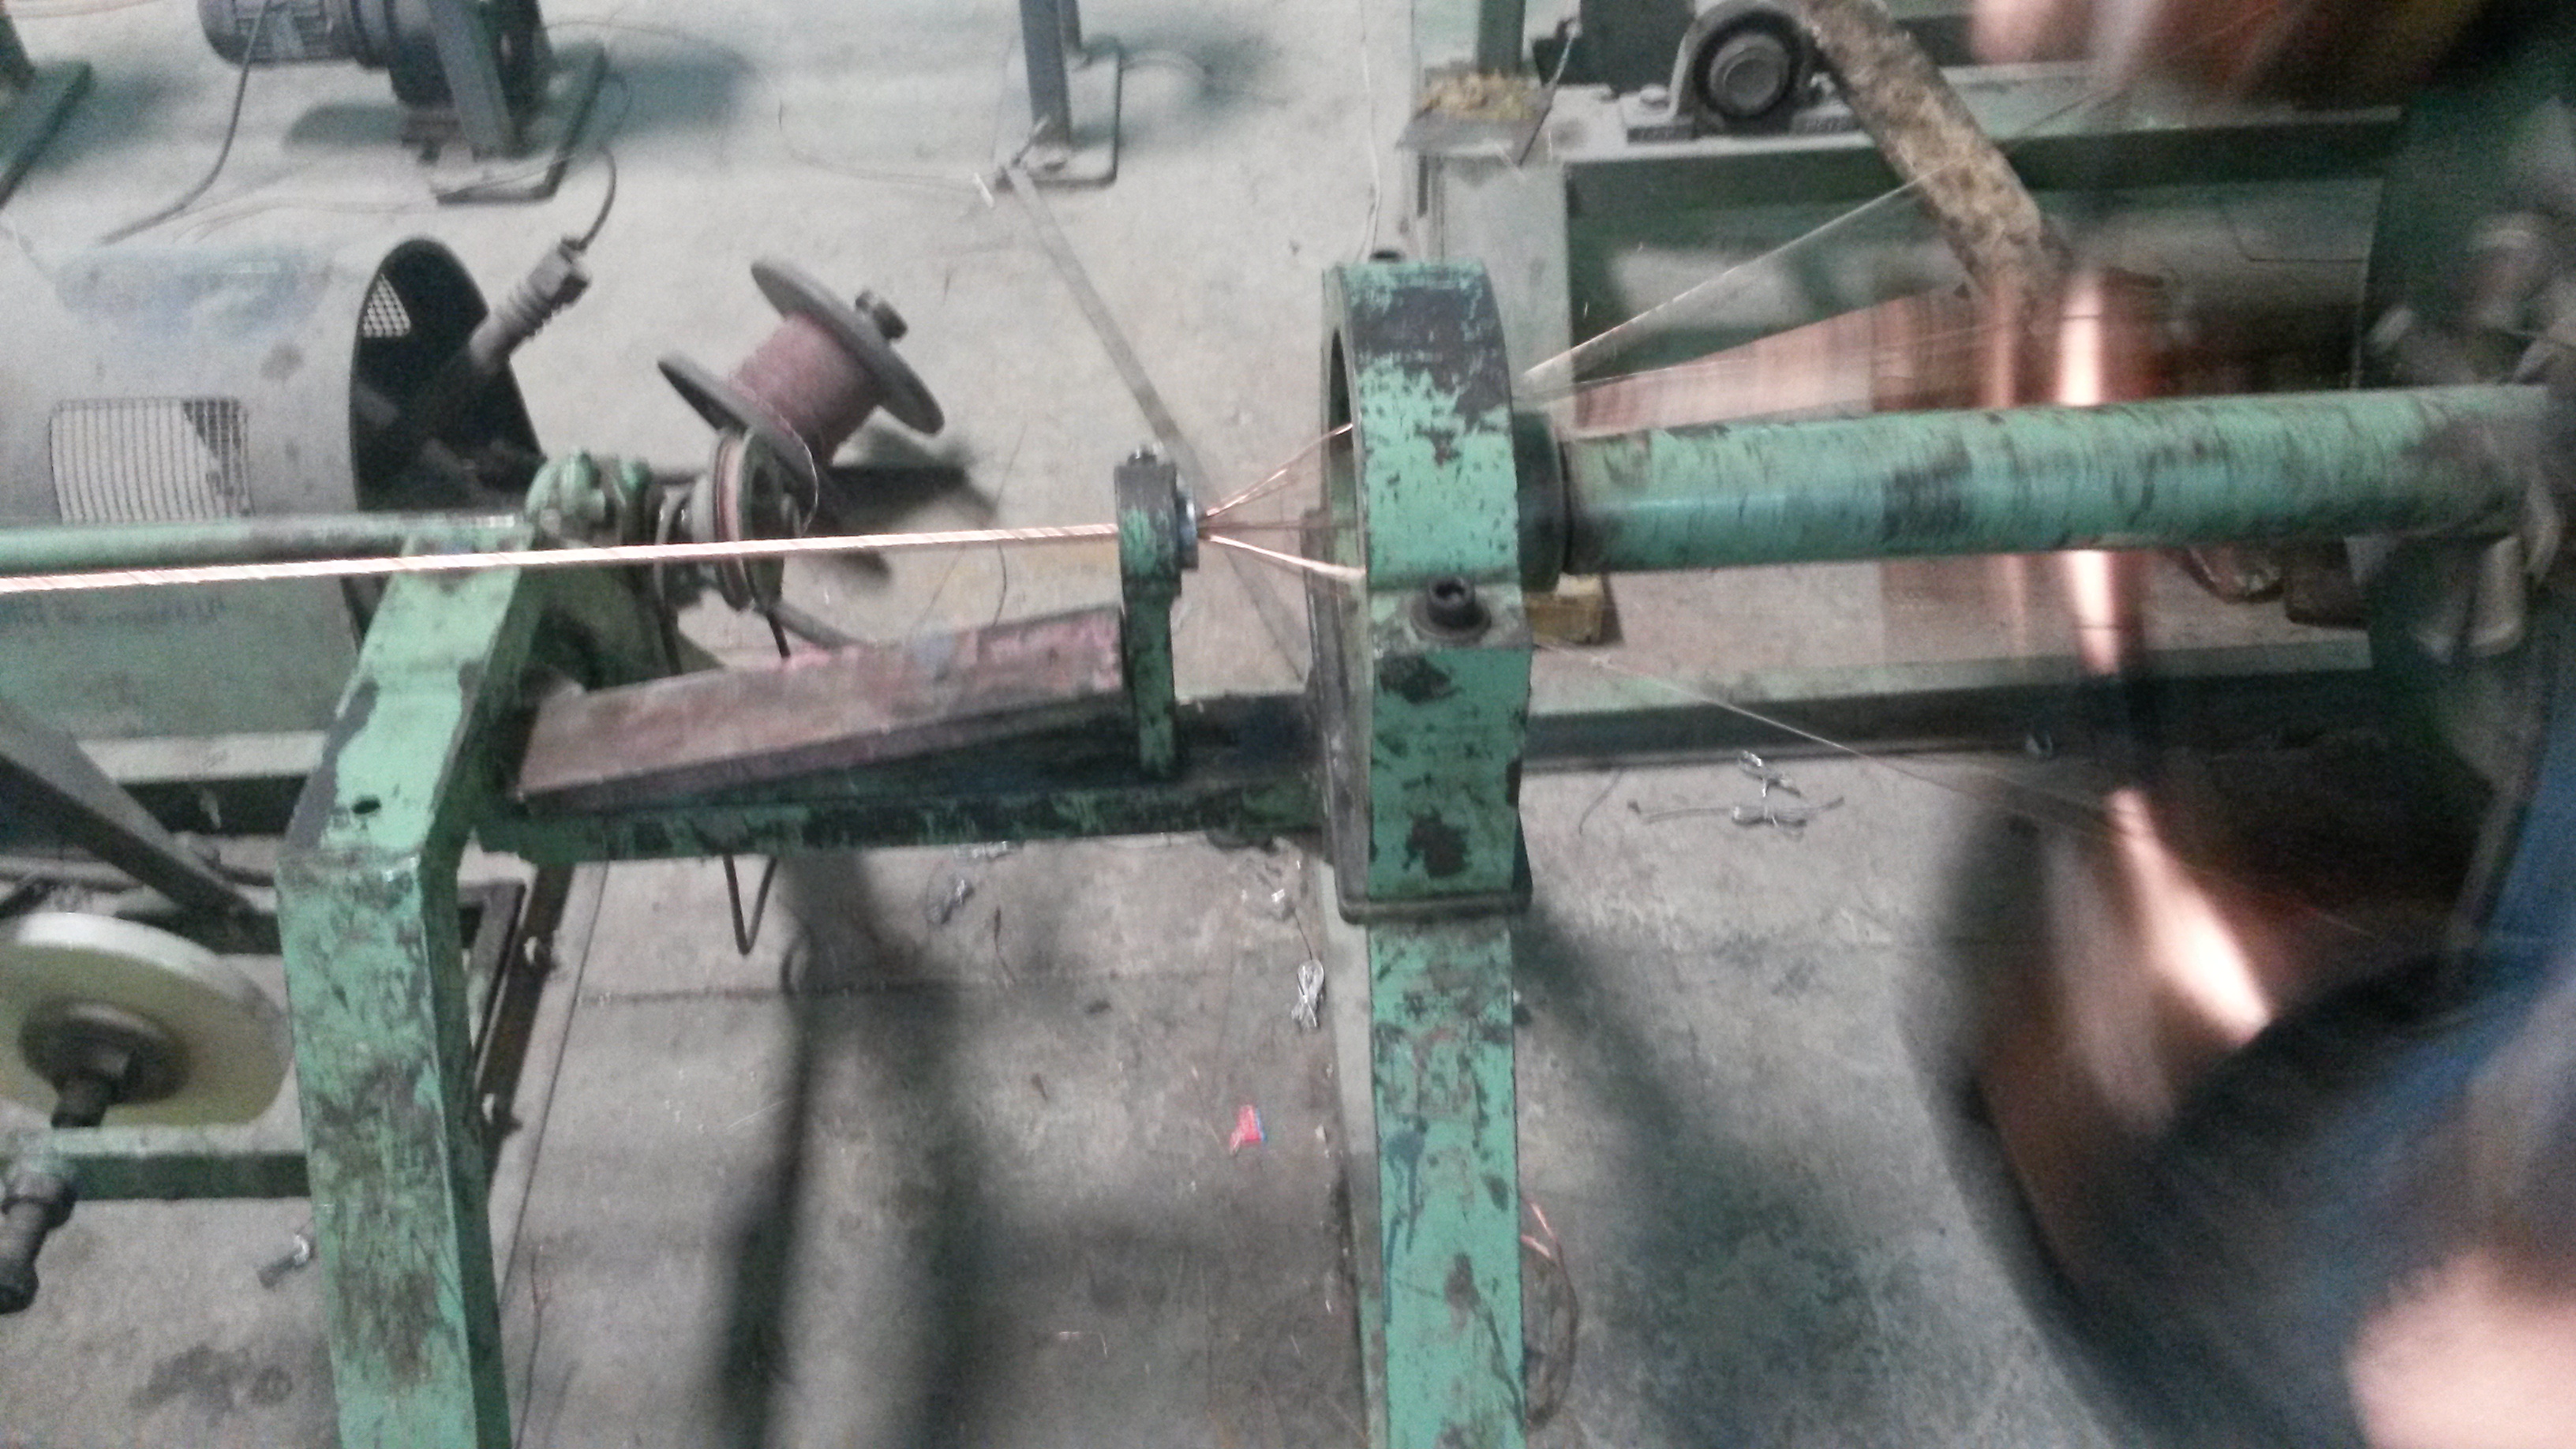
It is essential to have thick cables, as a larger area of cross section results in lower resistance, resulting in the current being carried more efficiently.
Technically:
Resistance = [(resistivity)*(length)] / (area of cross section)
The resistivity of copper is a constant and assuming the length of the cable is also constant, we get:
Resistance ∞ 1/ (area of cross section), i.e., the resistance of the wire is inversely proportionate to the area of cross section.
This YouTube video shows a wire bunching machine:
Step 5: Insulation and Extrusion:
Another essential property of cables is insulation, so that they are safe to use.
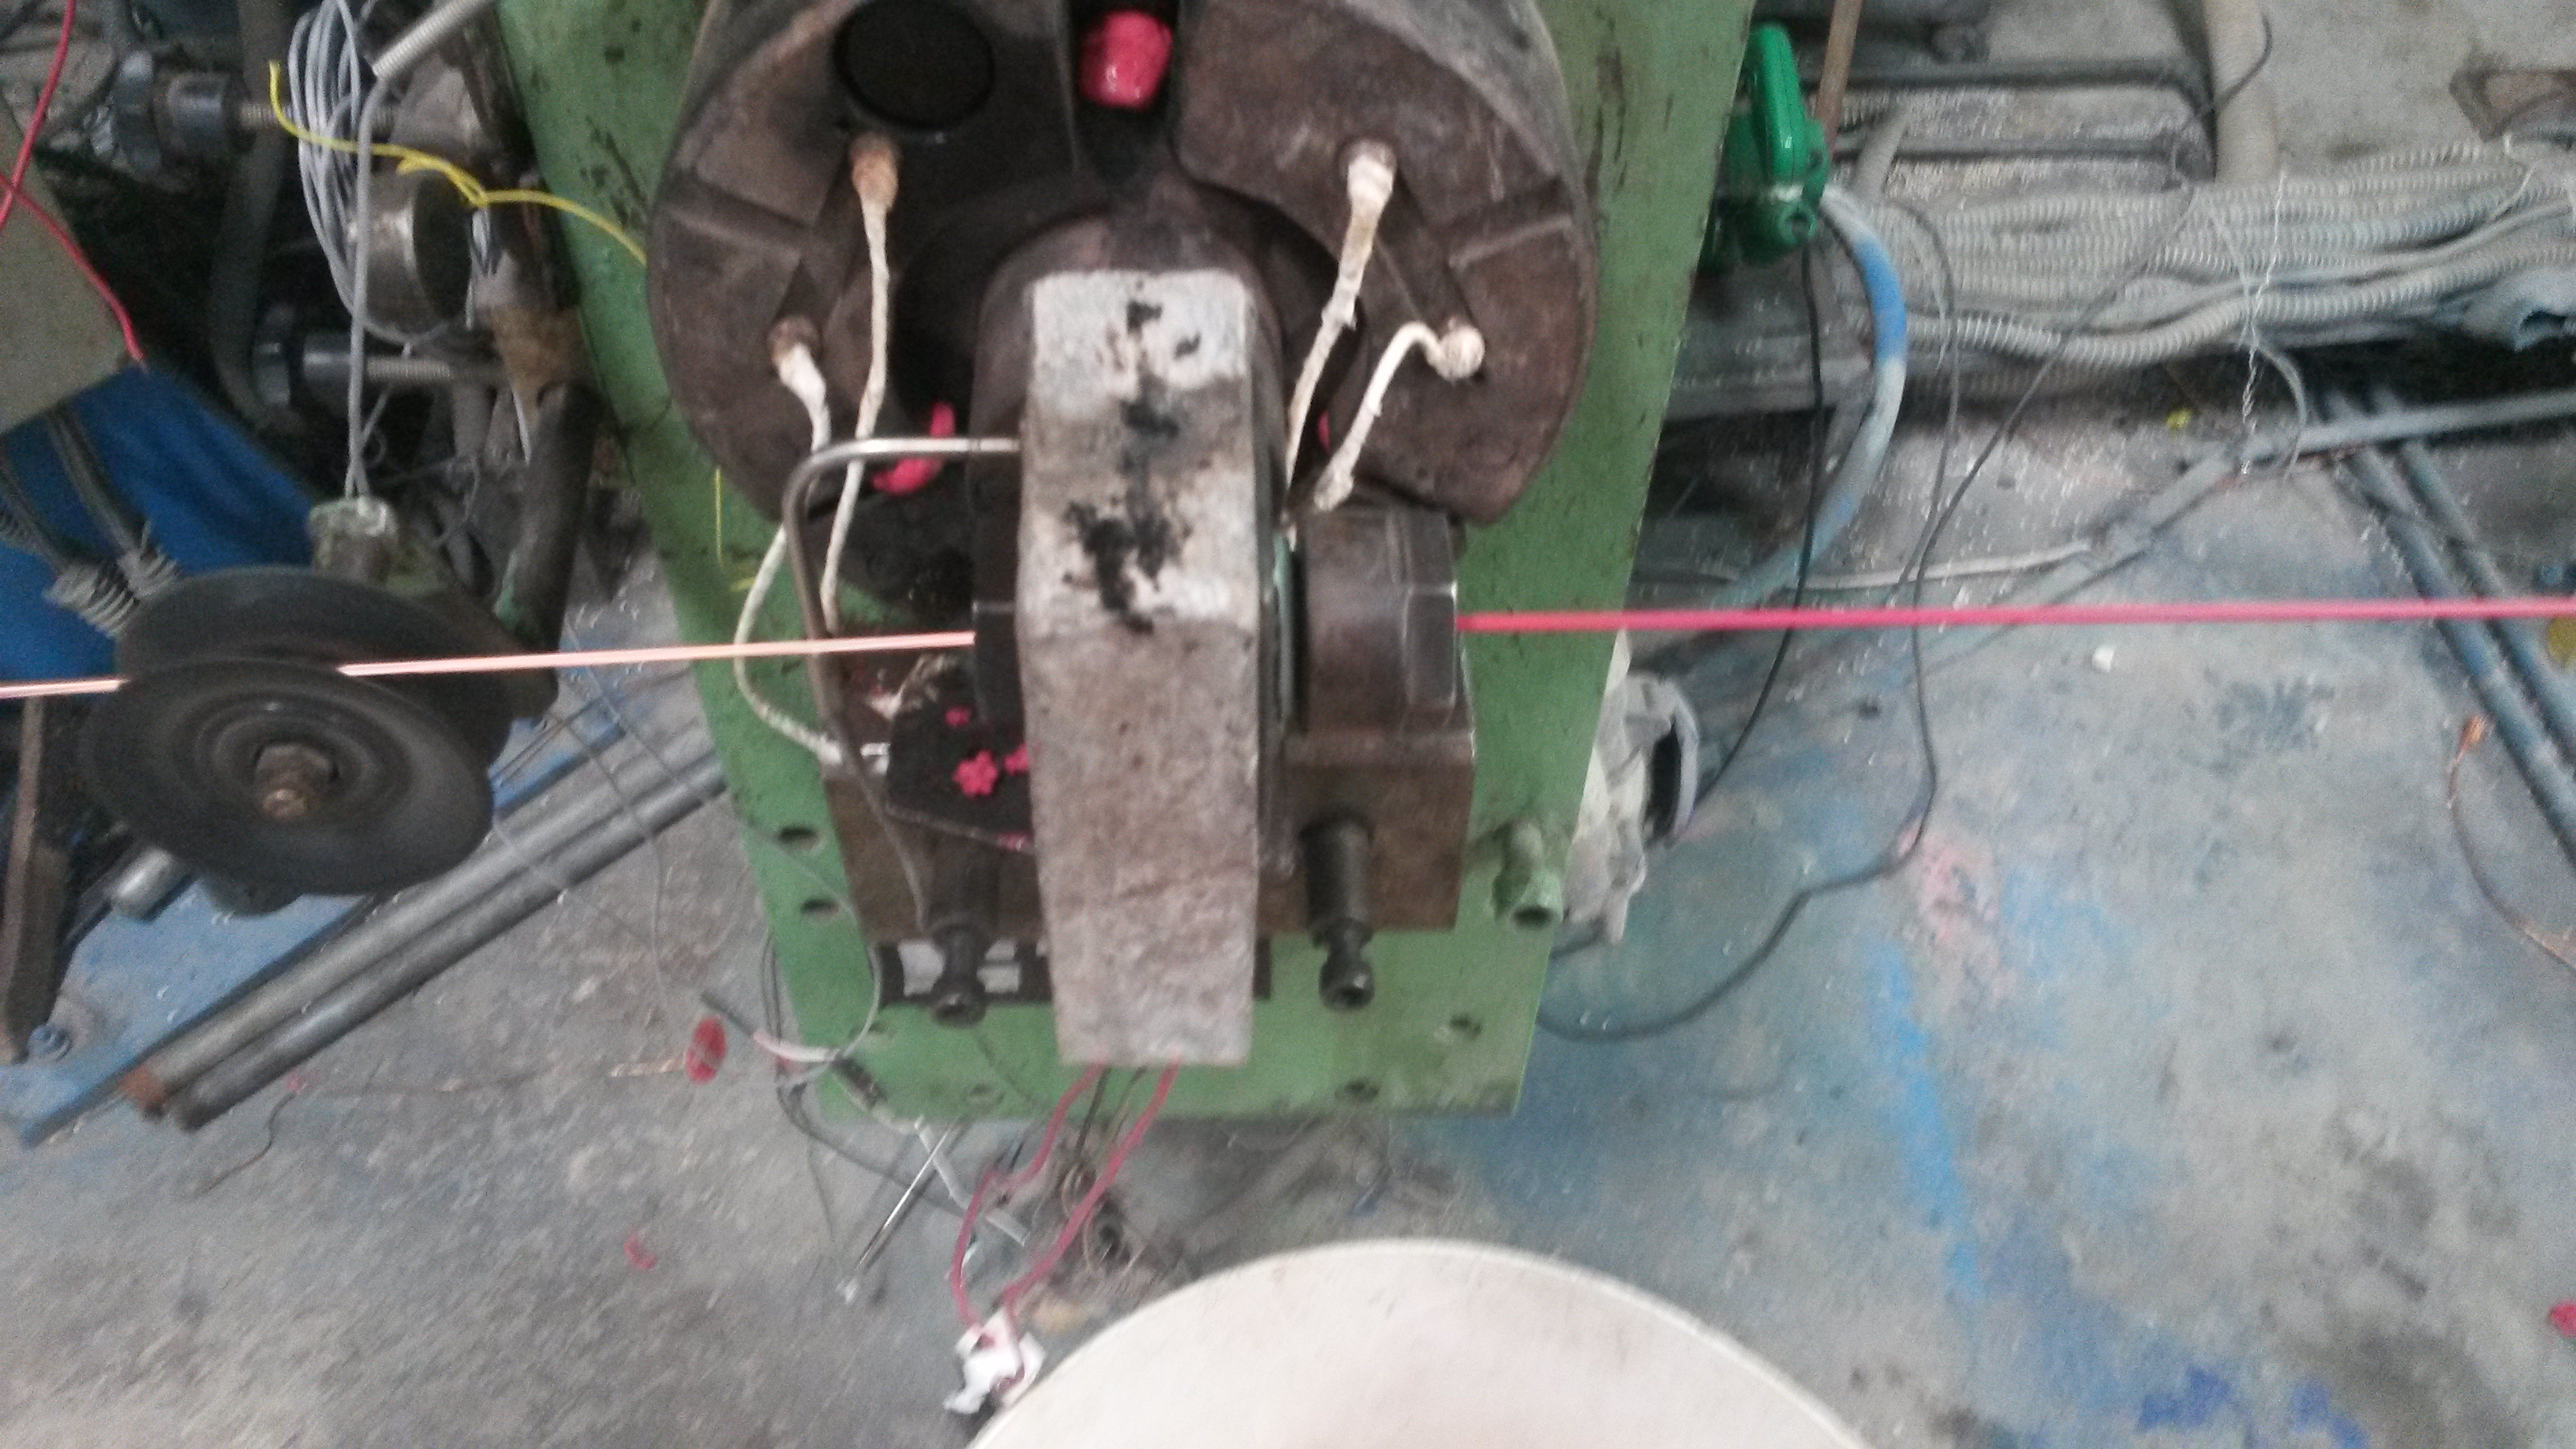
In order to insulate the wire, PVC (Poly Vinyl Chloride) is melted and made to coat the copper wire, as shown in the image below. On the left you can see the un-insulated copper wire and on the right you can see a red coating of PVC (which has flown in from the pipe) on the wire. This process is called extrusion.
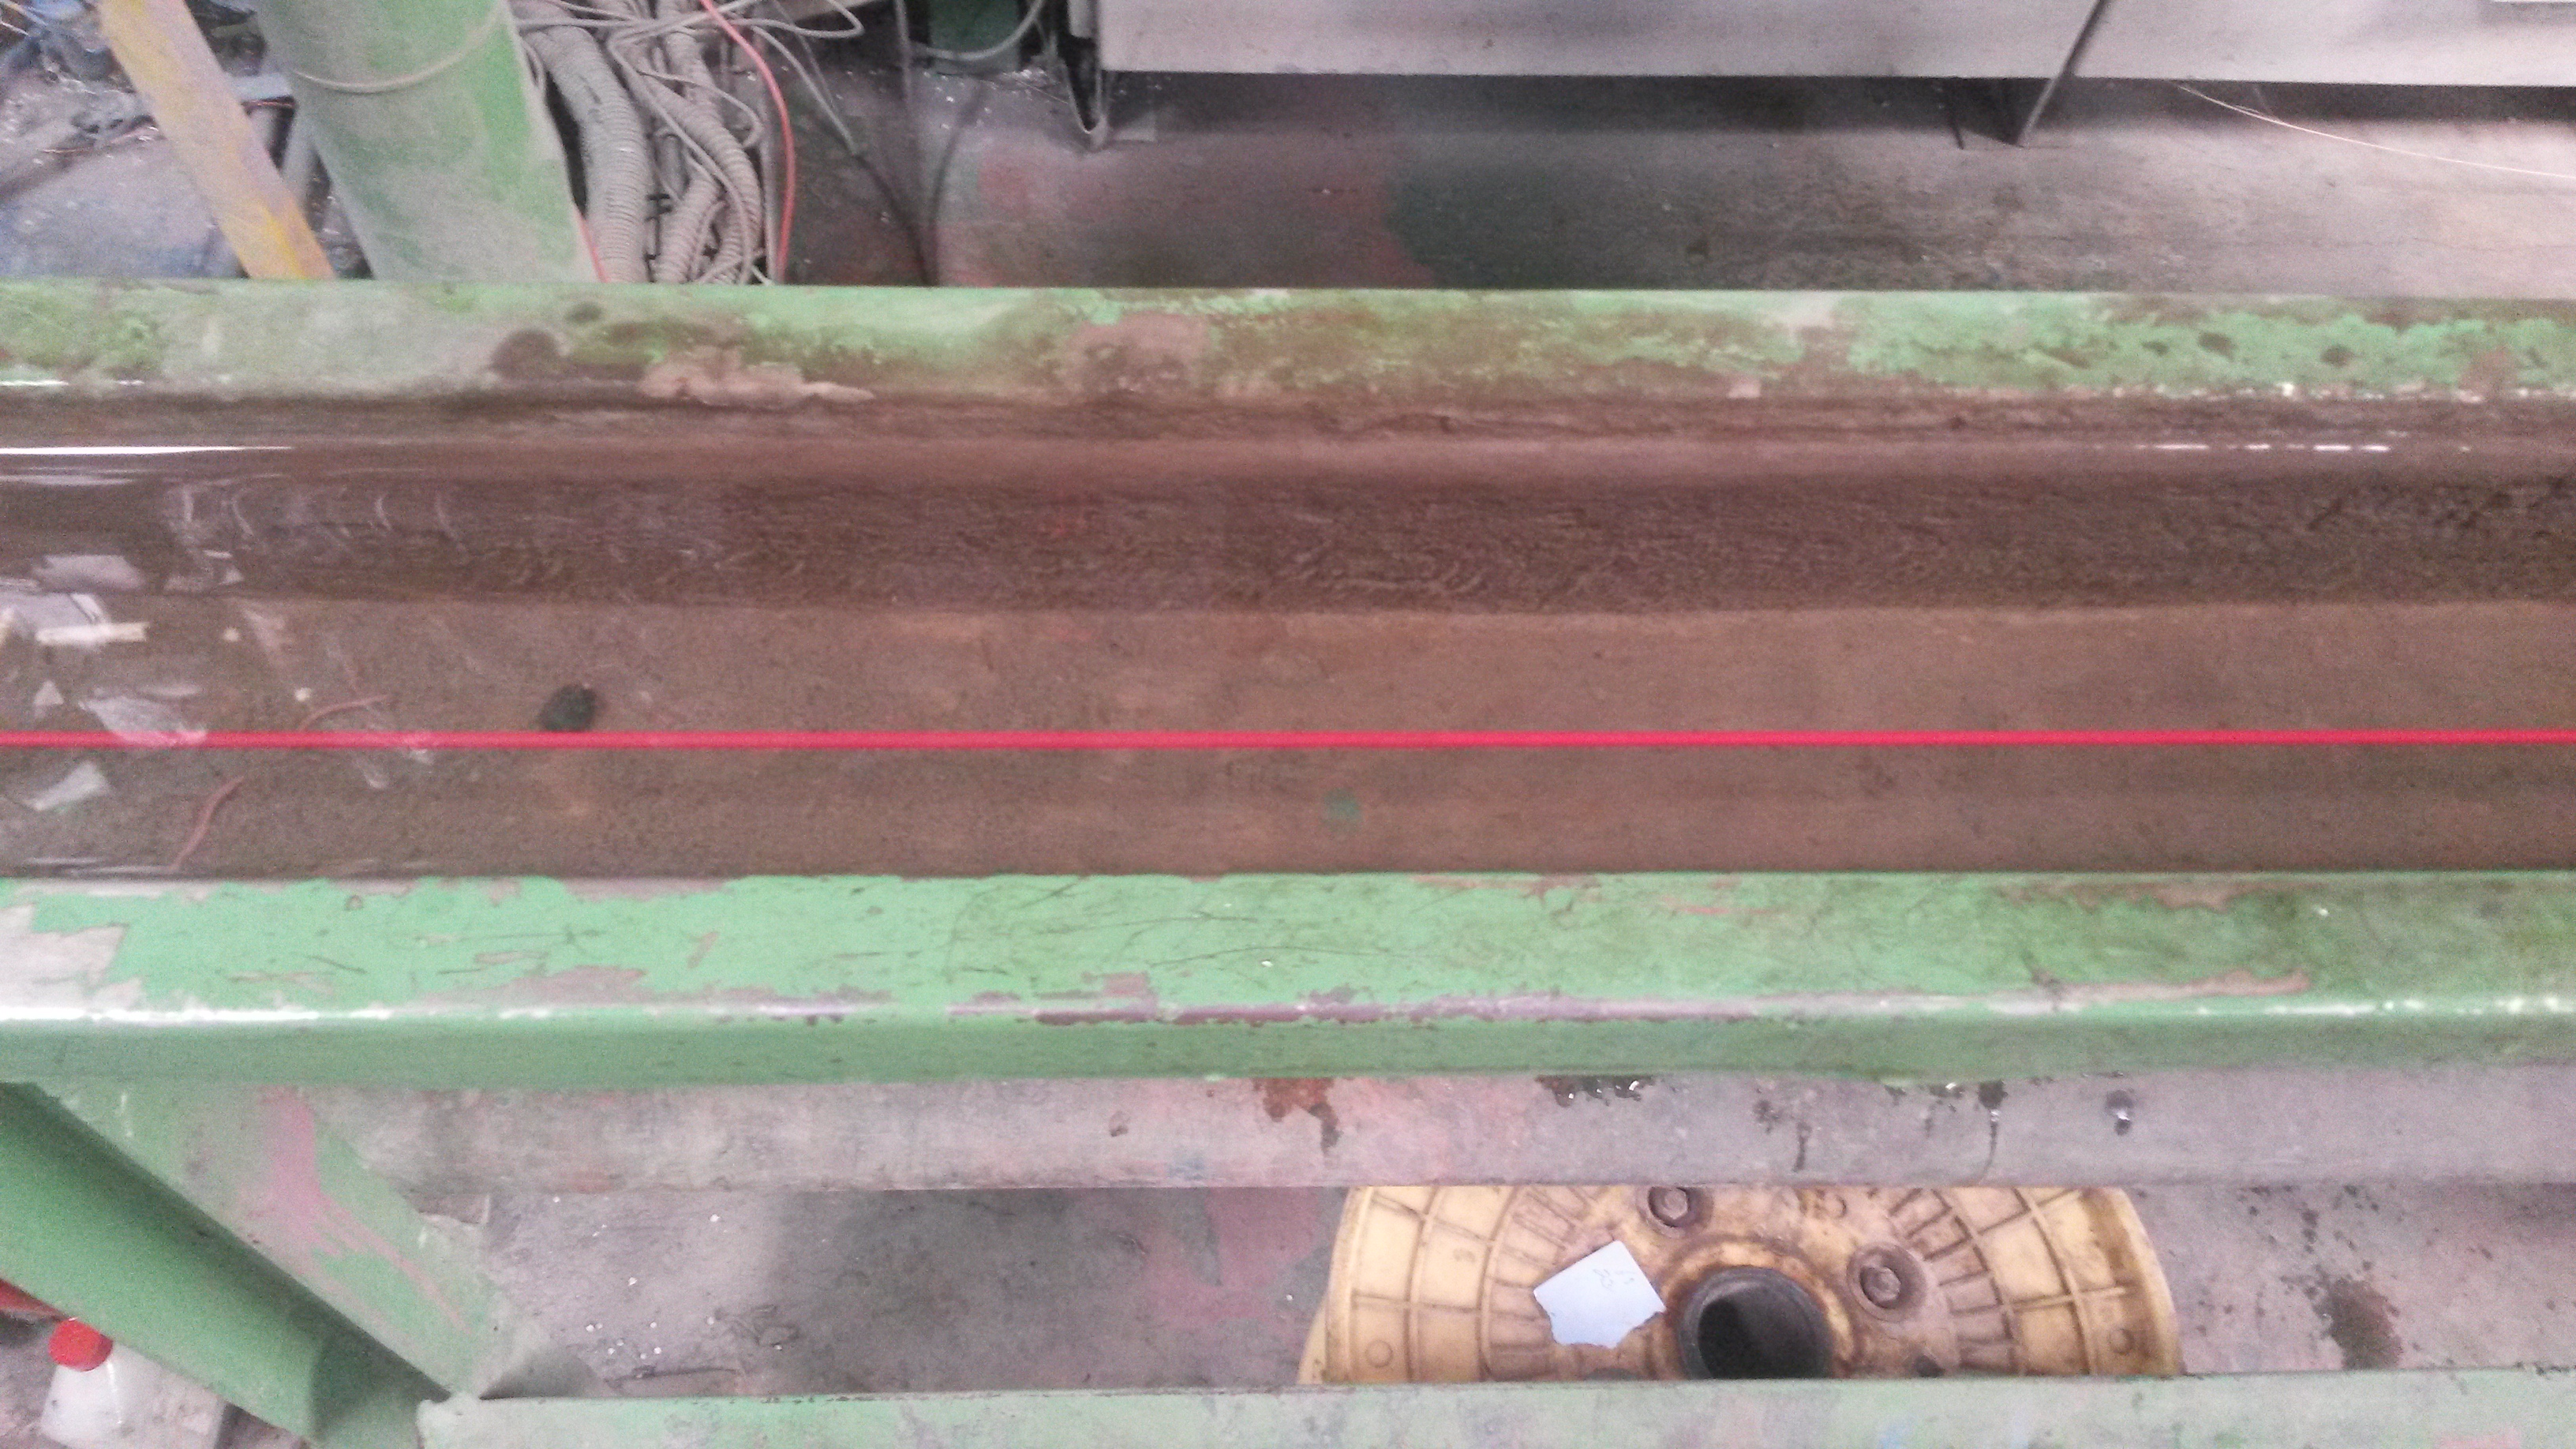
The PVC coated copper wire is then made to flow through water to cool and solidify the PVC, as shown below:
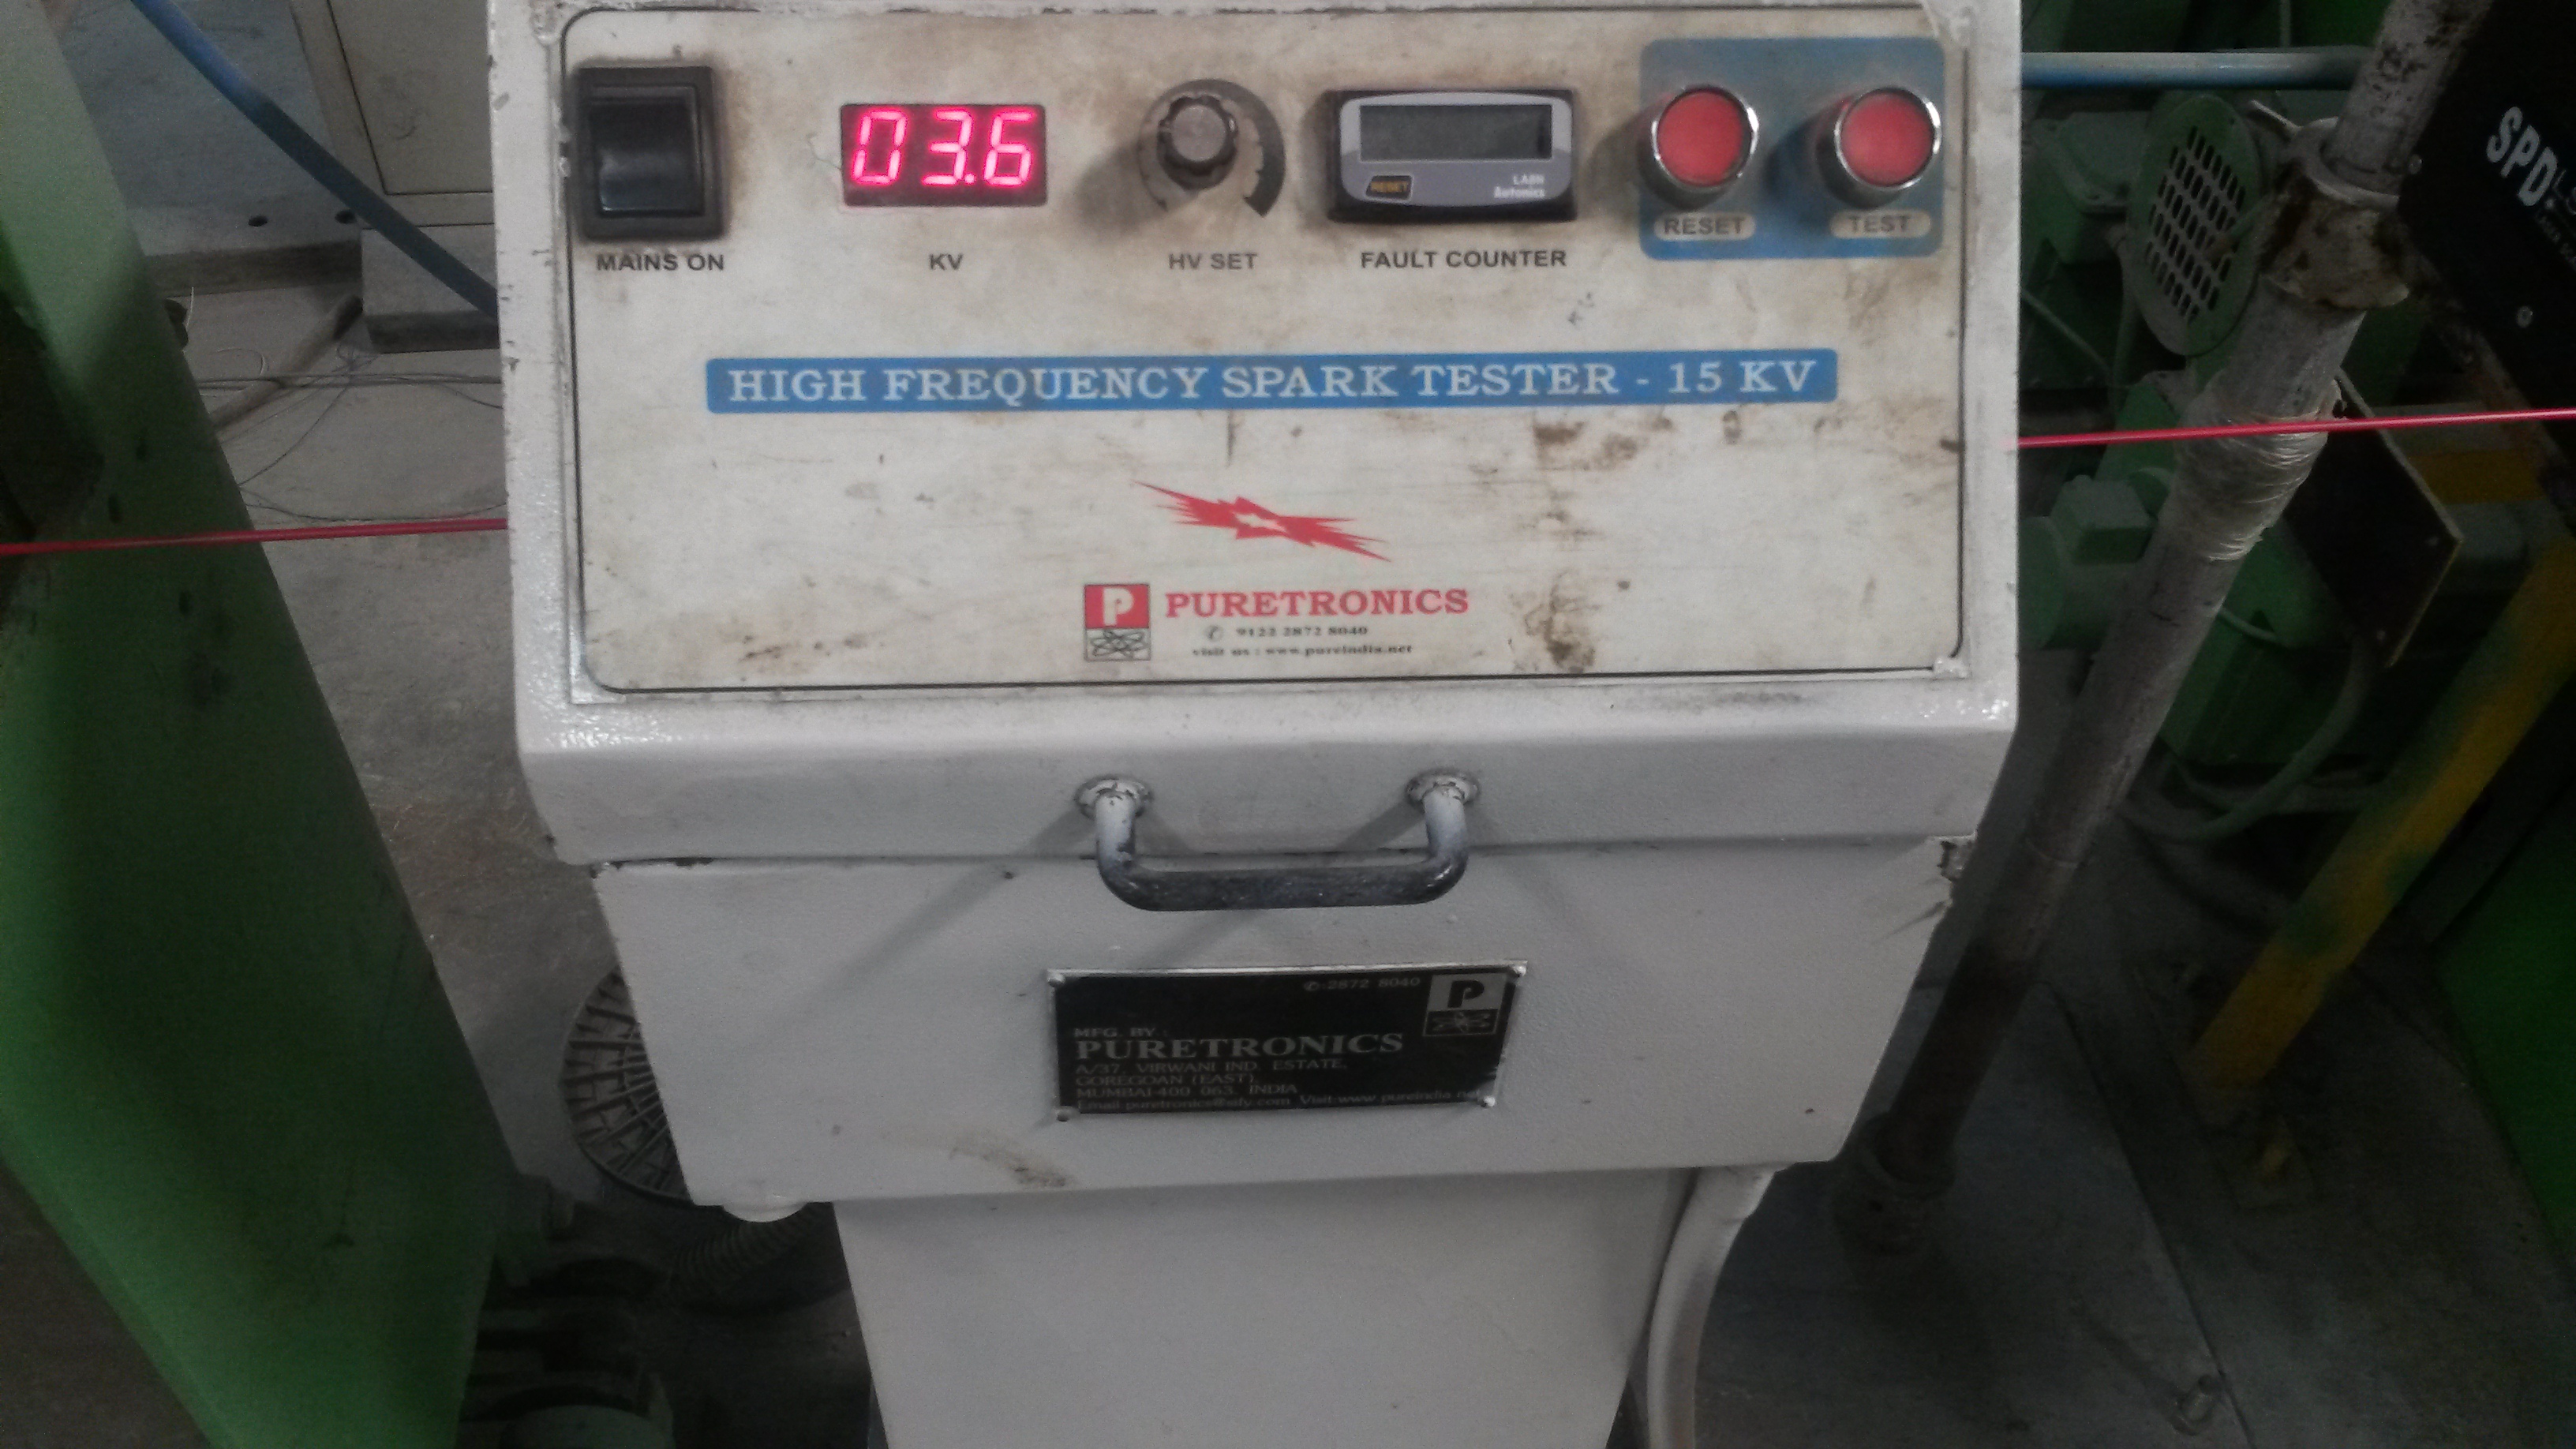
To detect if there are any holes in the PVC the wires goes through a high frequency spark tester.
Often, one layer on insulation is not enough, so many of the insulated wires are bundled together and sometimes even armored with steel, before it is extruded again.
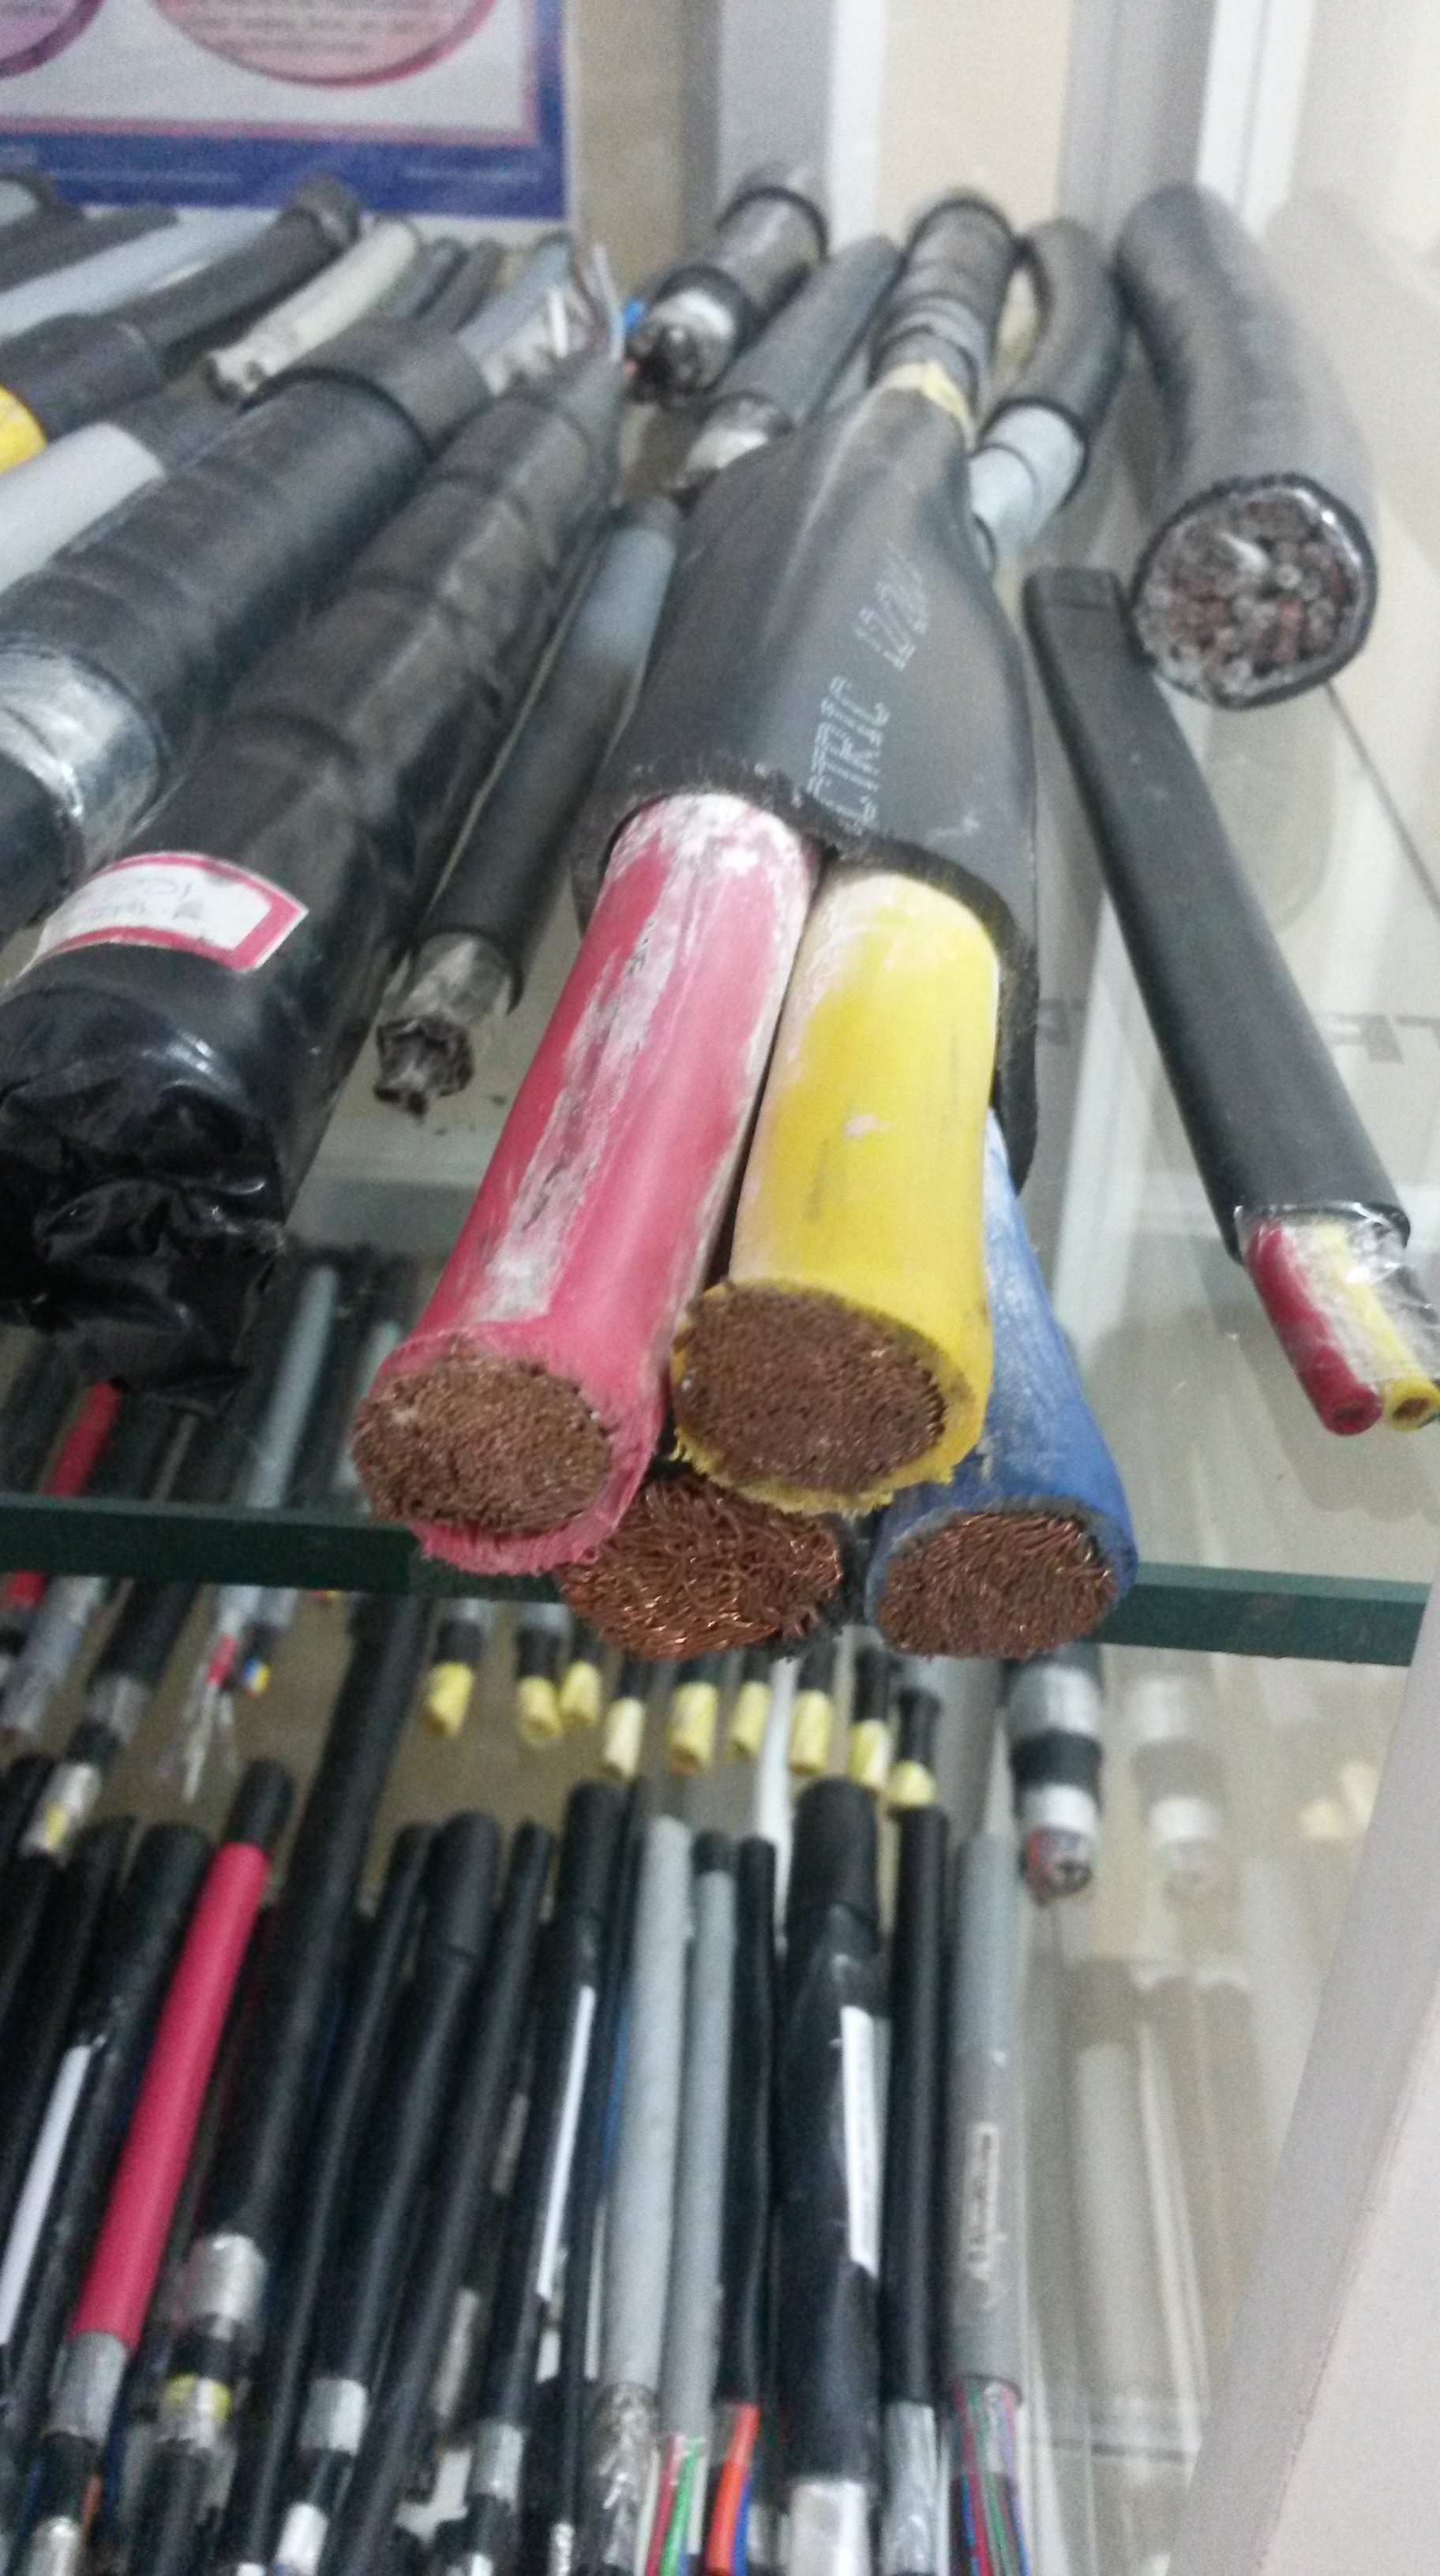
Sometimes, for cables carrying extremely large currents, there can be many layers of insulation as the cross section of the wire shown below illustrates.
Step 6: Final Extrusion:
After the desired number of insulating layers is applied, the wire undergoes final extrusion, where a thicker layer of PVC coats the smaller, insulated wires. This step is only required for cables carrying large currents.
As shown, the bundled wires (on the right of the picture) are covered in chalk powder to ensure the thick layer of PVC extrudes the wire effectively.
Step 7: Packaging:
The insulated wire is finally wound, and is ready for transportation.

