Step 1- The Raw Material:
The primary raw material used is cast iron. The iron ore (Hematite) is chemically reduced to Iron in a blast furnace, where coke (carbon) acts as the reducing agent.
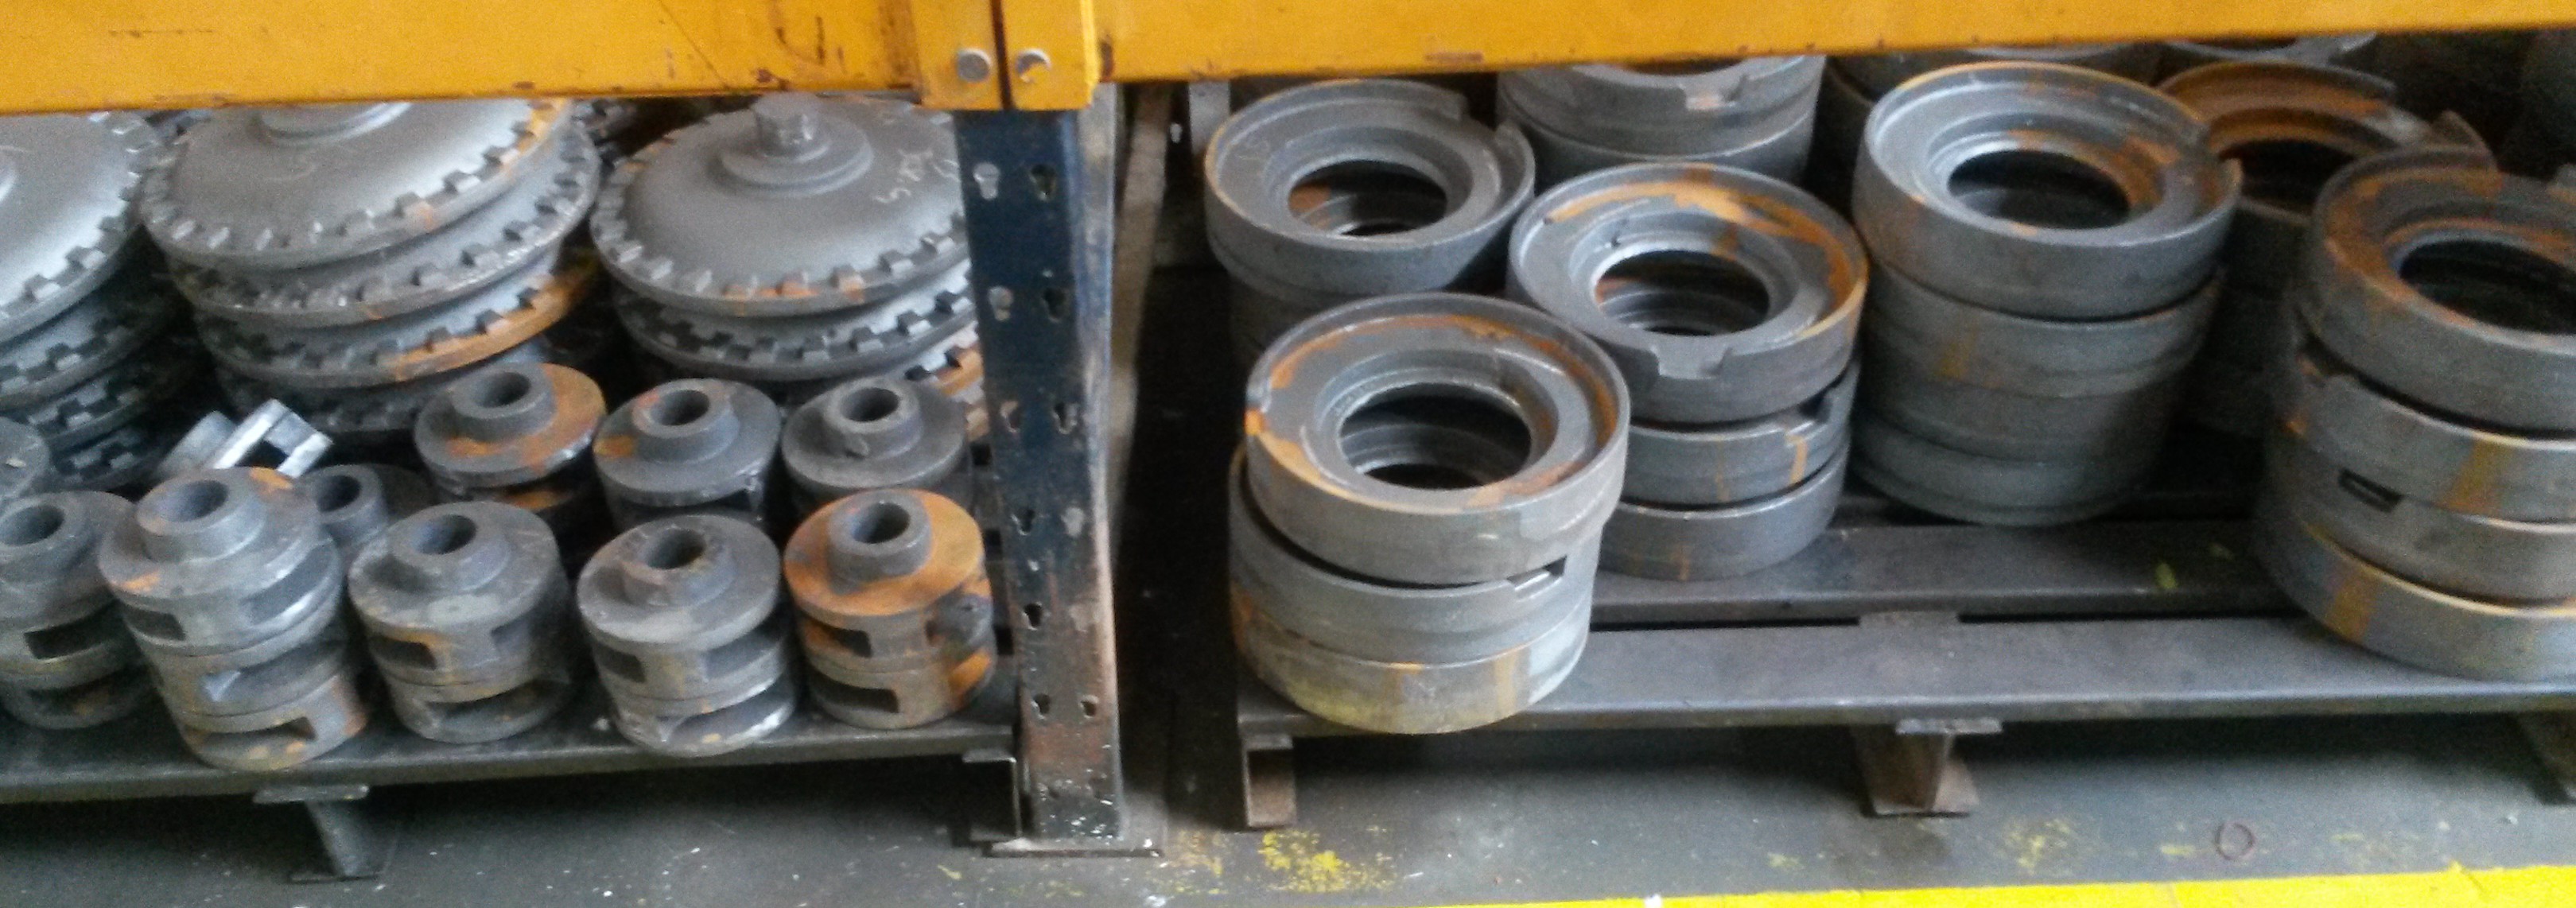
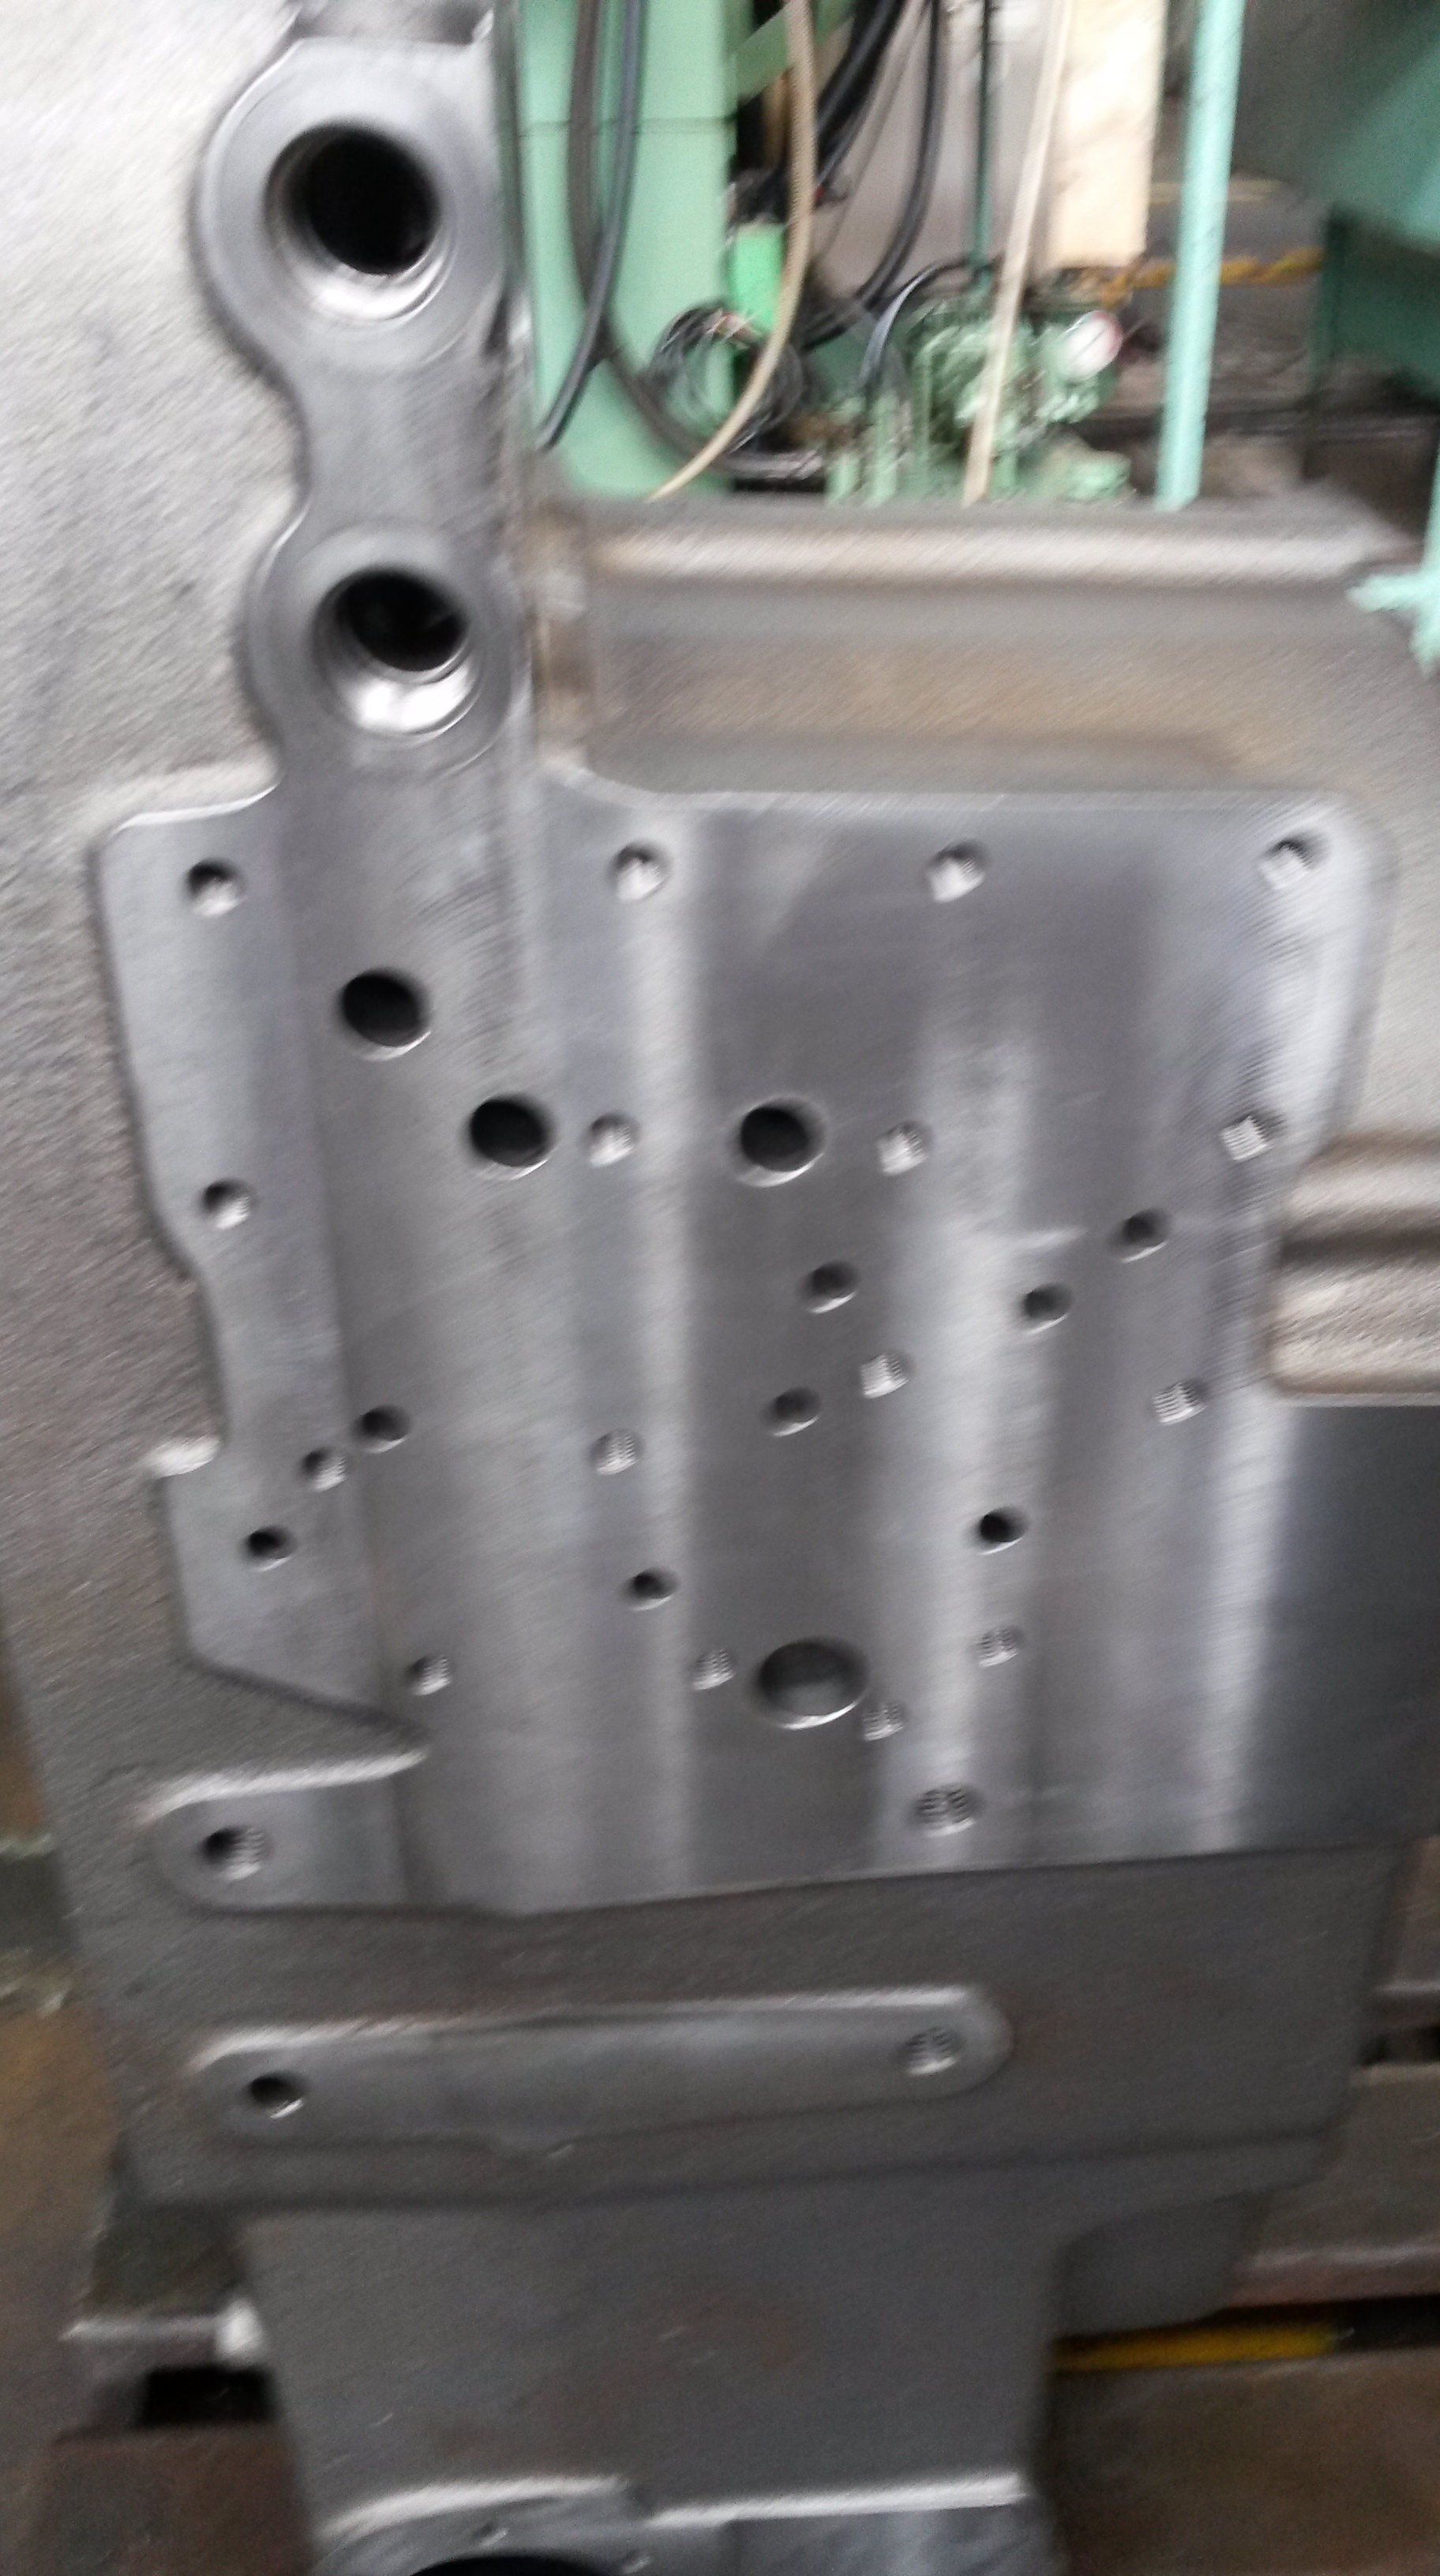
The molten iron that is produced is then put in a mould to produce the rough shape that is required by a part in the gear box. It cannot be moulded into the exact shape, as the level of precision required is too high. The raw material for the gear box manufacturer, i.e., roughly moulded cast iron is shown in the picture below.
Step 2- Heat Treatment:
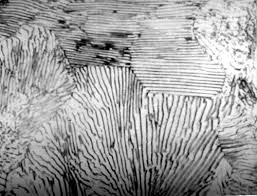
The metal parts that go in the gear box have to undergo a lot of wear and tear. Therefore, it is essential that the metal is hard, but not brittle. The original cast iron is in the form of Pearlite, which has hardness of a maximum of 400 Brinell (unit of hardness). Pearlite, as the image below shows has relatively large crystals which makes it less brittle, but not hard enough.
To increase the hardness of the metal (so that the parts in the gear boxes are less prone to wear and tear), the parts undergo heat treatment.
a) Hardening:
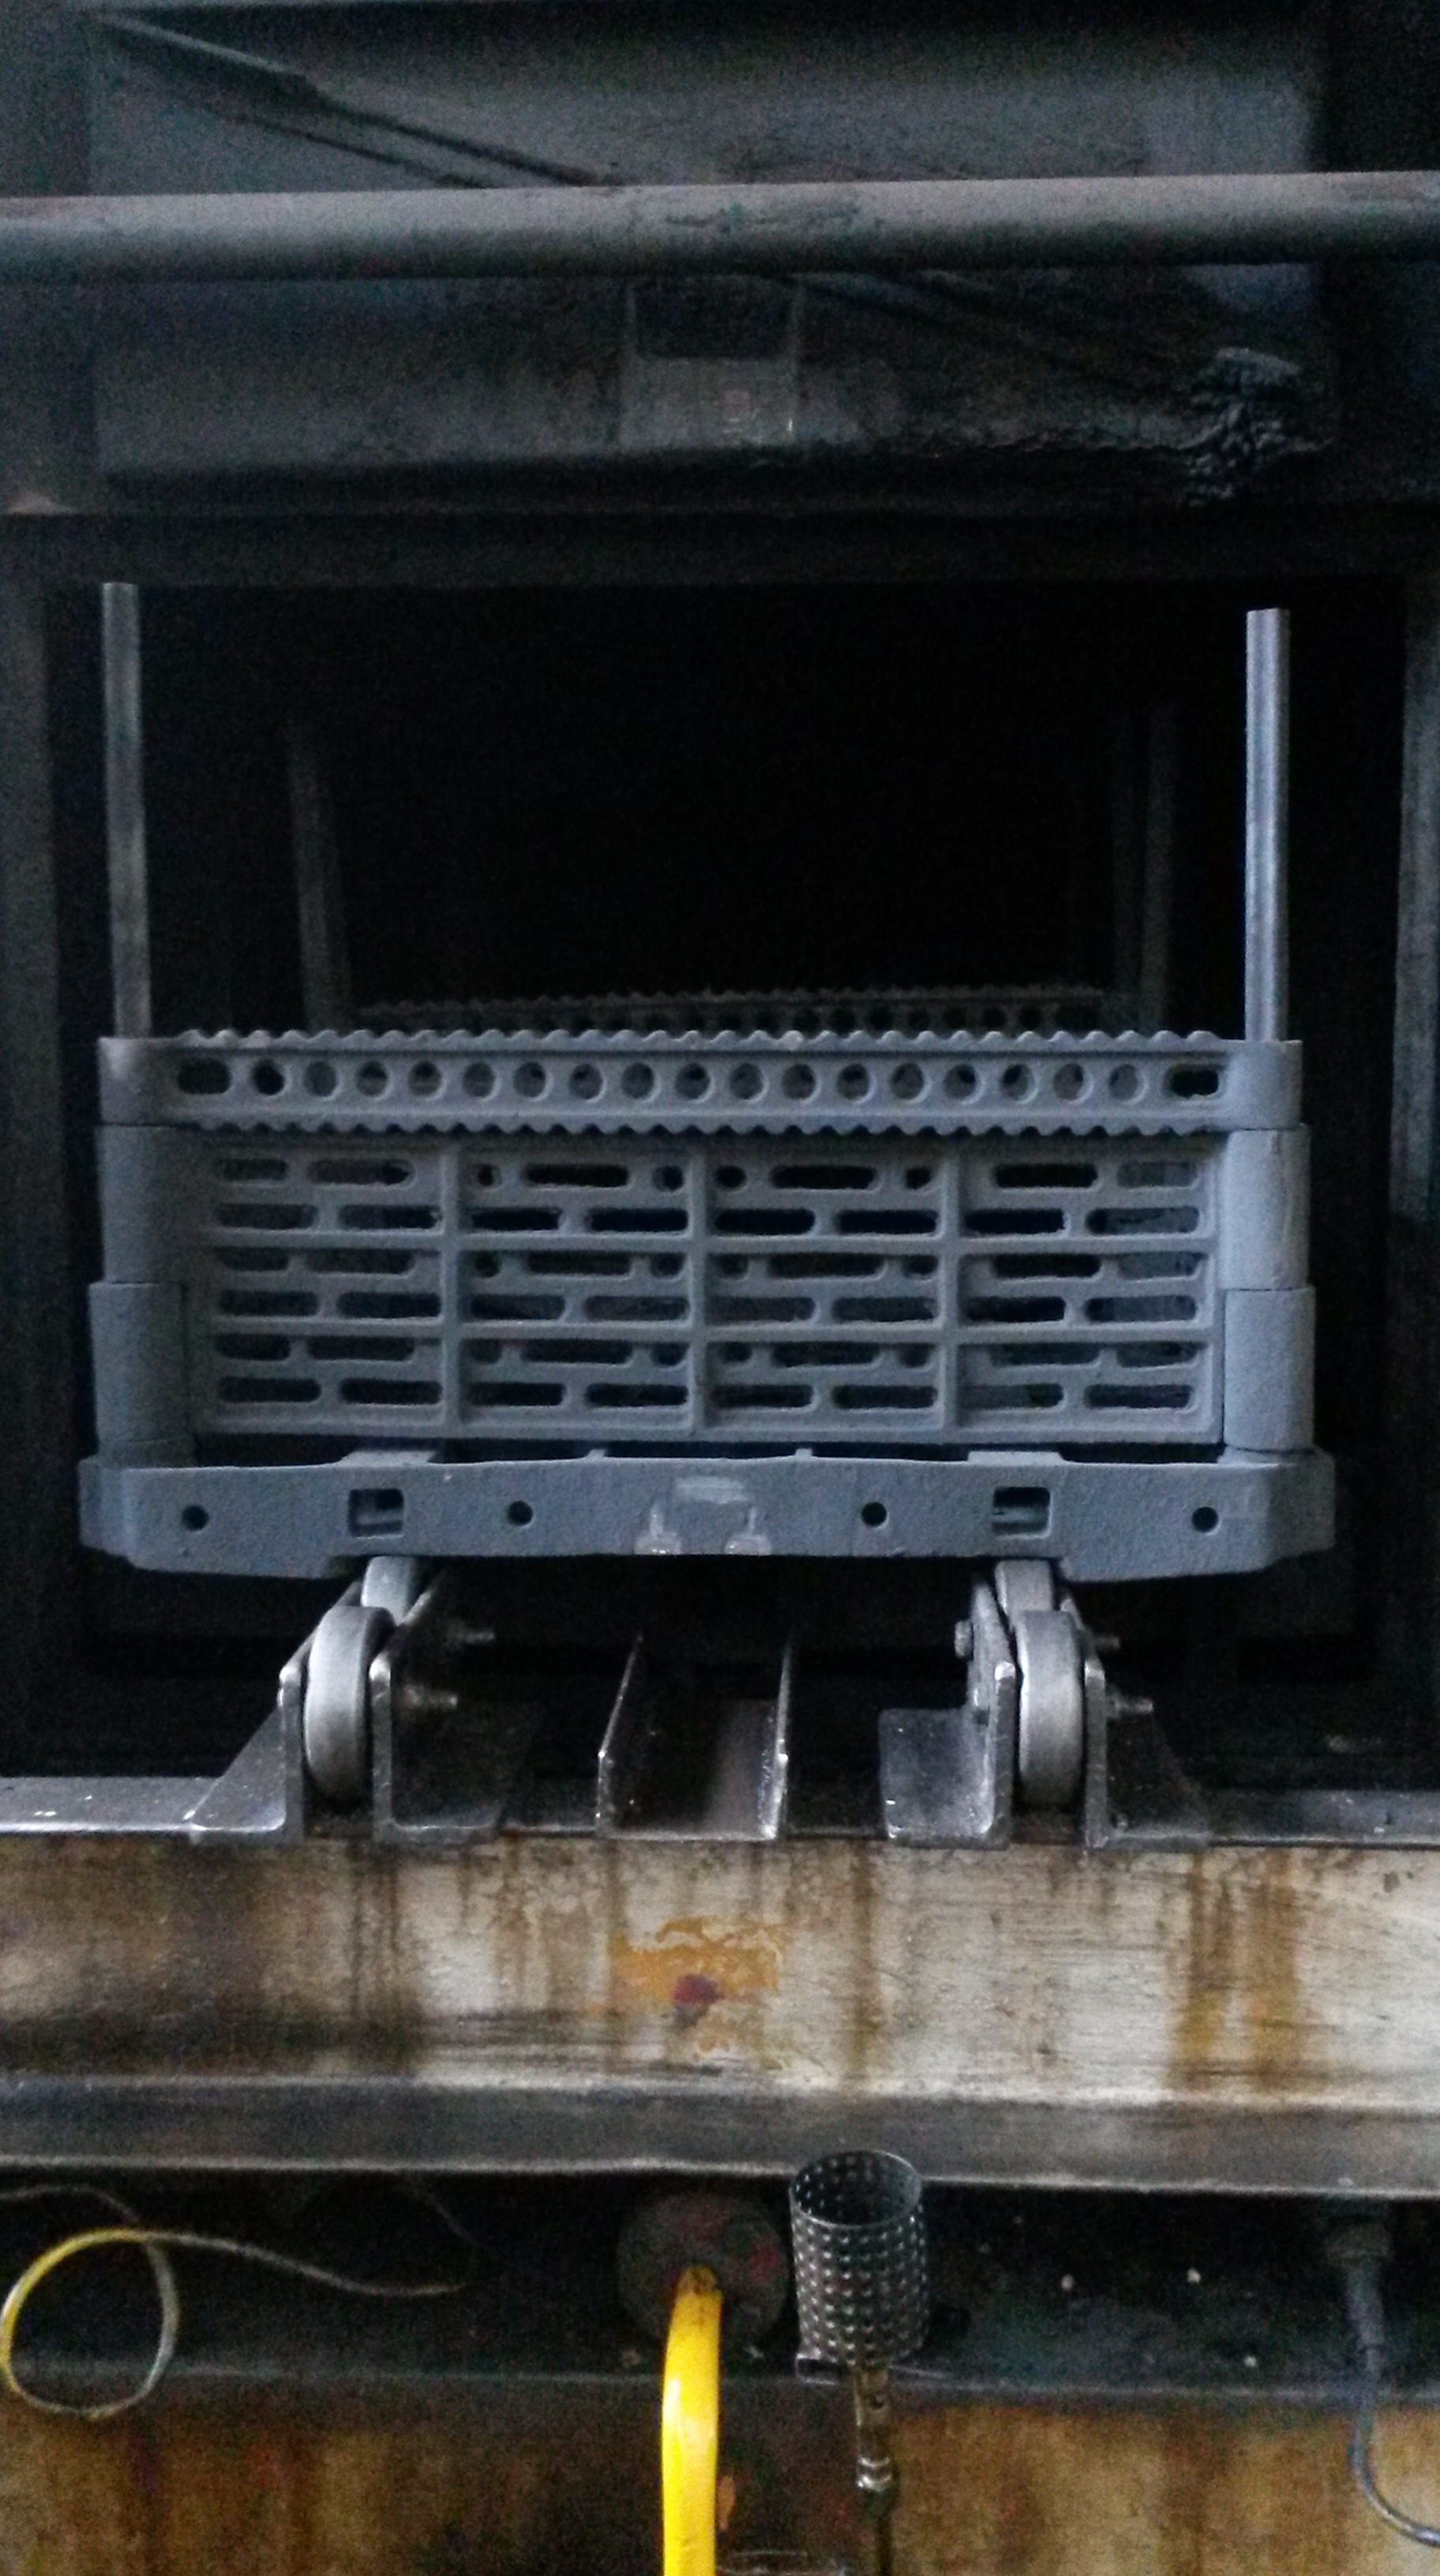
In the same way that graphite transforms into diamond under the influence of extreme heat and pressure within the Earth, metals too can be hardened to change their properties. The cast iron is heated to 850°C for two hours in a furnace. The heat increases the energy of the metal atoms, allowing them to rearrange themselves. Gases like Nitrogen and Methanol are also, in small quantities put into the furnace, which diffuse into the metal, increasing it’s hardness. Limestone is also added to the blast furnace to take away the impurities present.
Following this, the metal is dipped in oil for cooling, so the atoms slow down and form crystals. Oil is used instead of water because with water, the crystals would form too quickly, and would be too small. This would make the metal extremely hard, but too brittle. Oil, on the other hand, minimizes how brittle the metal becomes while increasing hardness.
The metal is then washed and tempered.
b) Tempering
The metal is heated again, this time to approximately 620°C for 3 hours. This results in another rearrangement of the metal atoms to reduce any brittleness caused during the hardening process.
This time the metal is allowed to cool in the atmosphere. This ensures extremely slow cooling, which in turn ensures the crystals formed are not too small and brittle.
The final result of the heat treatment is the conversion of Pearlite to Martensite, a stronger metal. Martensite has a hardness of up to 700 Brinell, nearly double that of Pearlite. The structure of Martensite is shown below, and it visibly has smaller crystals than that of Pearlite, illustrating the increased hardness.

Step 3- Machining Of Individual Parts:
Using CNC (Computer Numerically Controlled) Machines, individual parts of the gear boxes are machined to the precision of 0.01 mm. In the machine, there is a holder for the roughly moulded cast iron, and on the other side of the machine, there is a rotating piece of equipment that is fitted with tools. The pictures below show these.
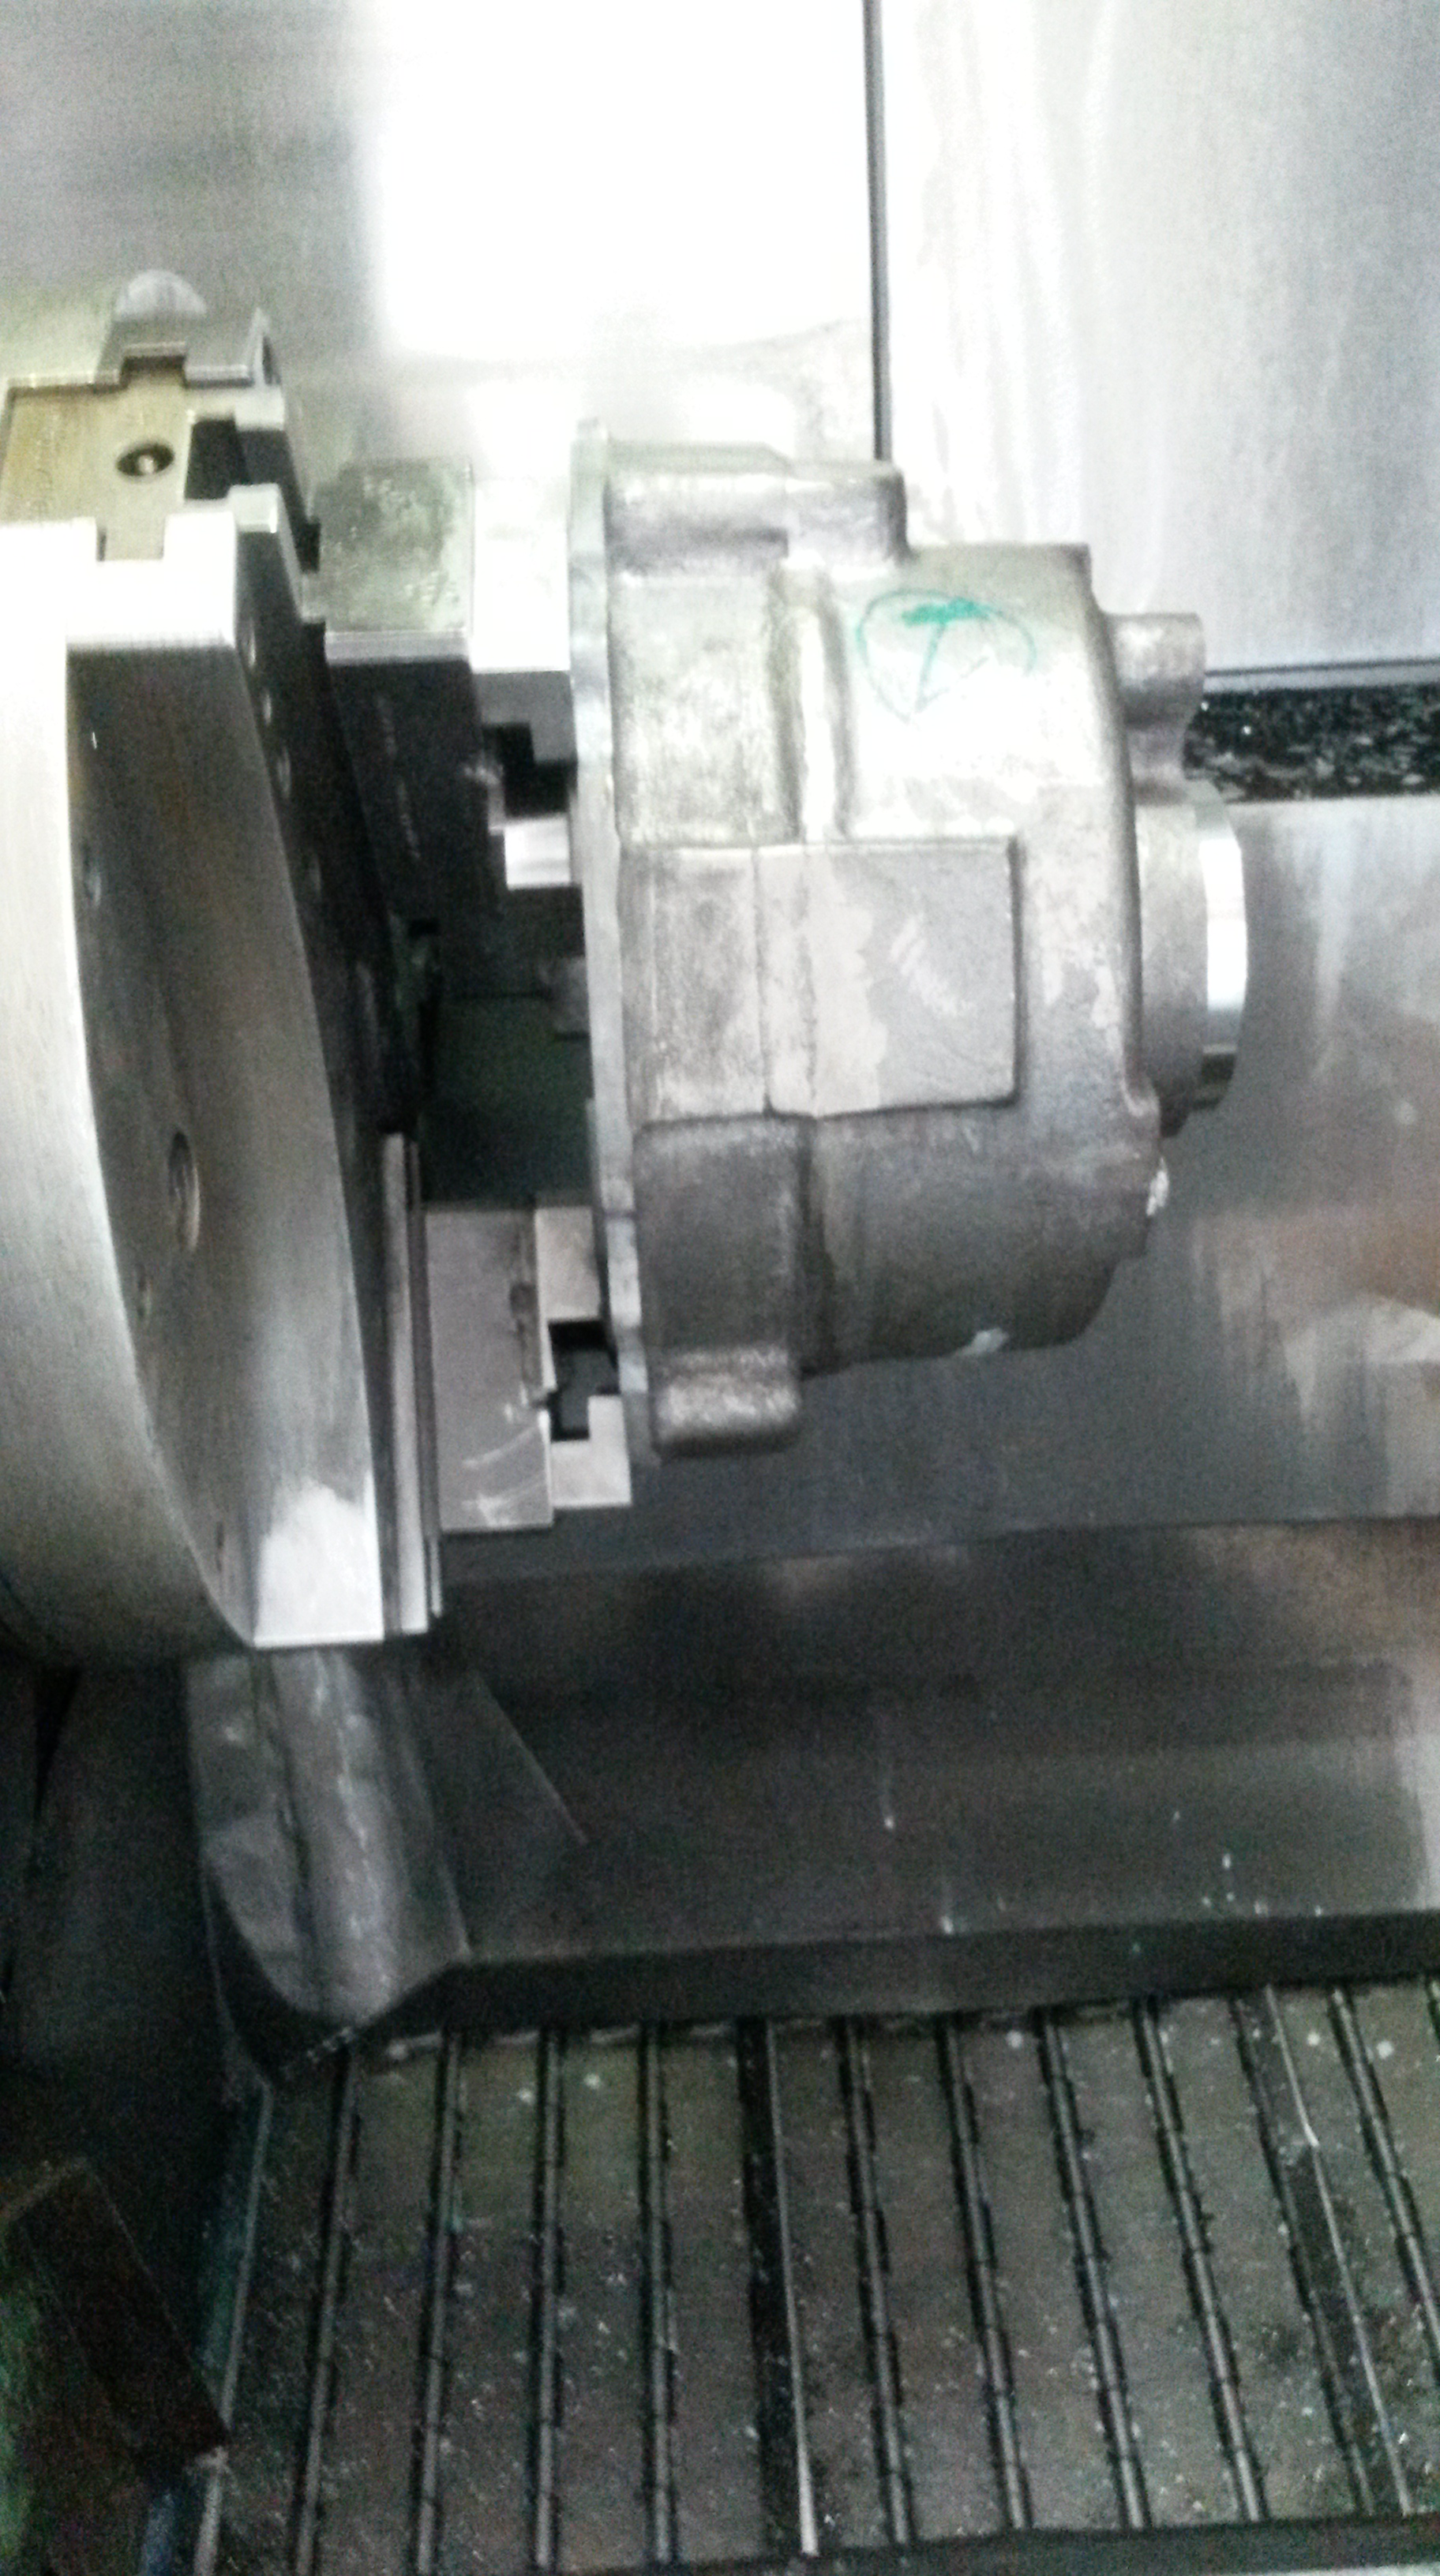
The movement of this equipment is programmed, using imaginary x, y and z axis coordinates. For instance, tool number 1 could be instructed to move to coordinate (2,1,2) [2 unit on the x axis, 1 units of the y axis and 2 units on the z axis]. The code would also include the time that the tool needs to spend there, before making another movement. To machine an individual part, hundreds or even thousands of these instructions need to be coded and then fed into the machine. The images below show the machining process in action.
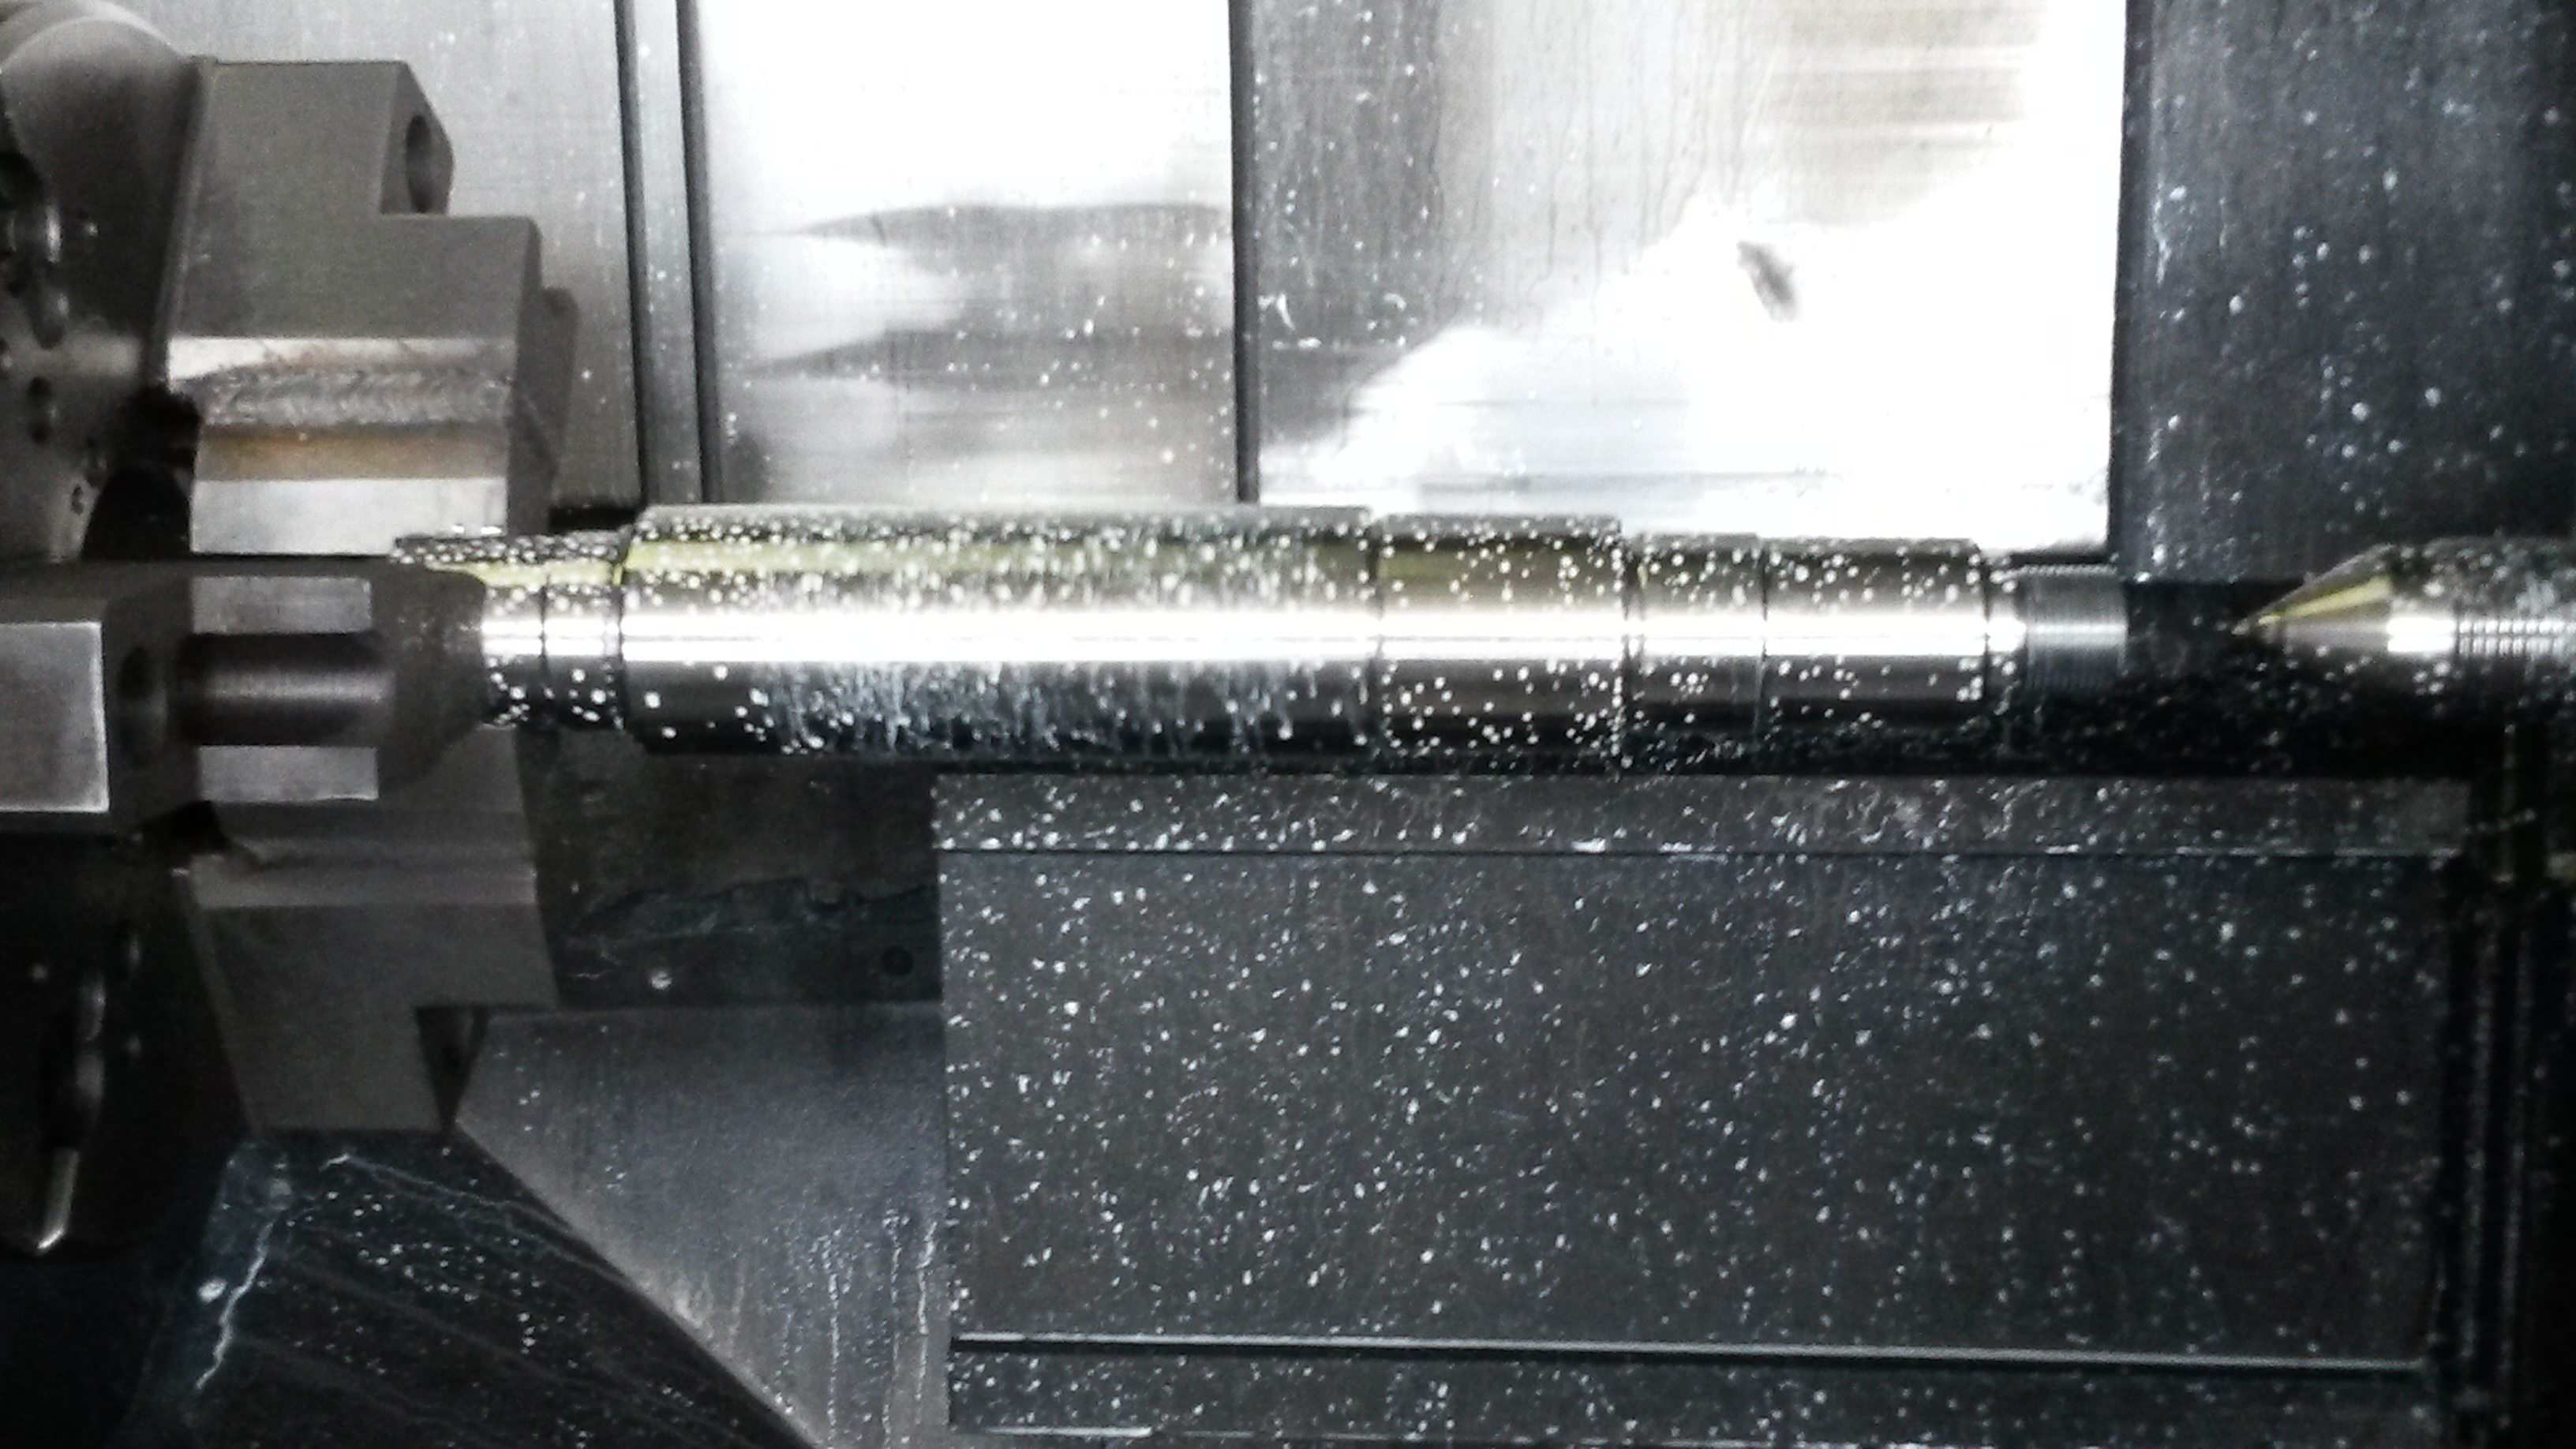
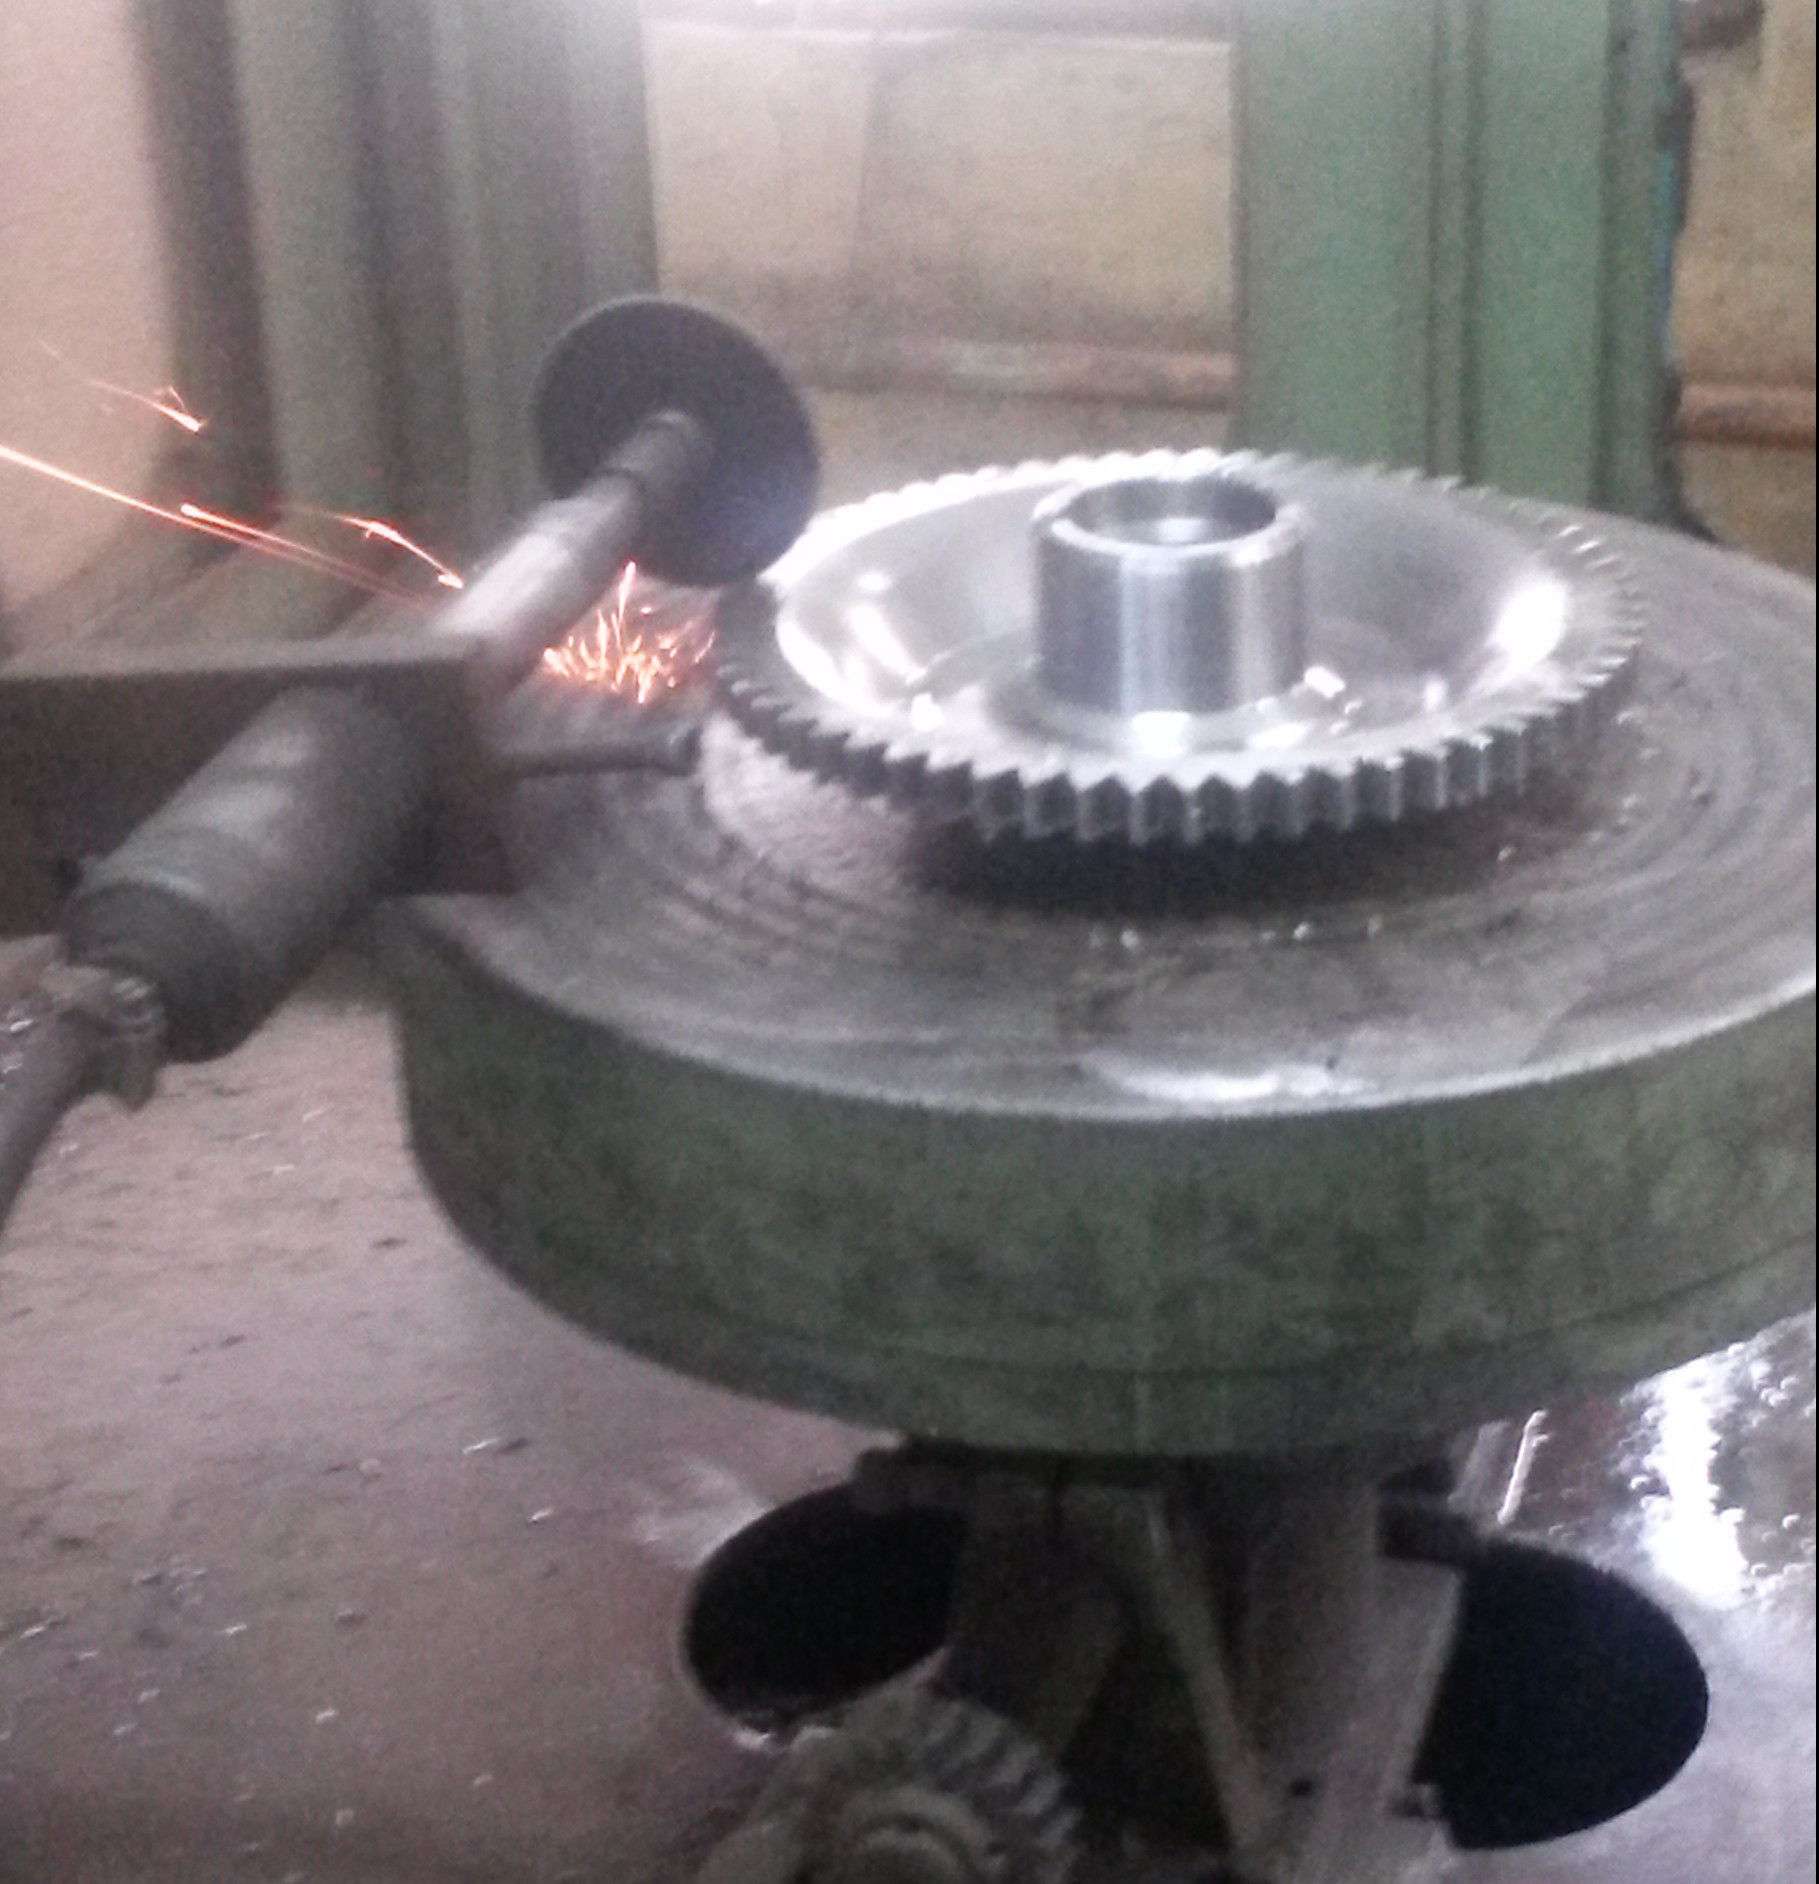
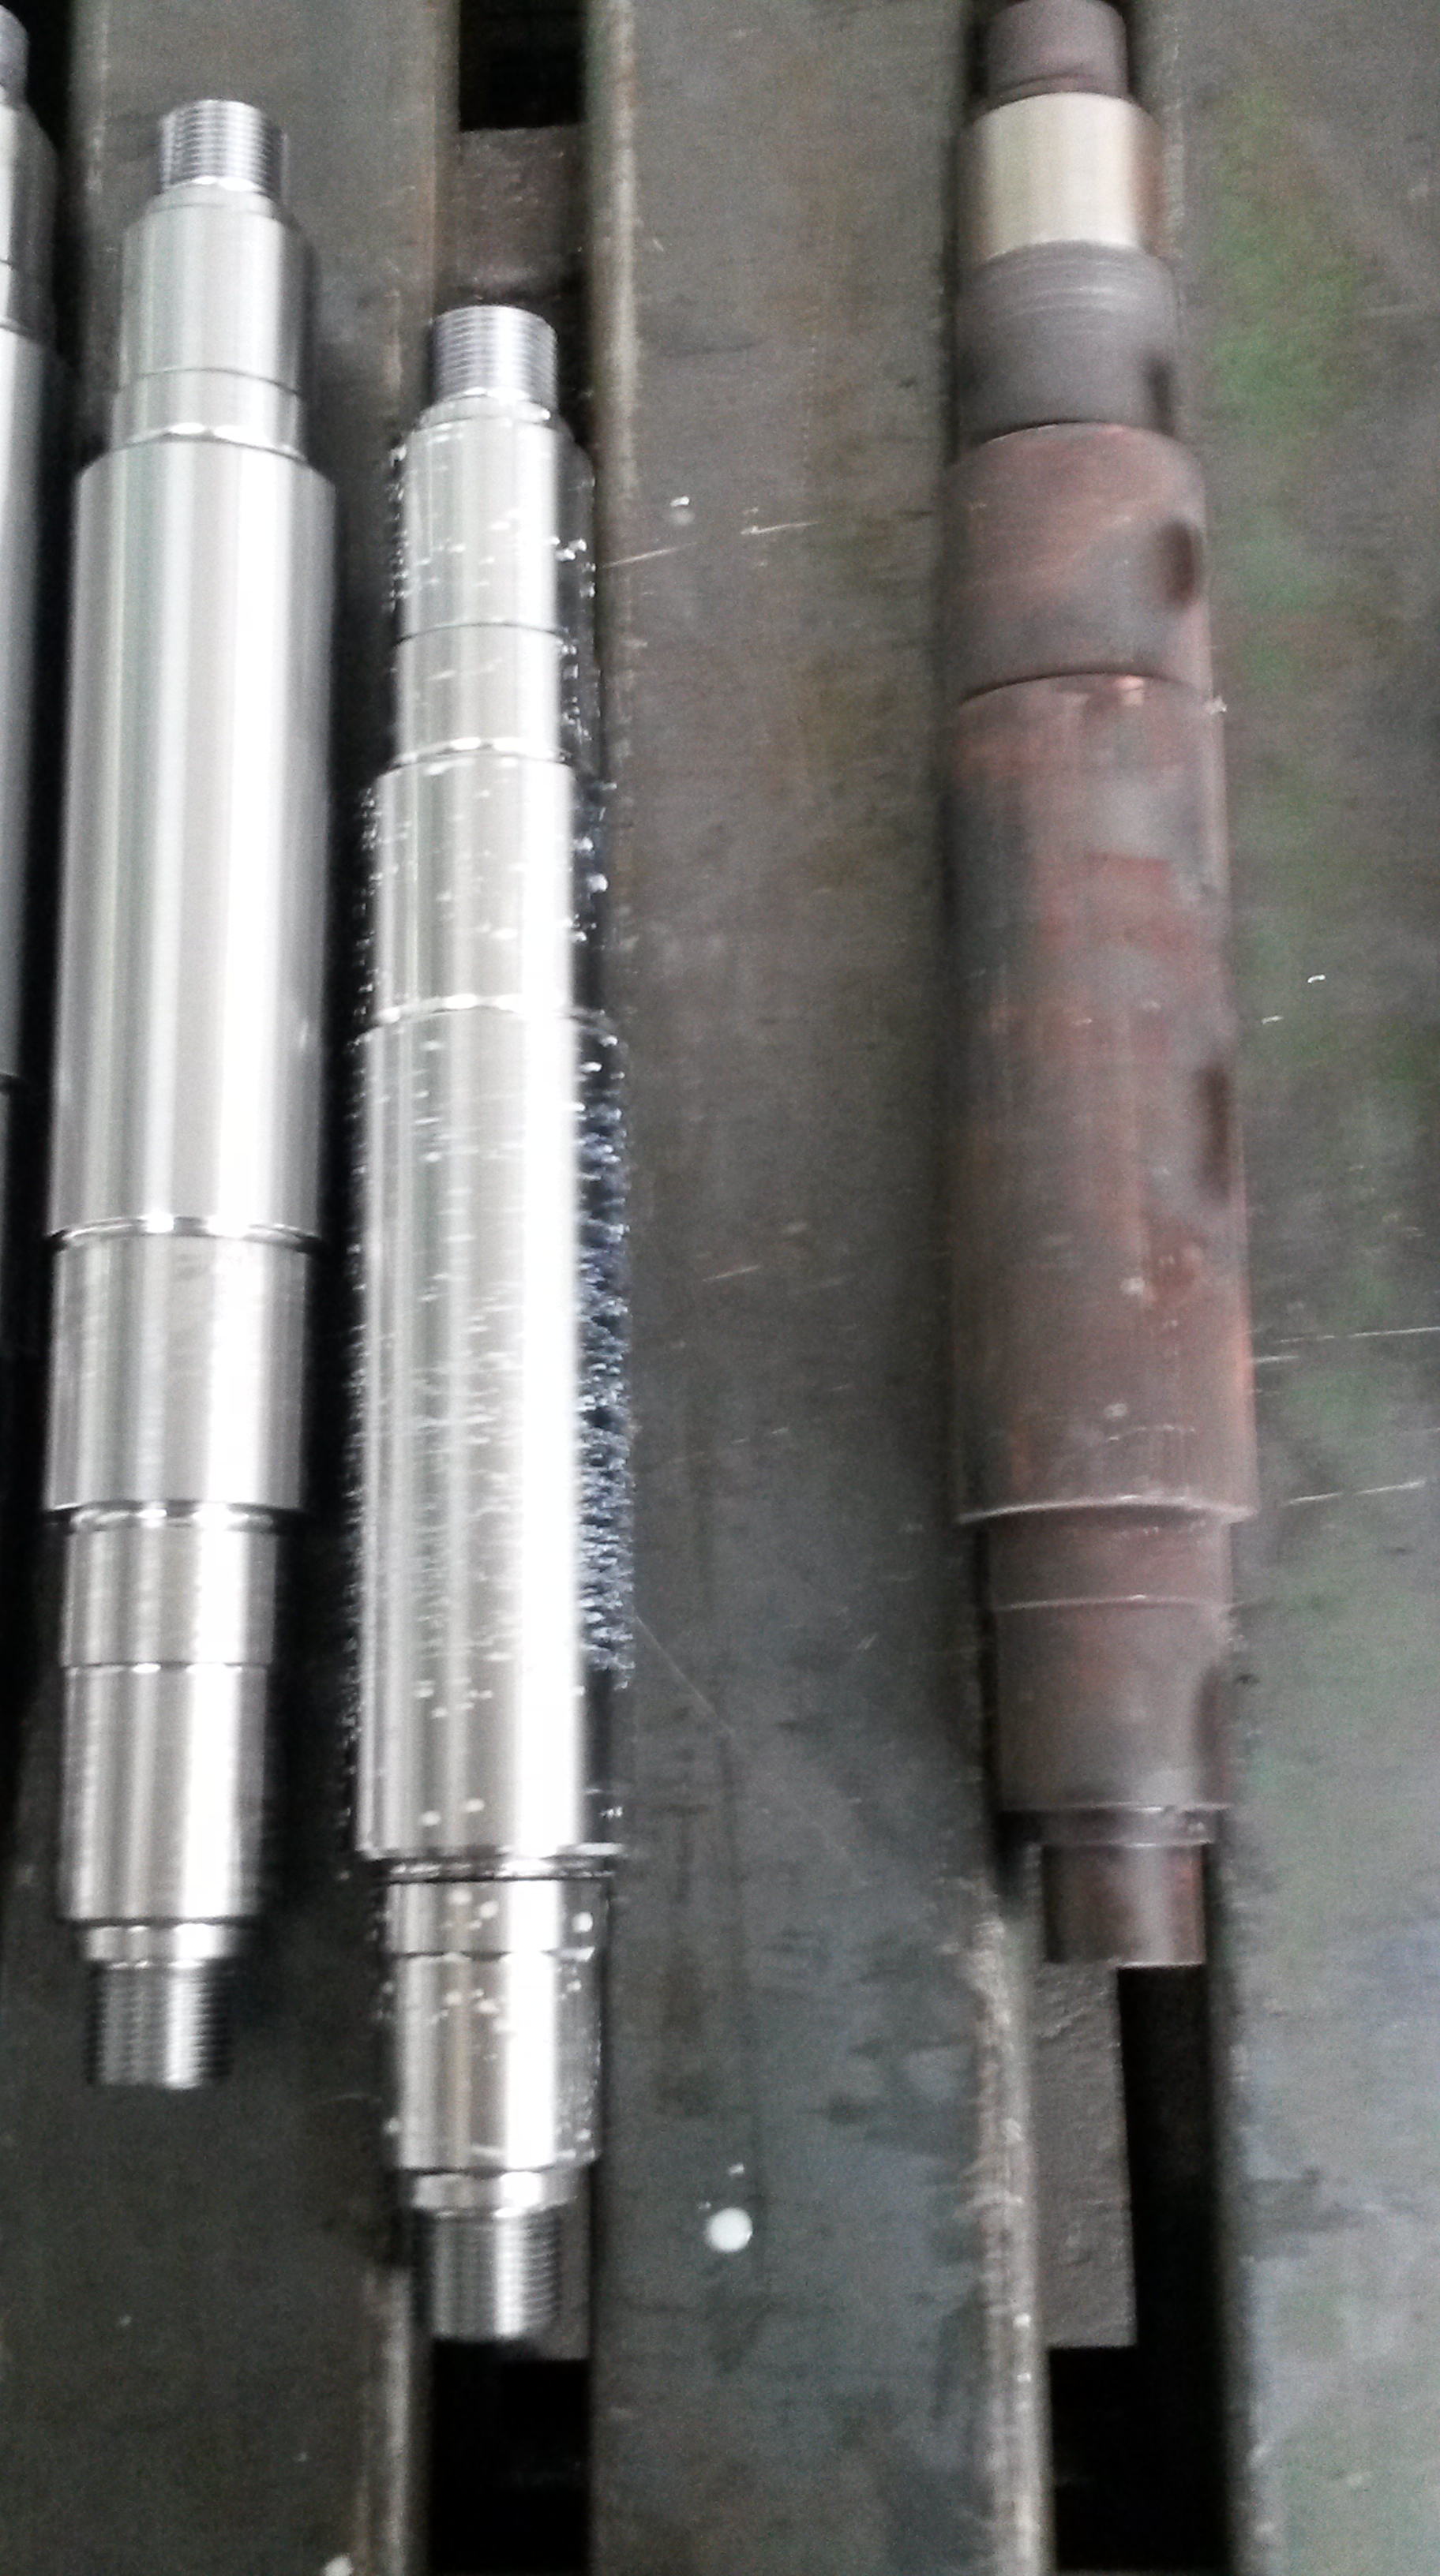
The white liquid being sprayed on the machined part is a coolant. This is necessary as the machining (grinding and cutting) generates a lot of heat. The machined part is a far more refined and precise version of the roughly moulded cast iron. The differences that machining makes are shown in the image below. On the left is the machined part and on the right is the original cast iron moulded part. Machining performs a variety of functions, from drilling to cutting to polishing.

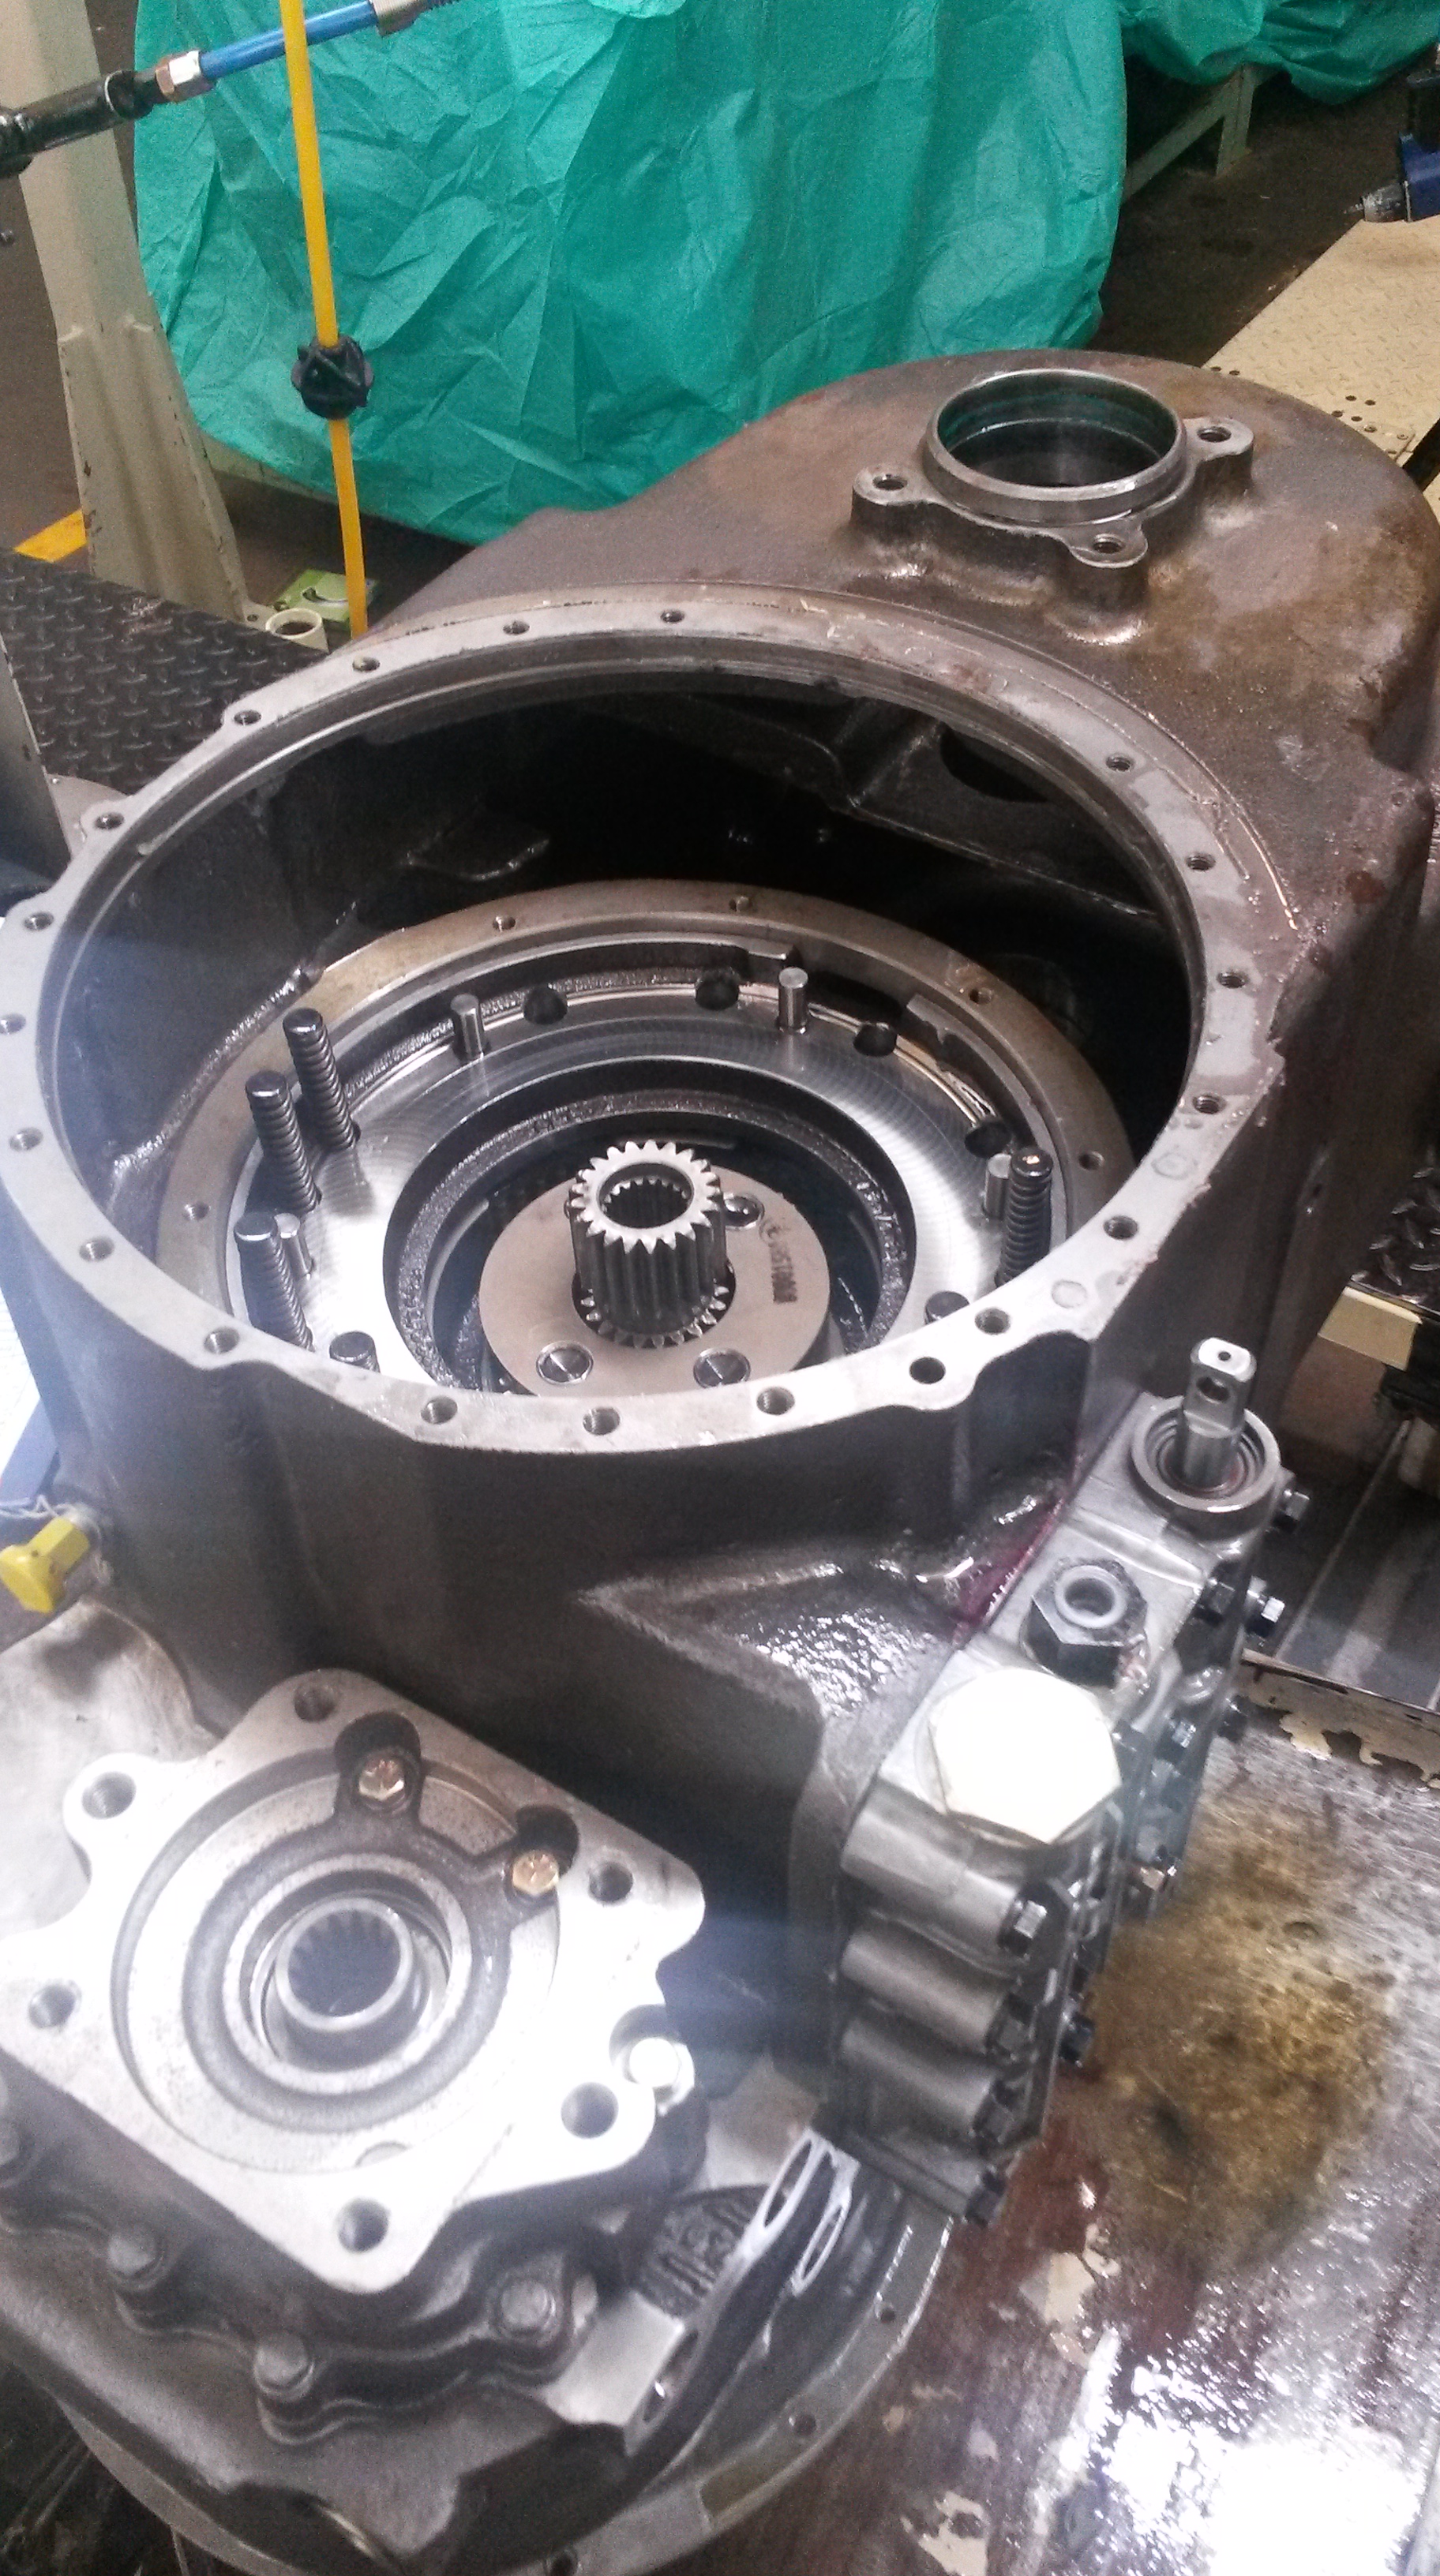
Step 4: Assembly:
All the machined parts are then assembled together, both mechanically and manually.
Step 5: Testing:
a) Dip Tank
The gear boxes are filled with hydraulic fluid and inserted into a tank of water in order to check for any leaks. If any bubbles emerge, leaks are identified.
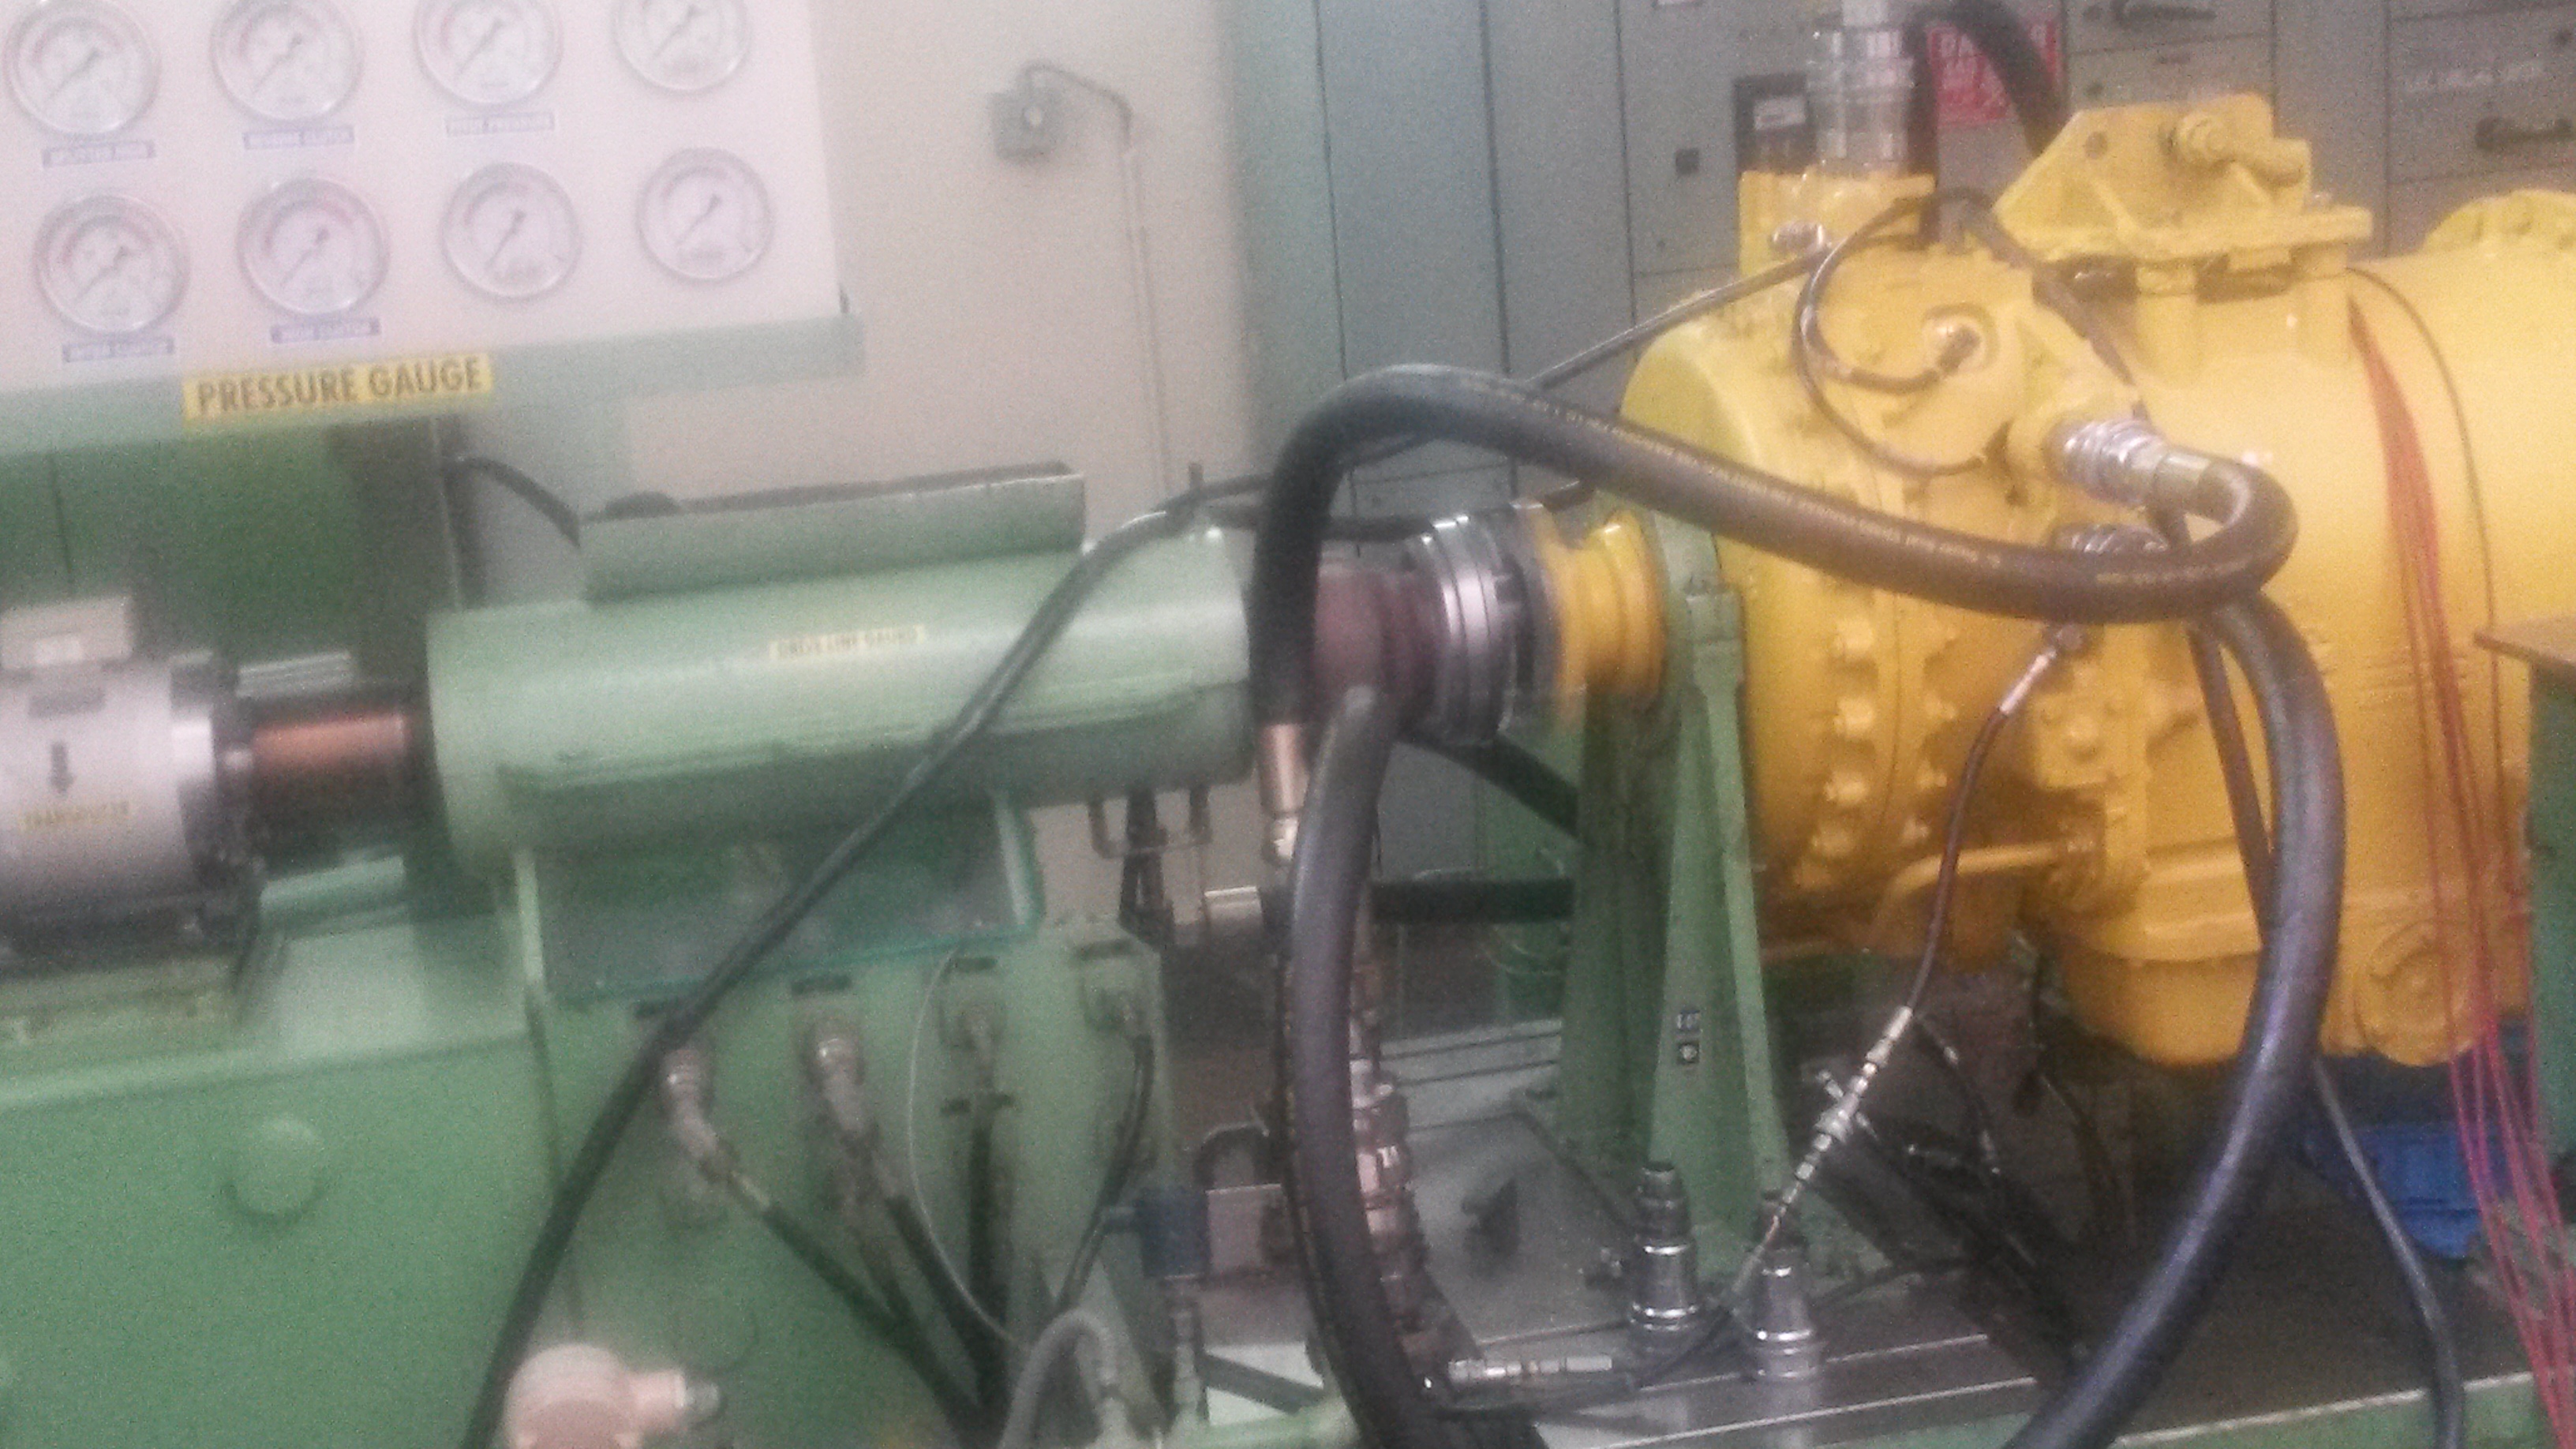
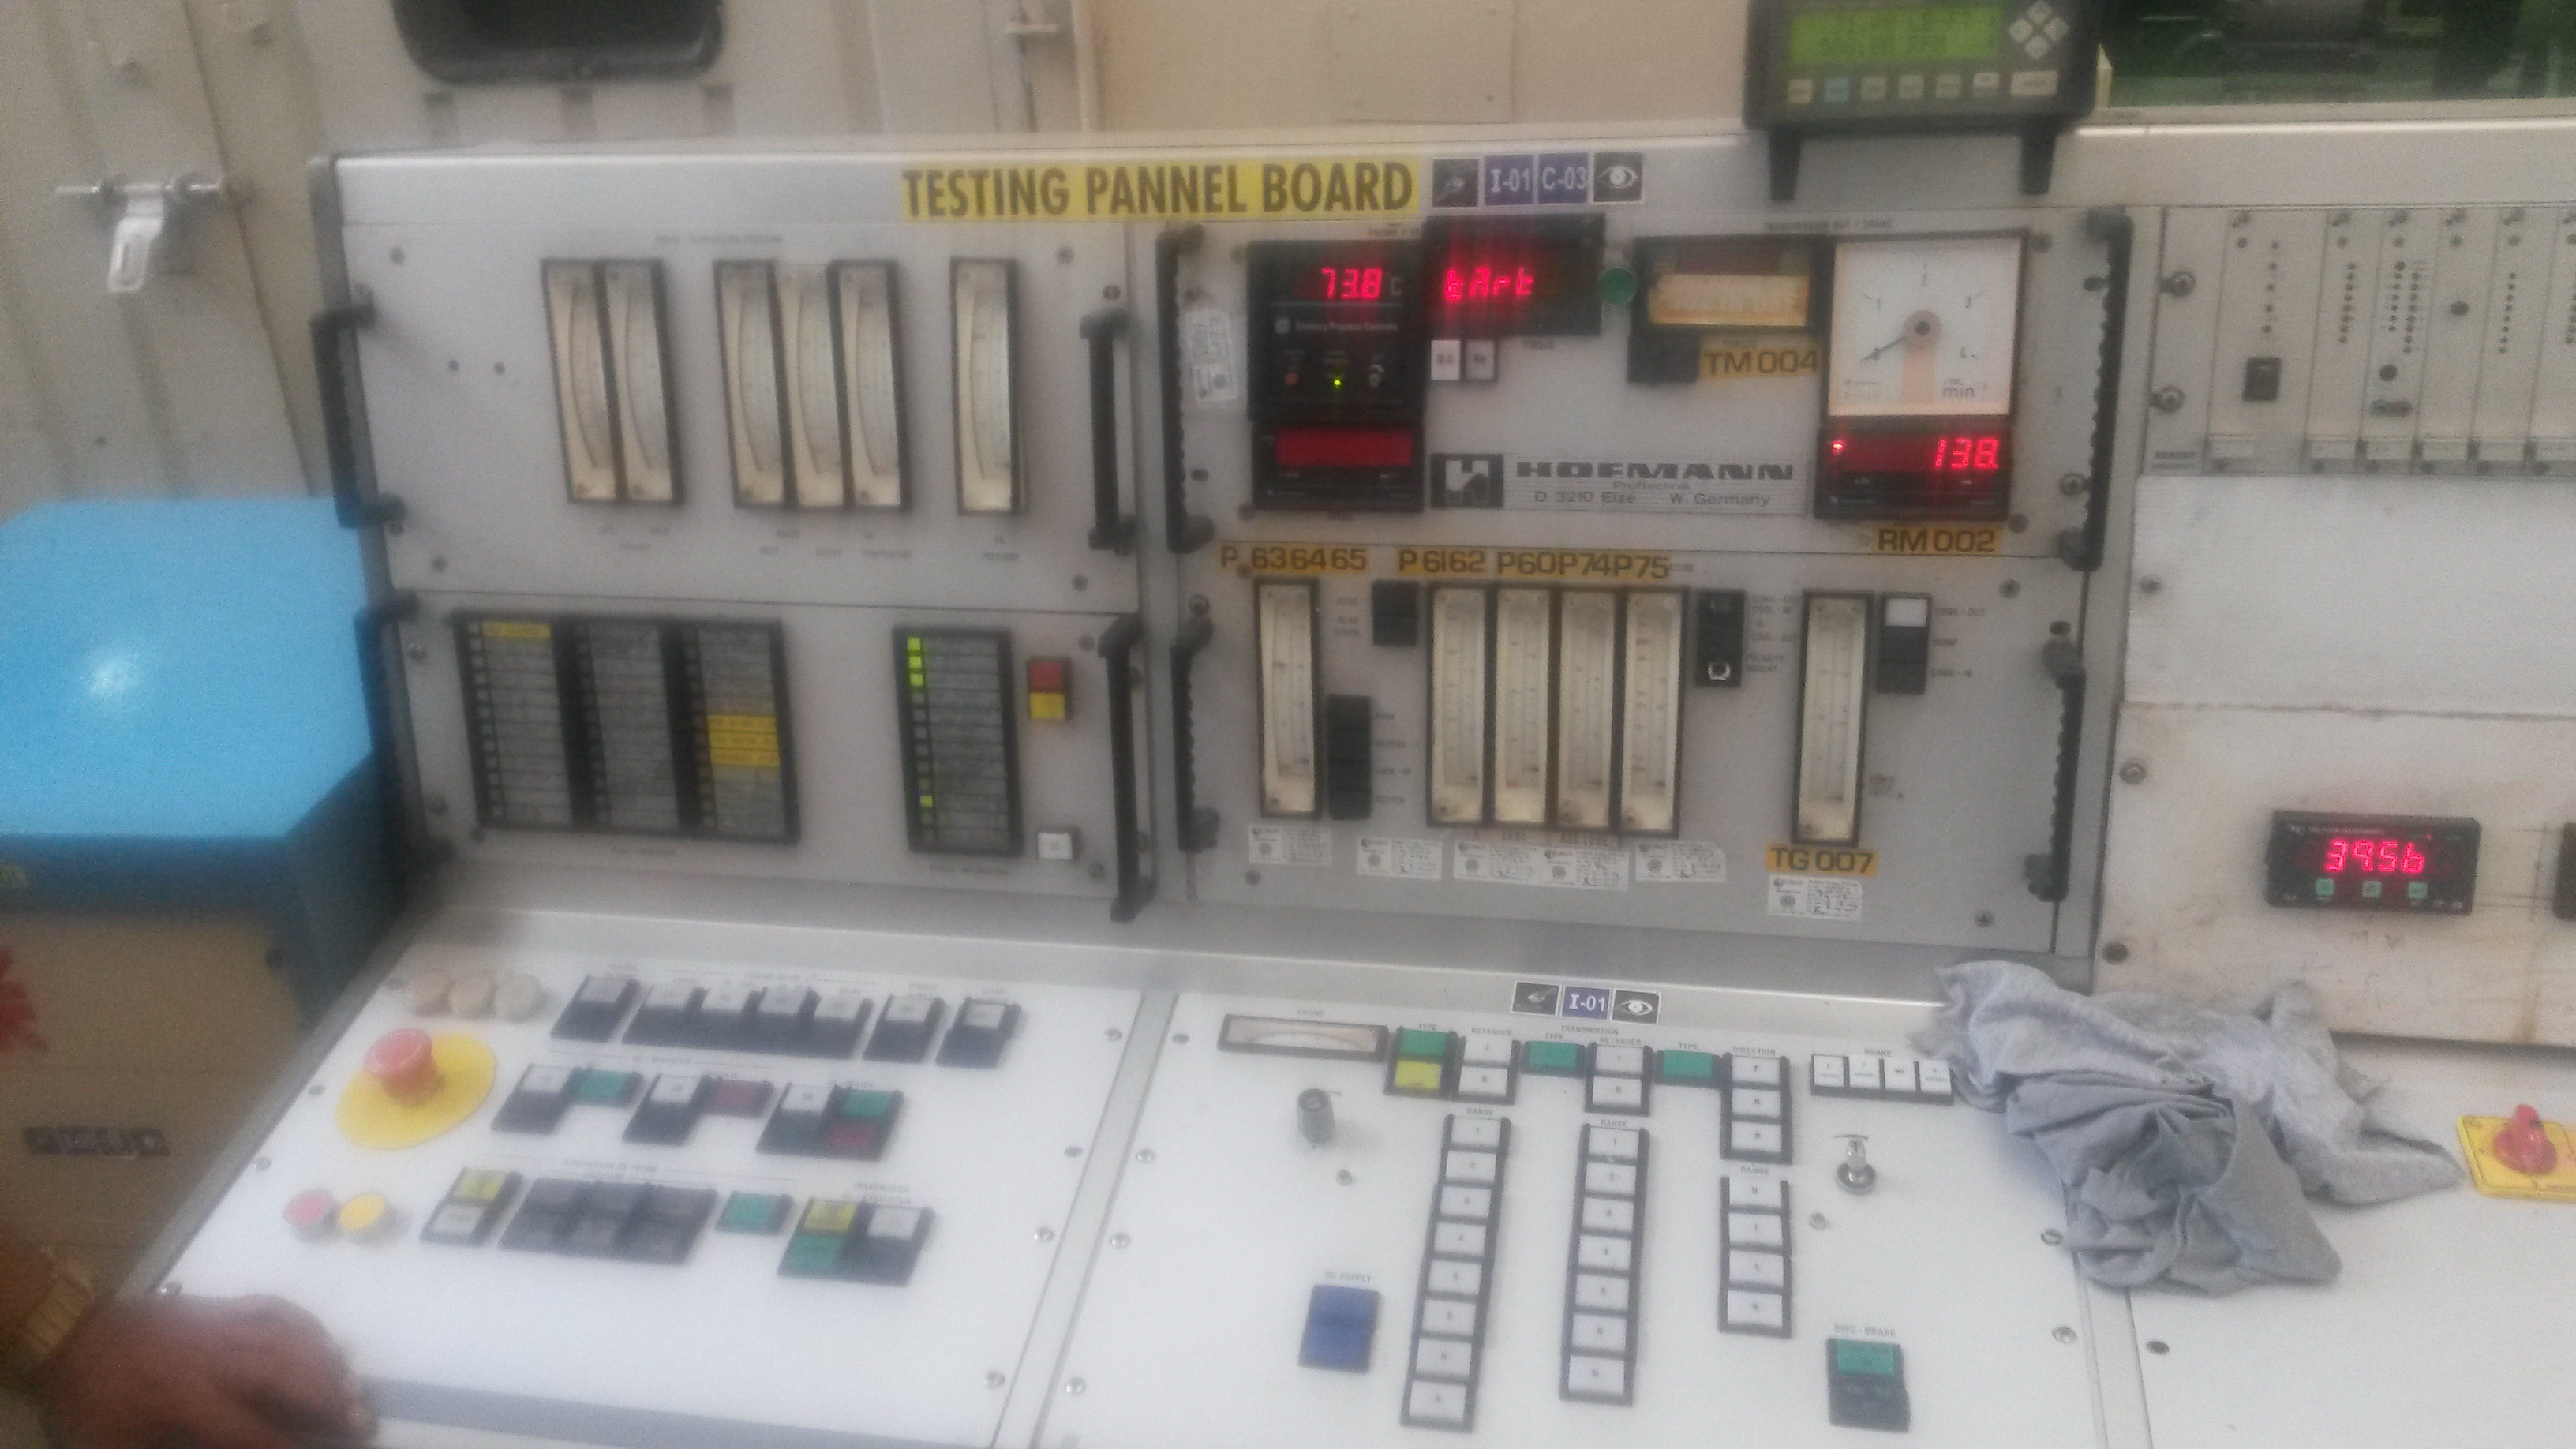
b) Performance Testing
The final check involves connecting the gearbox to an engine to simulate its operation.
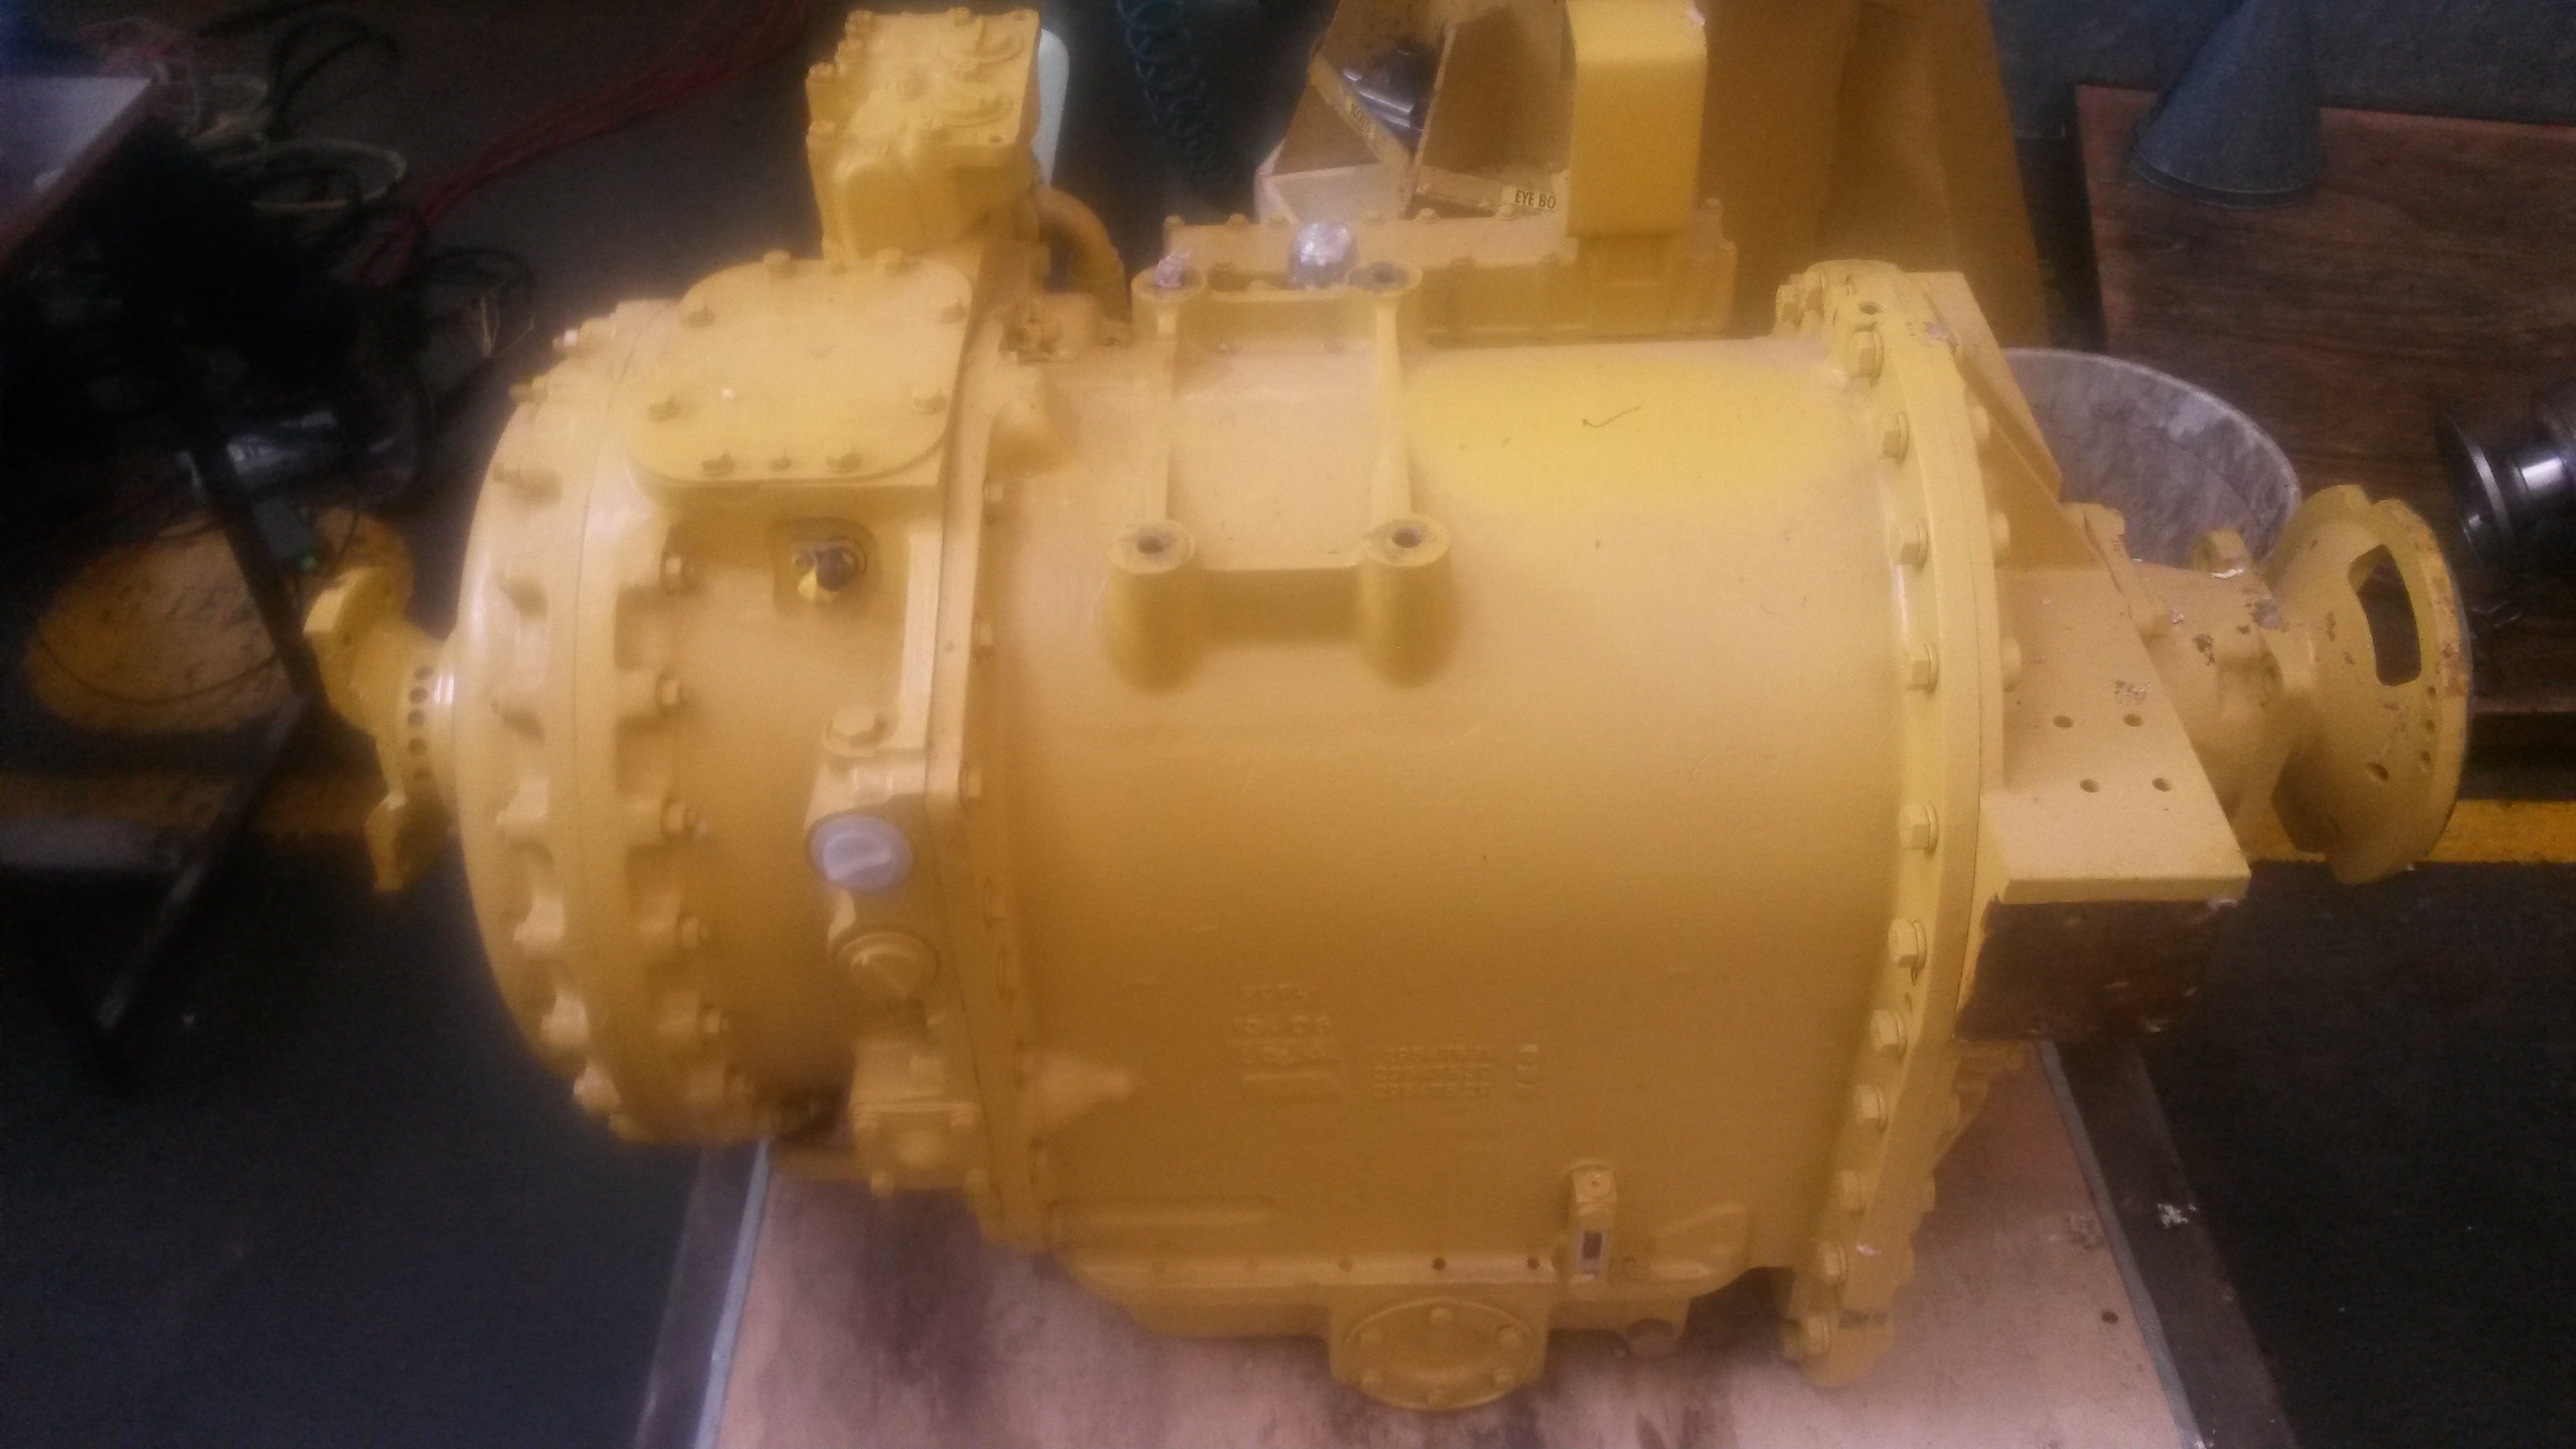
The Final Product:
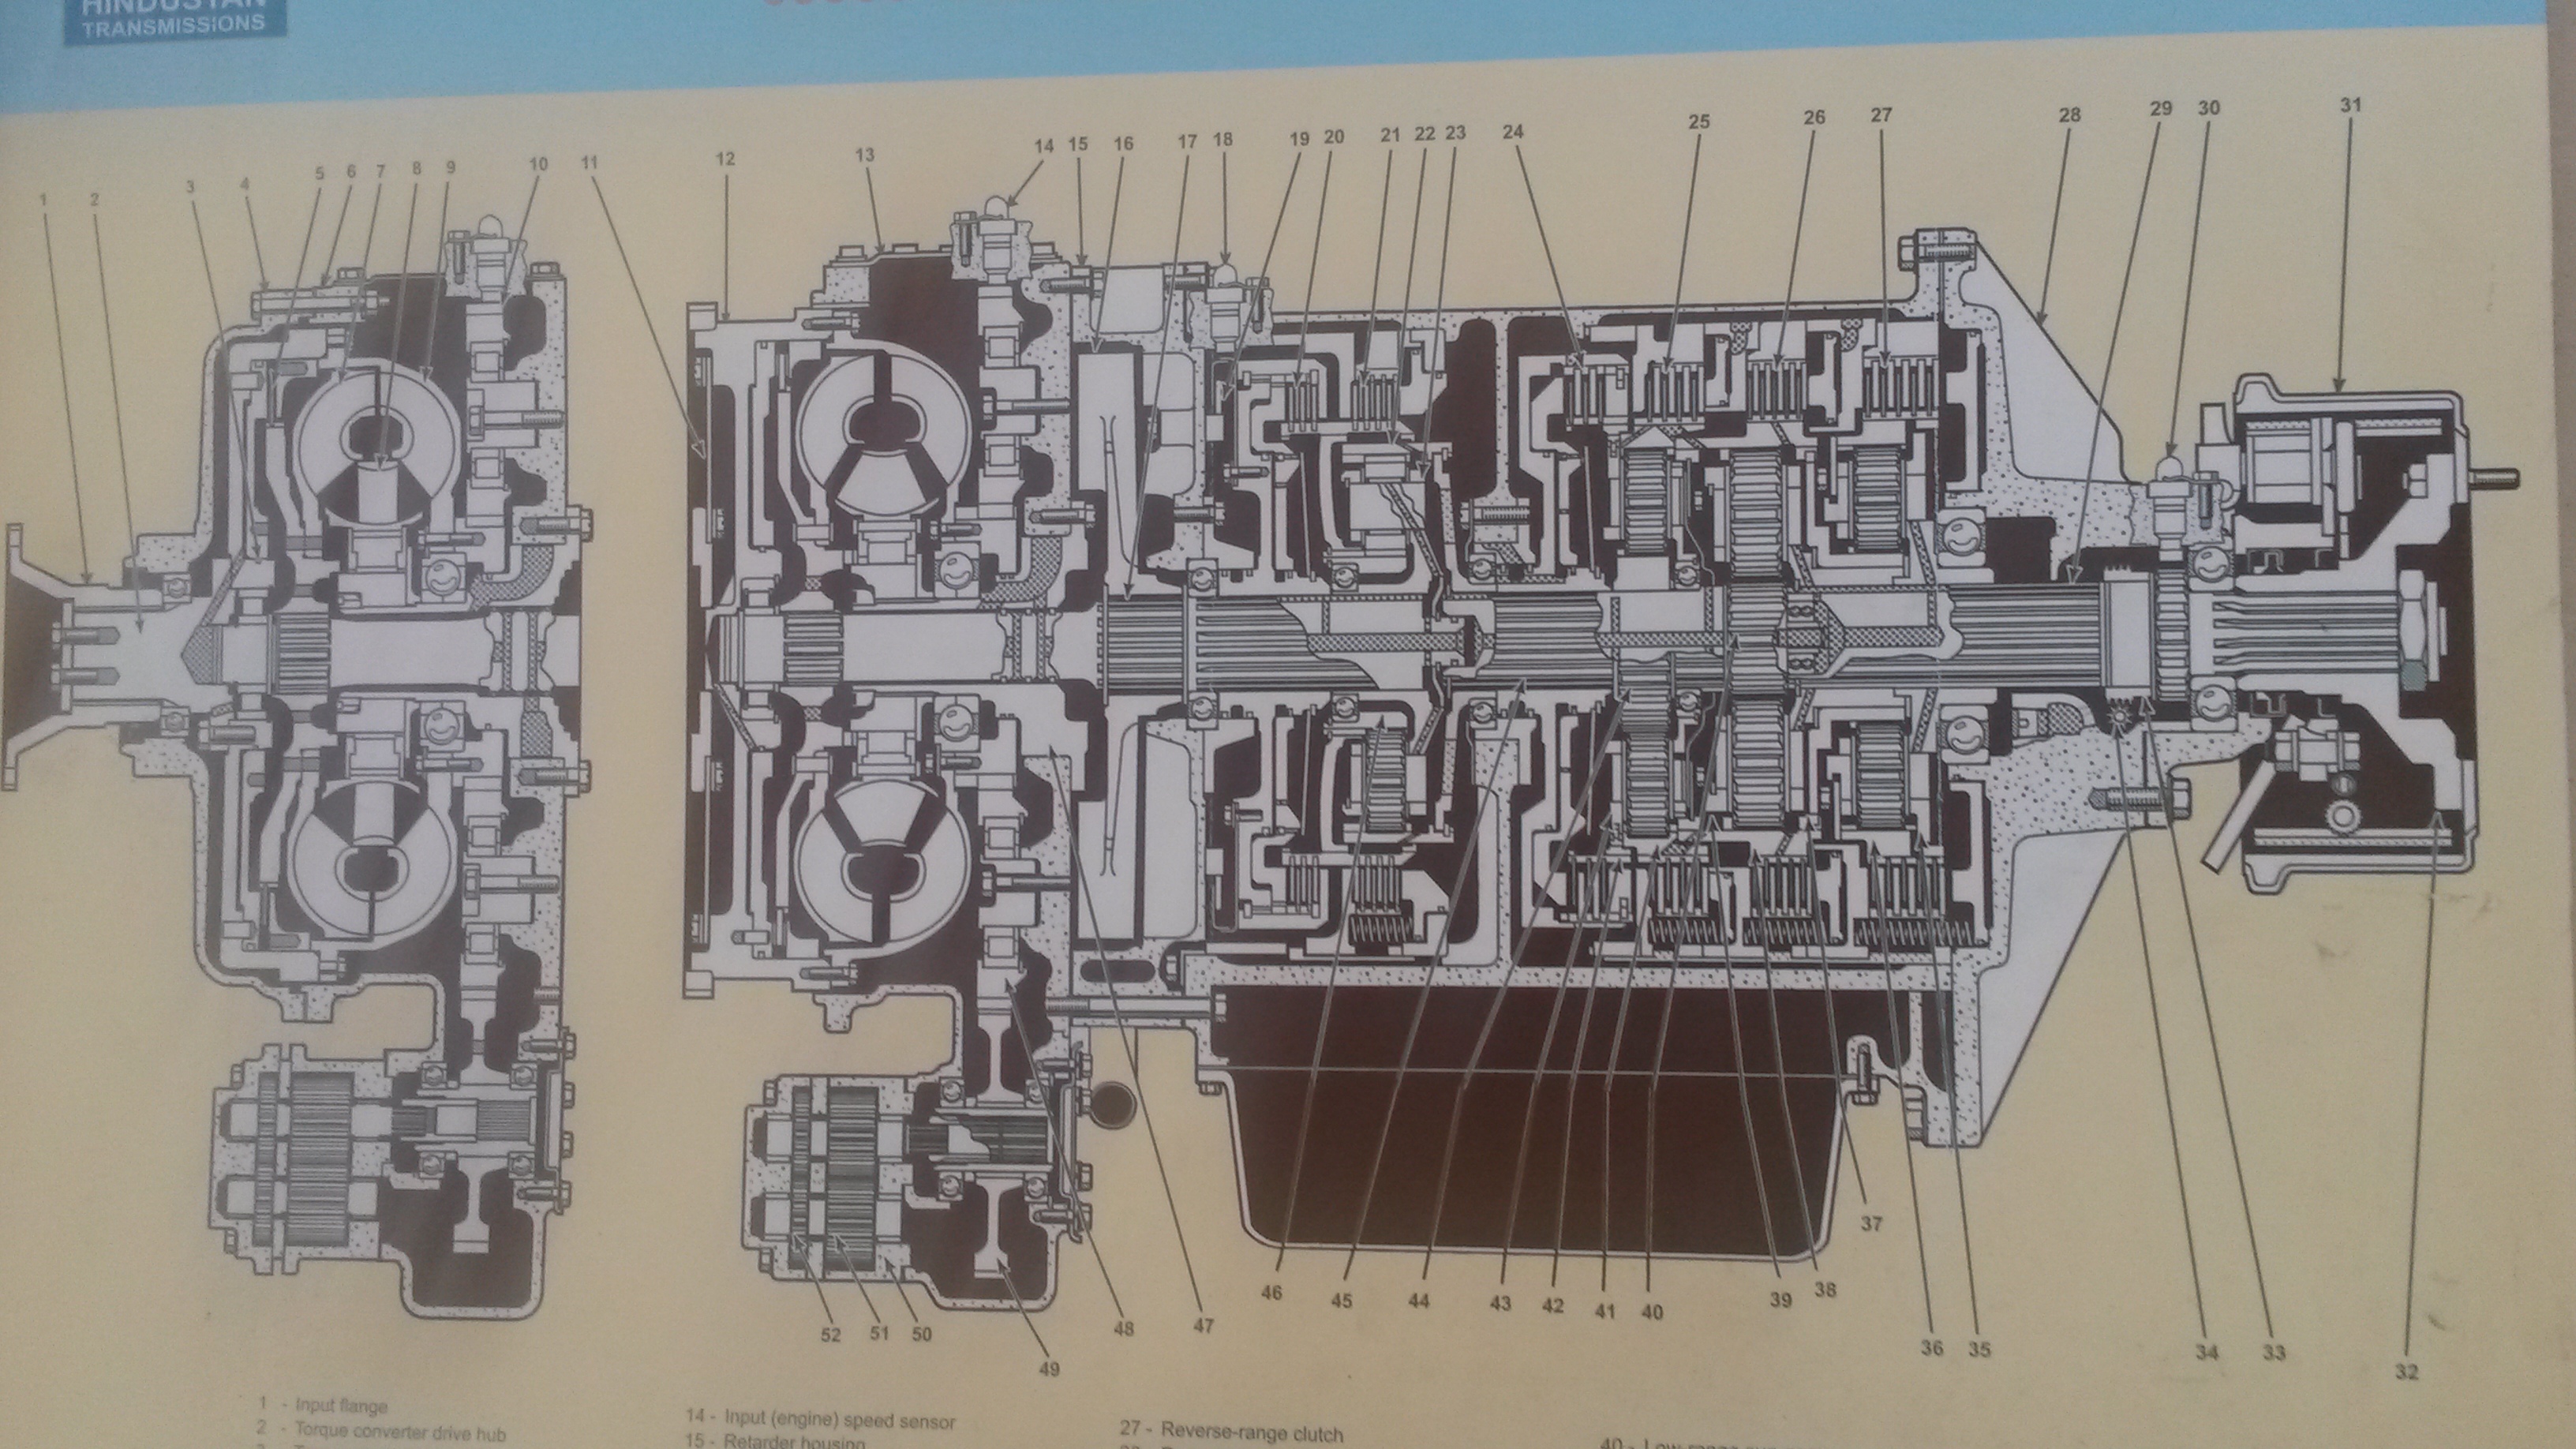
Consisting of over 150 parts, all individually machined, the gear box is finally produced and ready for delivery.
Here’s a look here at how gear boxes work in everyday life!
