Here’s a look at how a paper napkin machine works!
Step 1. Raw Material Insertion:
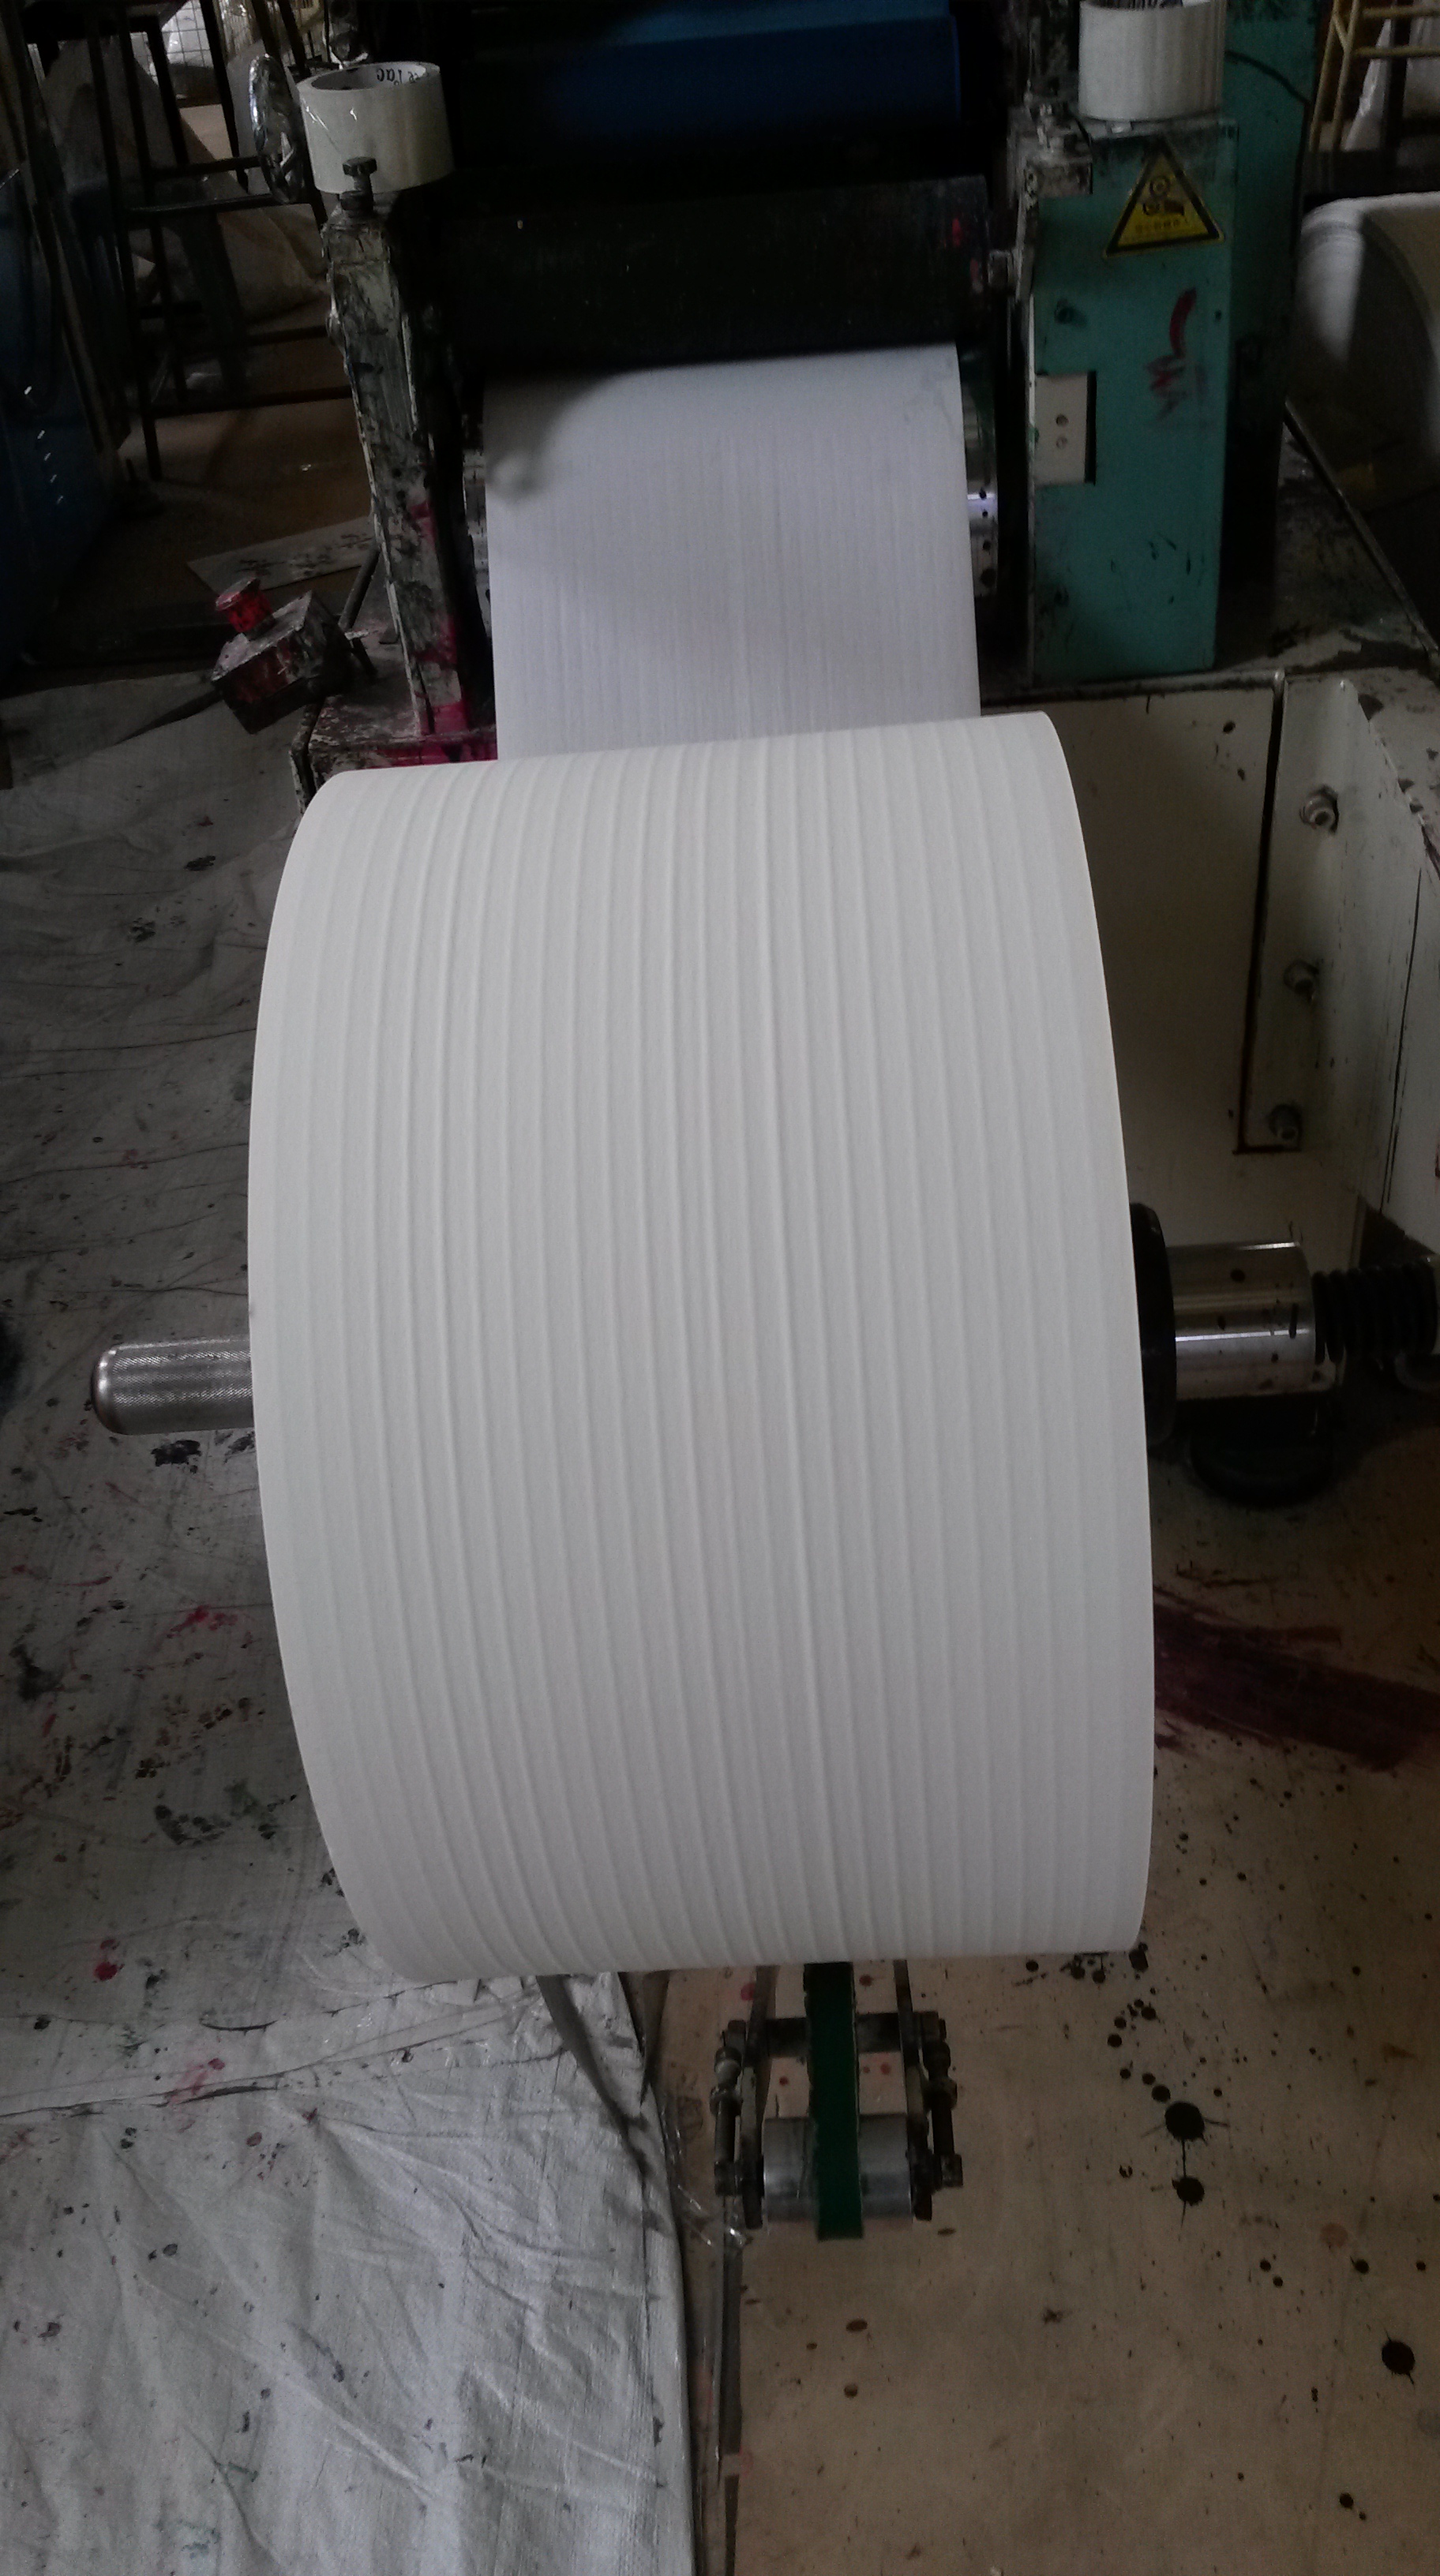
First, a roll of tissue paper is fed into the machine, as shown in the photograph below.
Step 2- Printing:
Three rollers are placed over a container of ink. The first roller rotates so that it gets covered in ink. Simultaneously, the other rollers (which are in contact with each other) also rotate. Thus, the first roller transfers the ink that it has picked up to the second roller. The second roller then rubs against the third one. The third roller, as you can see has rubber pieces stuck on it in a particular pattern, i.e. , the pattern that needs to be printed. The rubber pieces absorb the ink from the second roller. The first roller does not directly transfer the ink to the third one, as it picks up too much ink. However, only a fraction of that ink (the amount that is needed) gets transferred to the second roller, which in turn is absorbed by the rubber pieces on the third. Any ink that is not absorbed by the roller/ rubber pieces in returned to the container, ensuring minimum wastage of ink, making the process efficient.

The paper moves forward and winds over the third roller. Like a rubber stamp, the rubber pieces of the roller transfer the ink to the paper in the particular design. The speed of the roller must be regulated so that it is not too slow (which would result in too much ink on the paper) or too fast (which would result in too less ink on the paper)

Interestingly the machine has the capability to print two different designs at the same time. This is achieved as half of the third roller has rubber pieces of one design, while the other half has rubber pieces of the other design. The surface area of the roller is equal of the surface area of exactly two napkins. Therefore, two napkins with two different designs can be printed easily.
Step 3- Embossing:
The printed paper then gets embossed, i.e., gets pressed against a roller so that there are small raised portions and depressions of the paper. The roller shown in the photograph below has an extremely uneven surface with regular, small depressions. Once the paper rubs against this roller it fills in these gaps in the roller, which result in the paper also having an uneven surface.
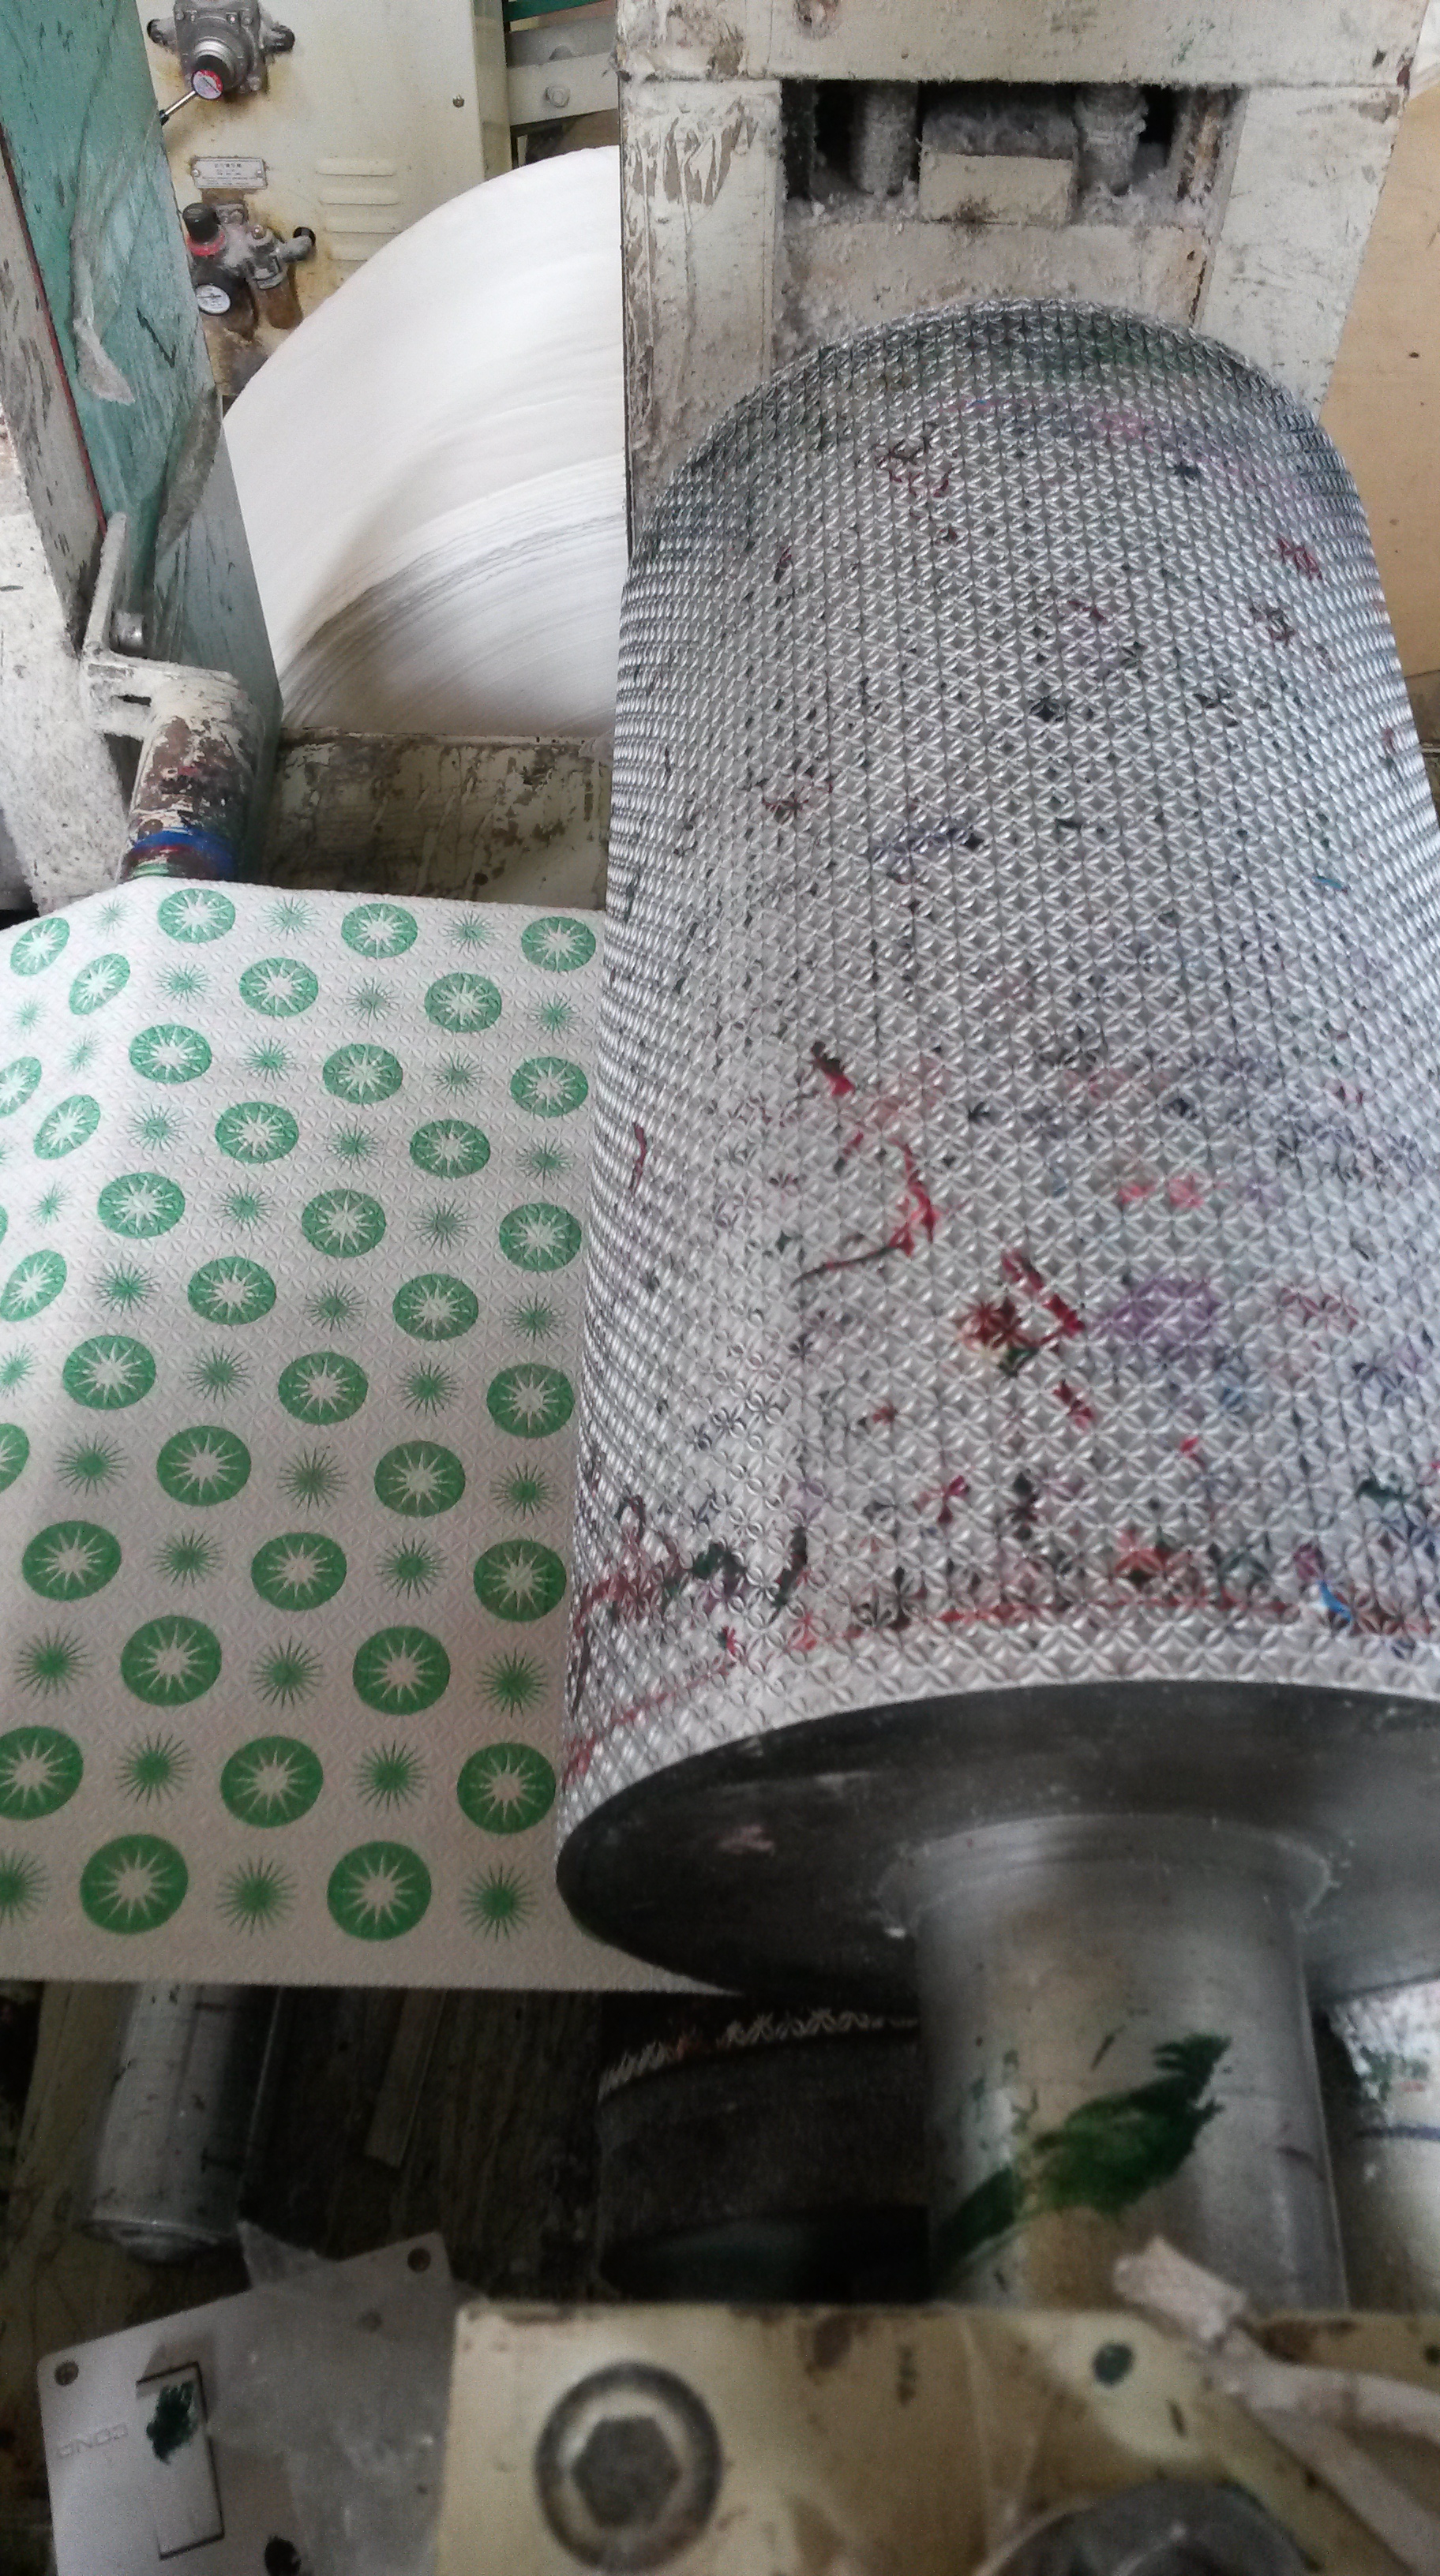
Why do this? Well, the embossing in the paper gives it a fluffiness. When the napkins are stacked one on top of another, the embossing means that there would be air gaps in between the napkins. Thus, this makes the tissue look more fluffy, which would attract consumers to buy these napkins.
Step 4- Folding and Counting:
The printed and embossed paper is then folded, as shown below. The machine contains a triangular metal plate that is placed at an angle. The paper goes over this plate, thus is rises. Two rods are placed right after this triangular plate. The paper that goes over the top edge of the triangular plate proceeds into the rods. The rods rotate, which results in the rest of the paper also following, thereby getting folded.
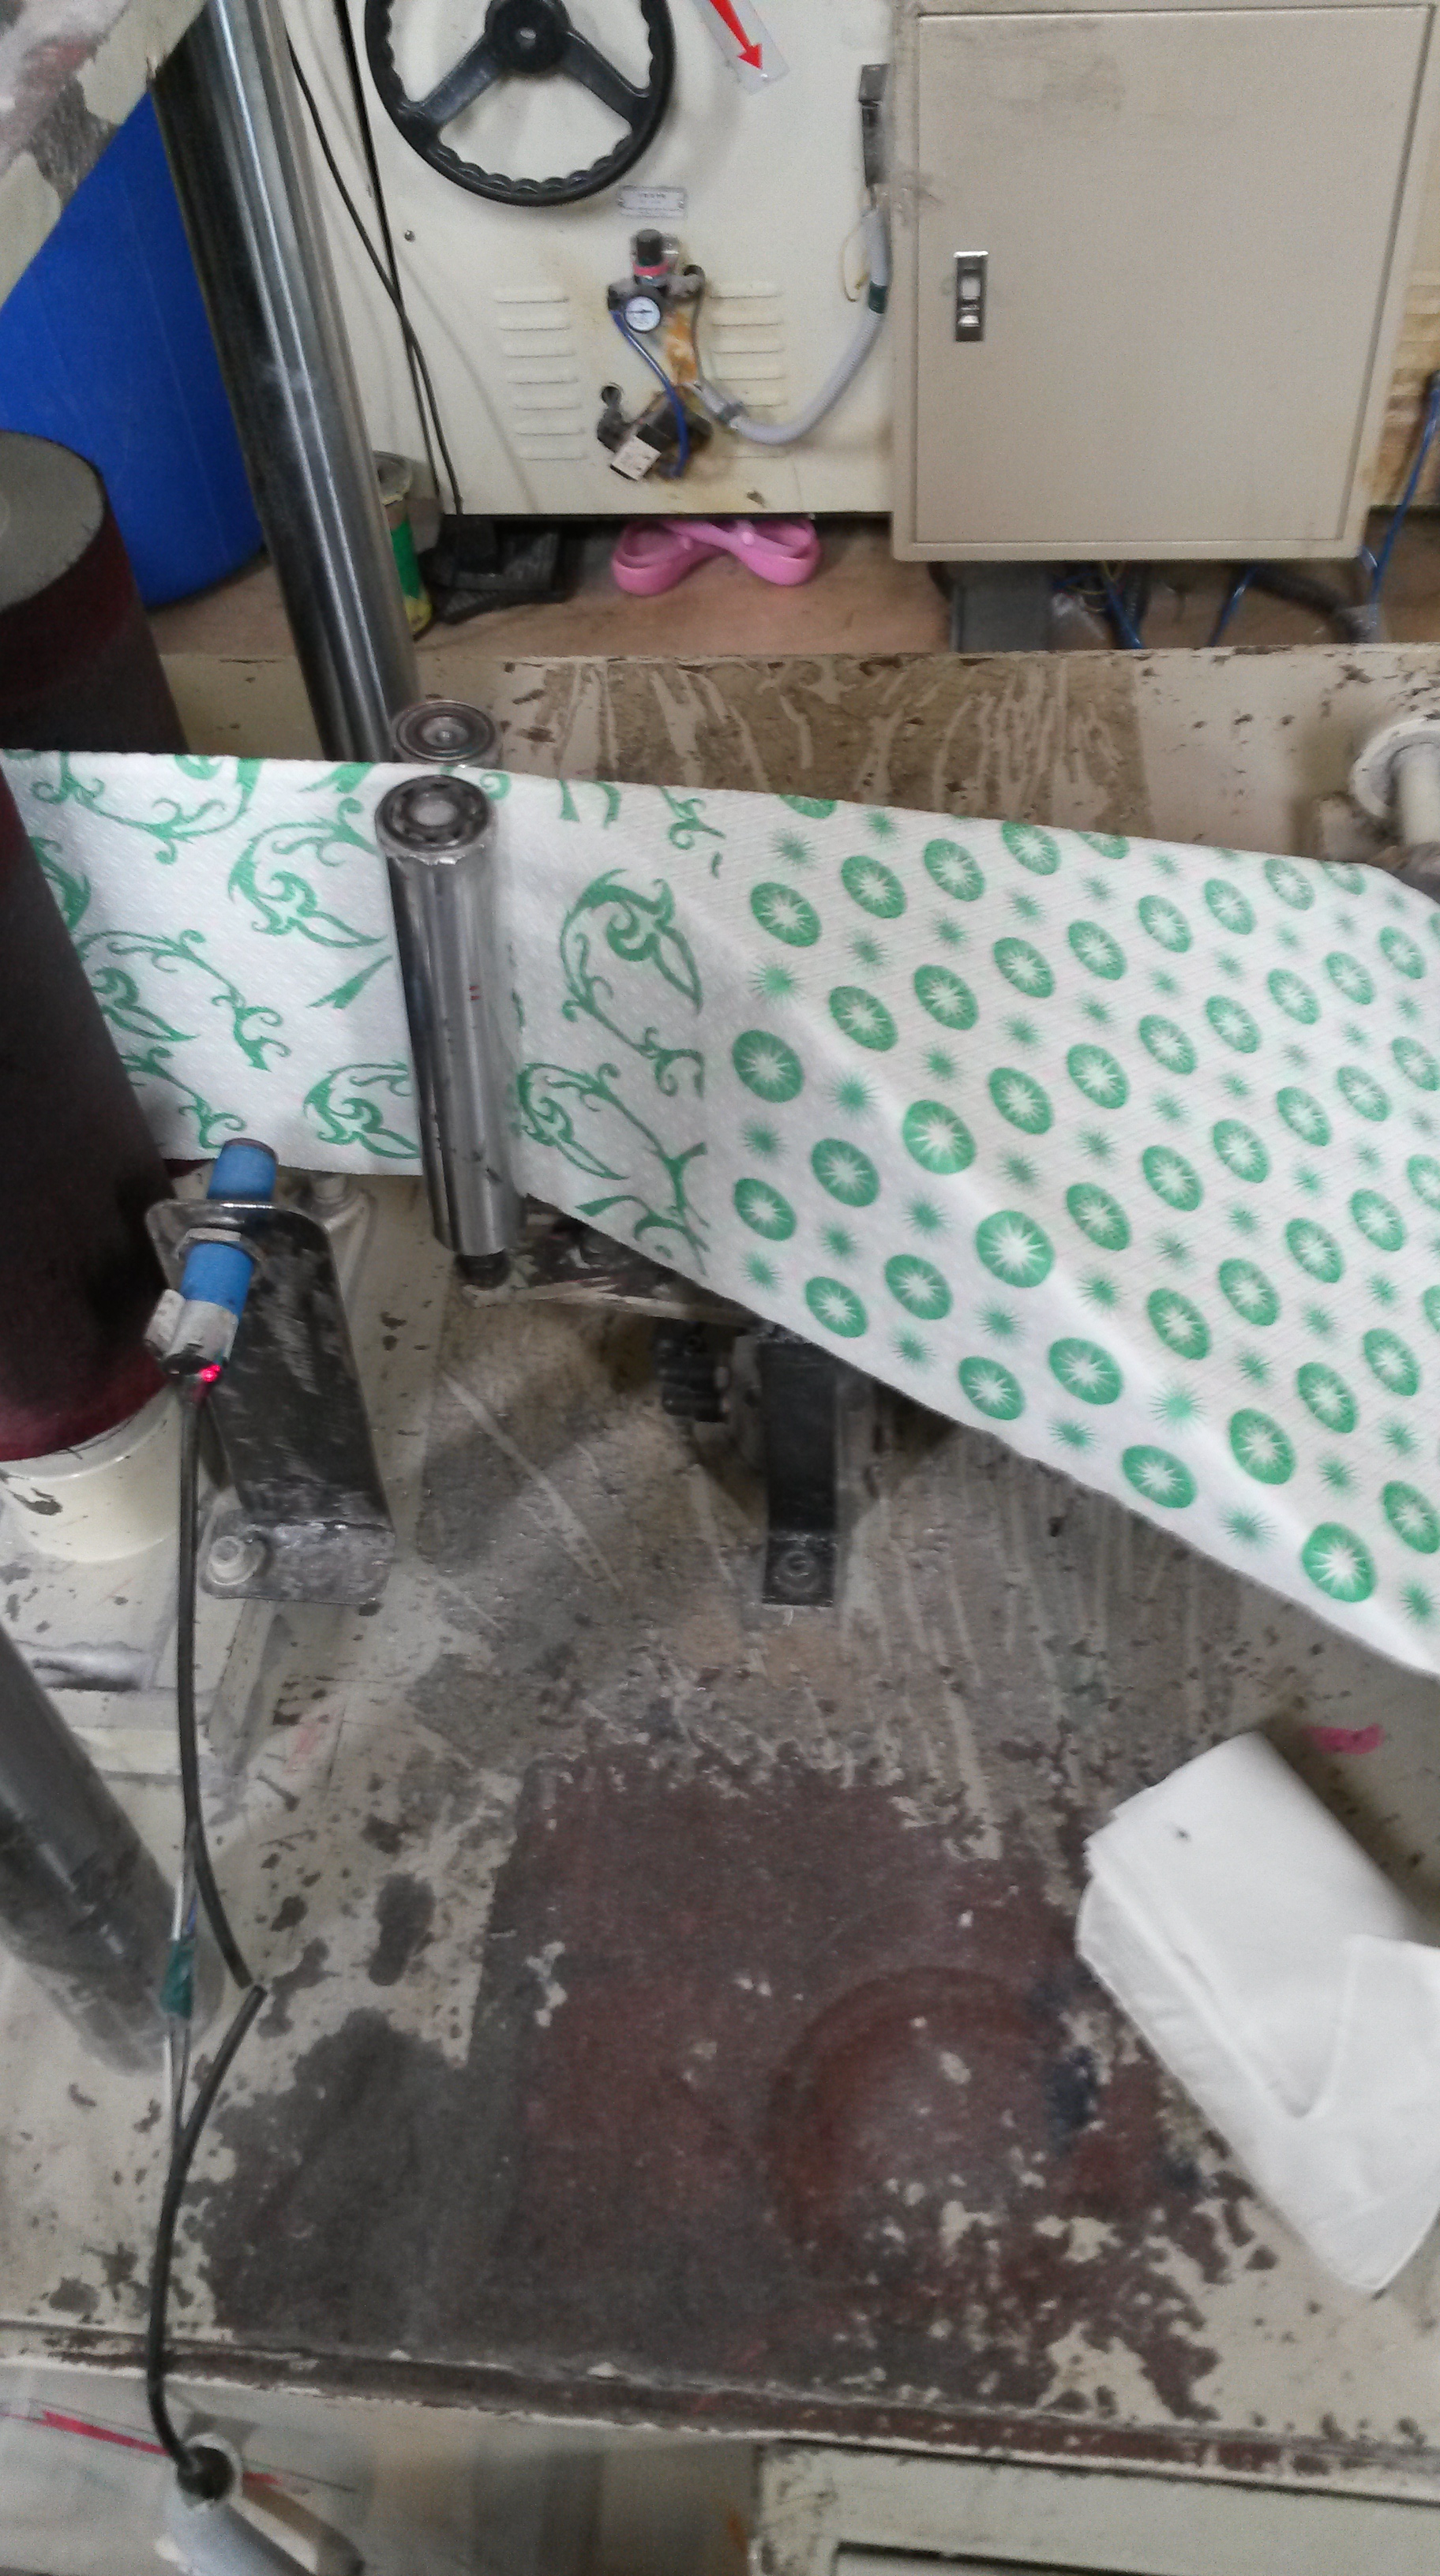
The small blue device in the picture is a counter. After it senses that a particular length of paper has passed it the count increases by one. The machine, therefore, also counts the number of napkins it makes.
Step 5- Cutting:
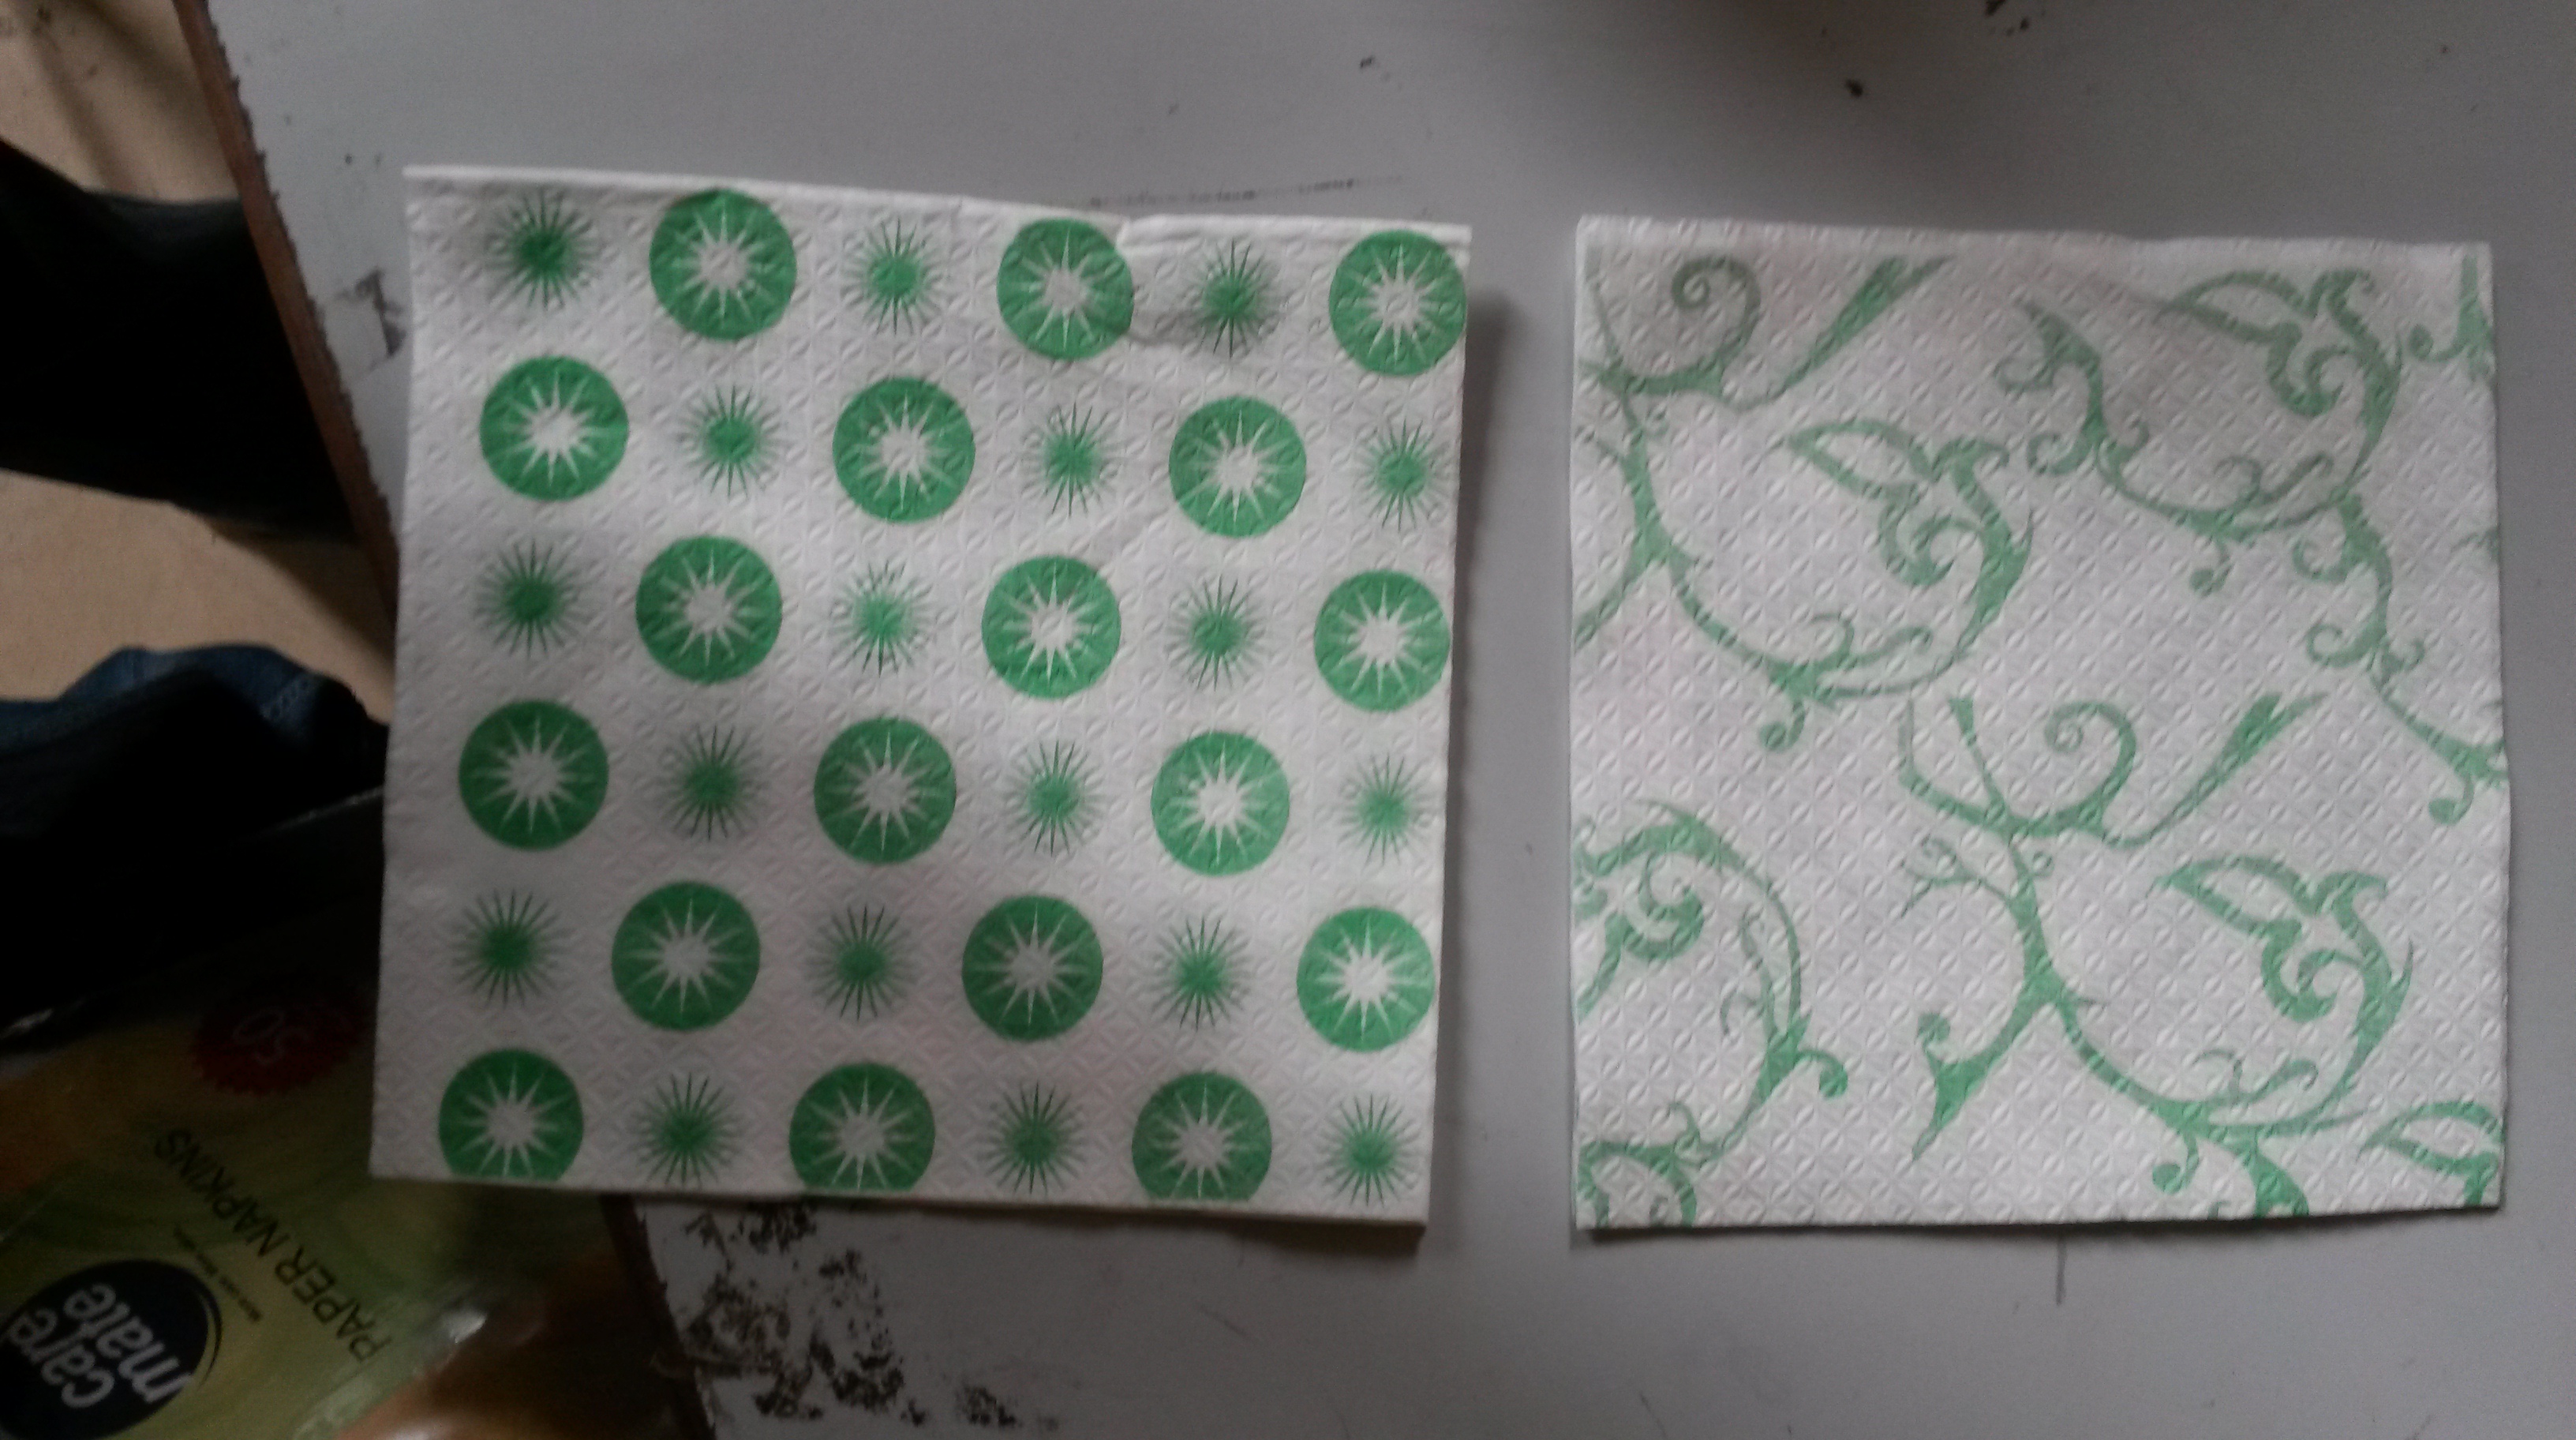
Finally, the printed, embossed and folded paper, is cut. A vertical blade is placed at the end of the machine and as the paper passes through it, it gets cut in half. As the picture shows, the napkins are split into two batches, one with each design.
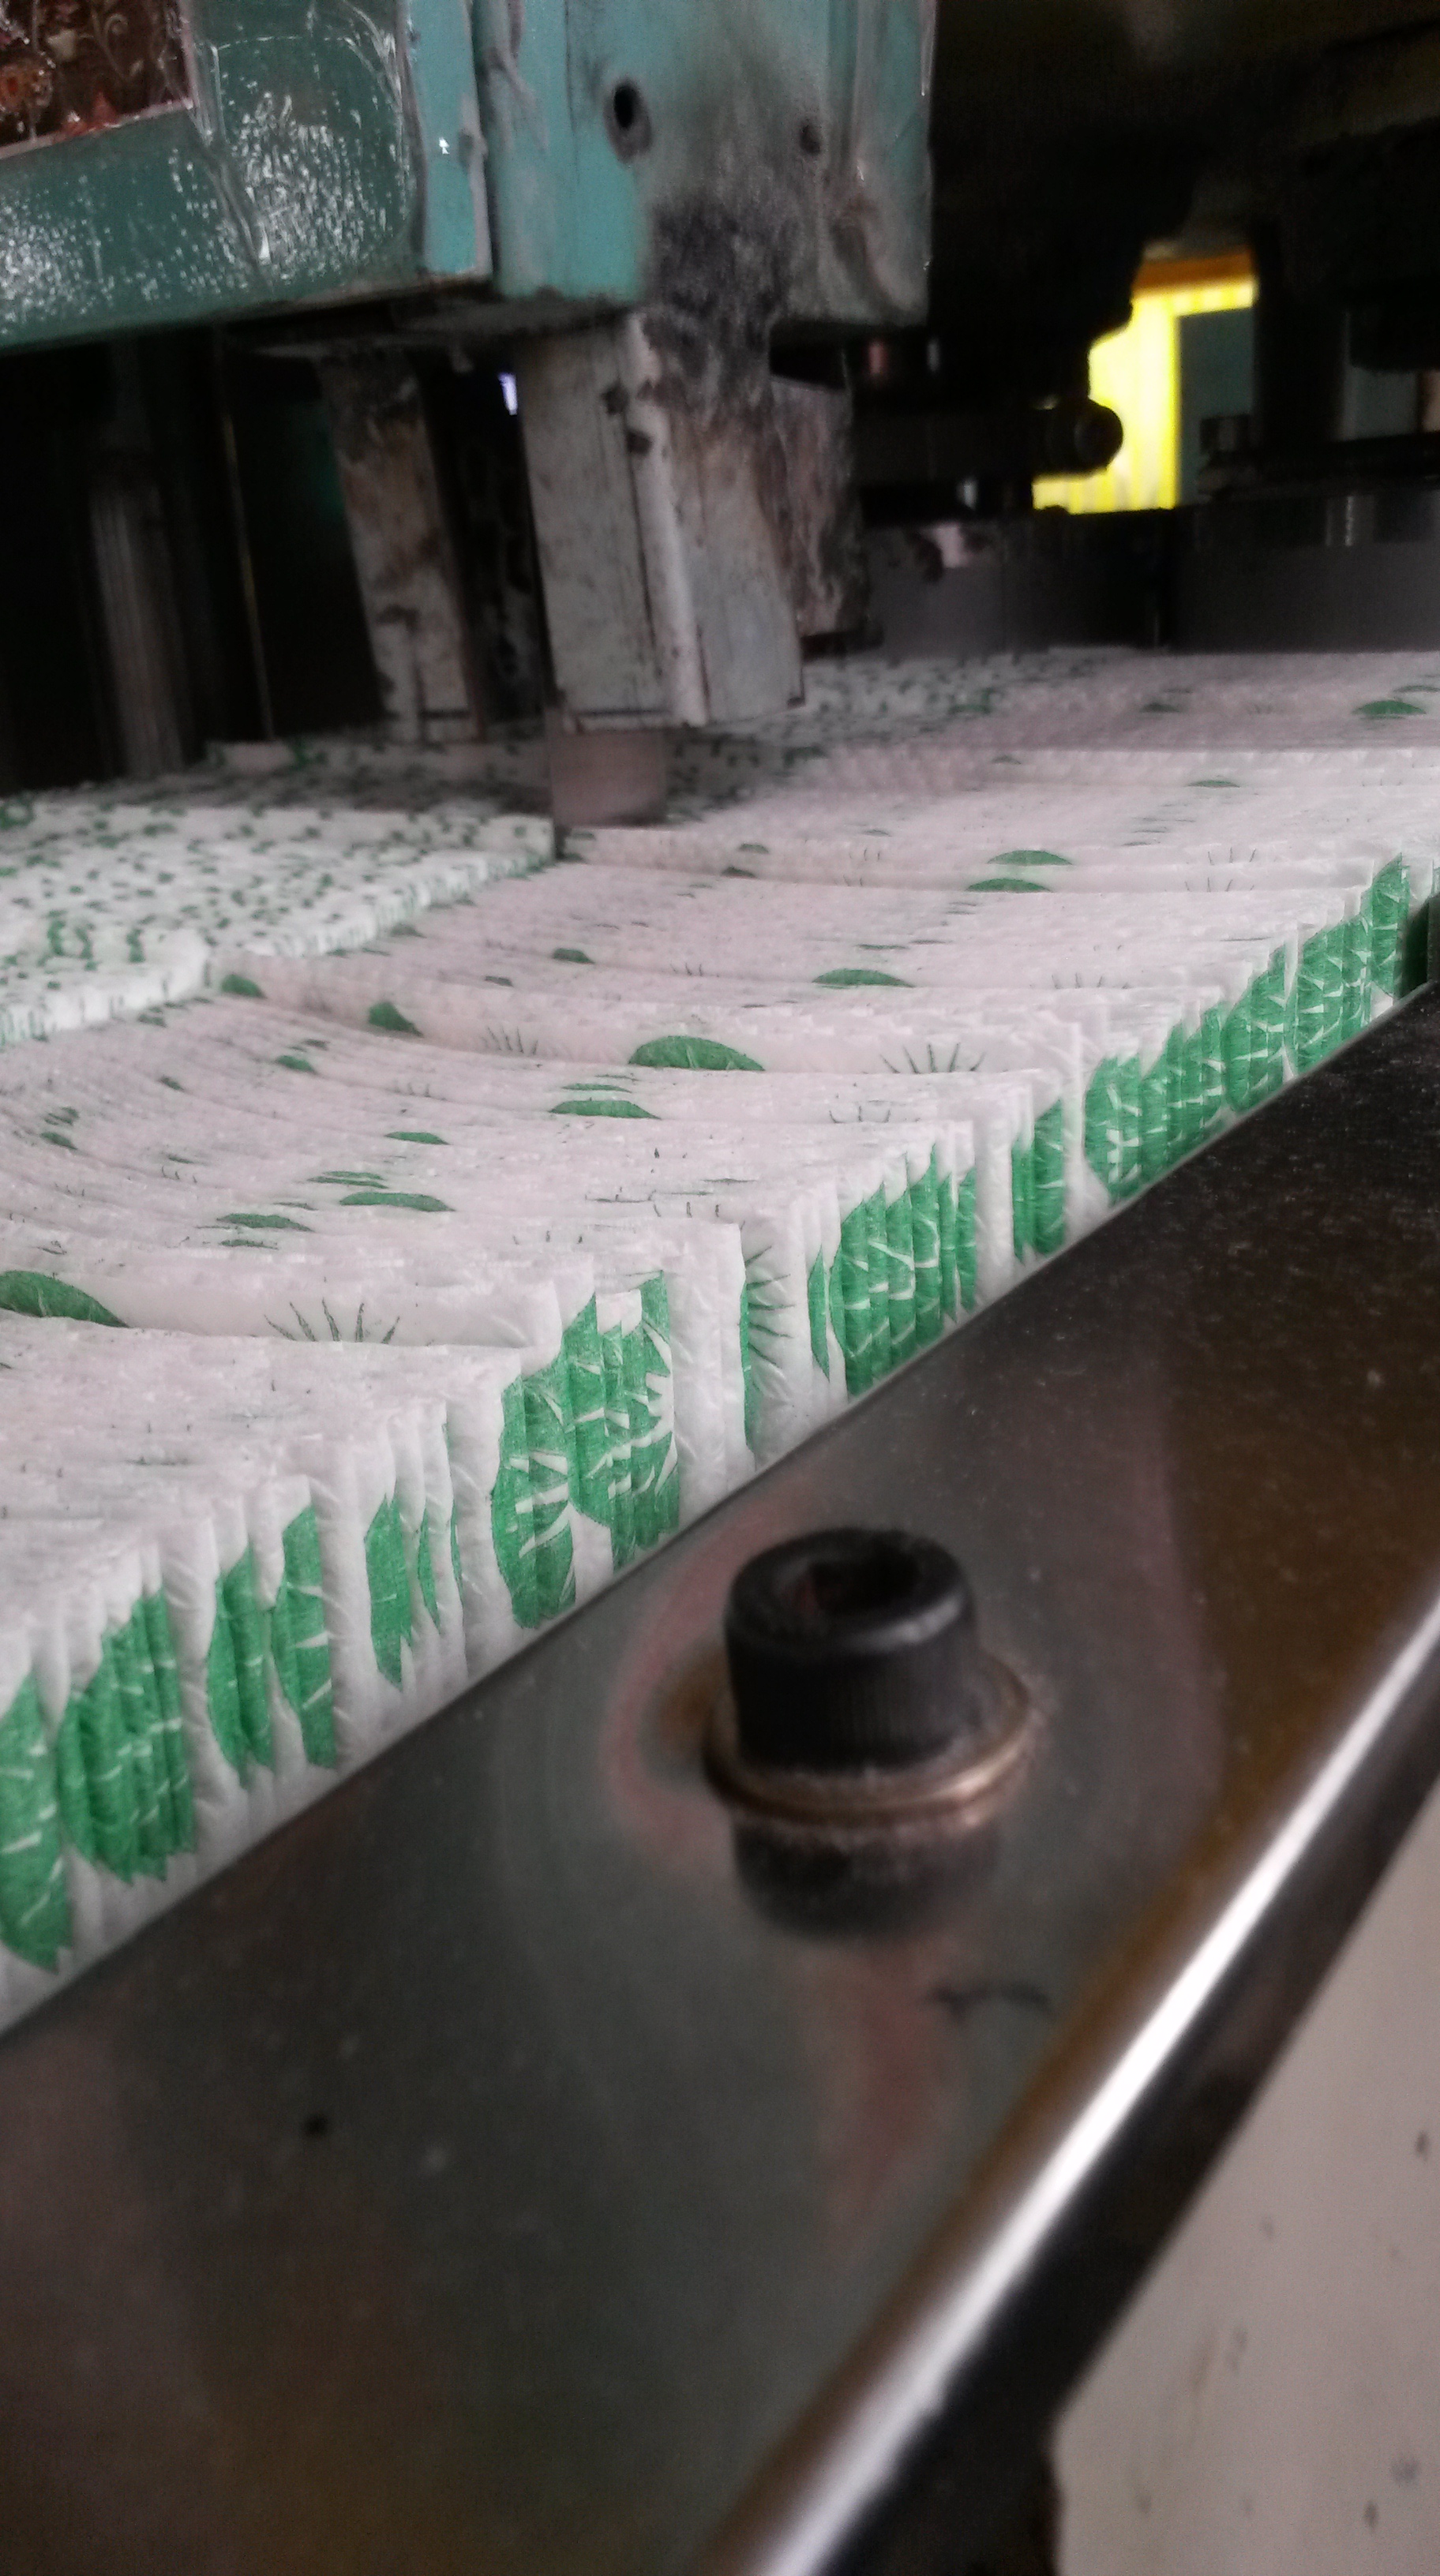
The final product of the machine is printed, embossed napkins of two different designs that are also counted.