As part of my visit to a paper product making factory, I documented how the paper cup making machine works. Enjoy reading!
Step 1: The Raw Material
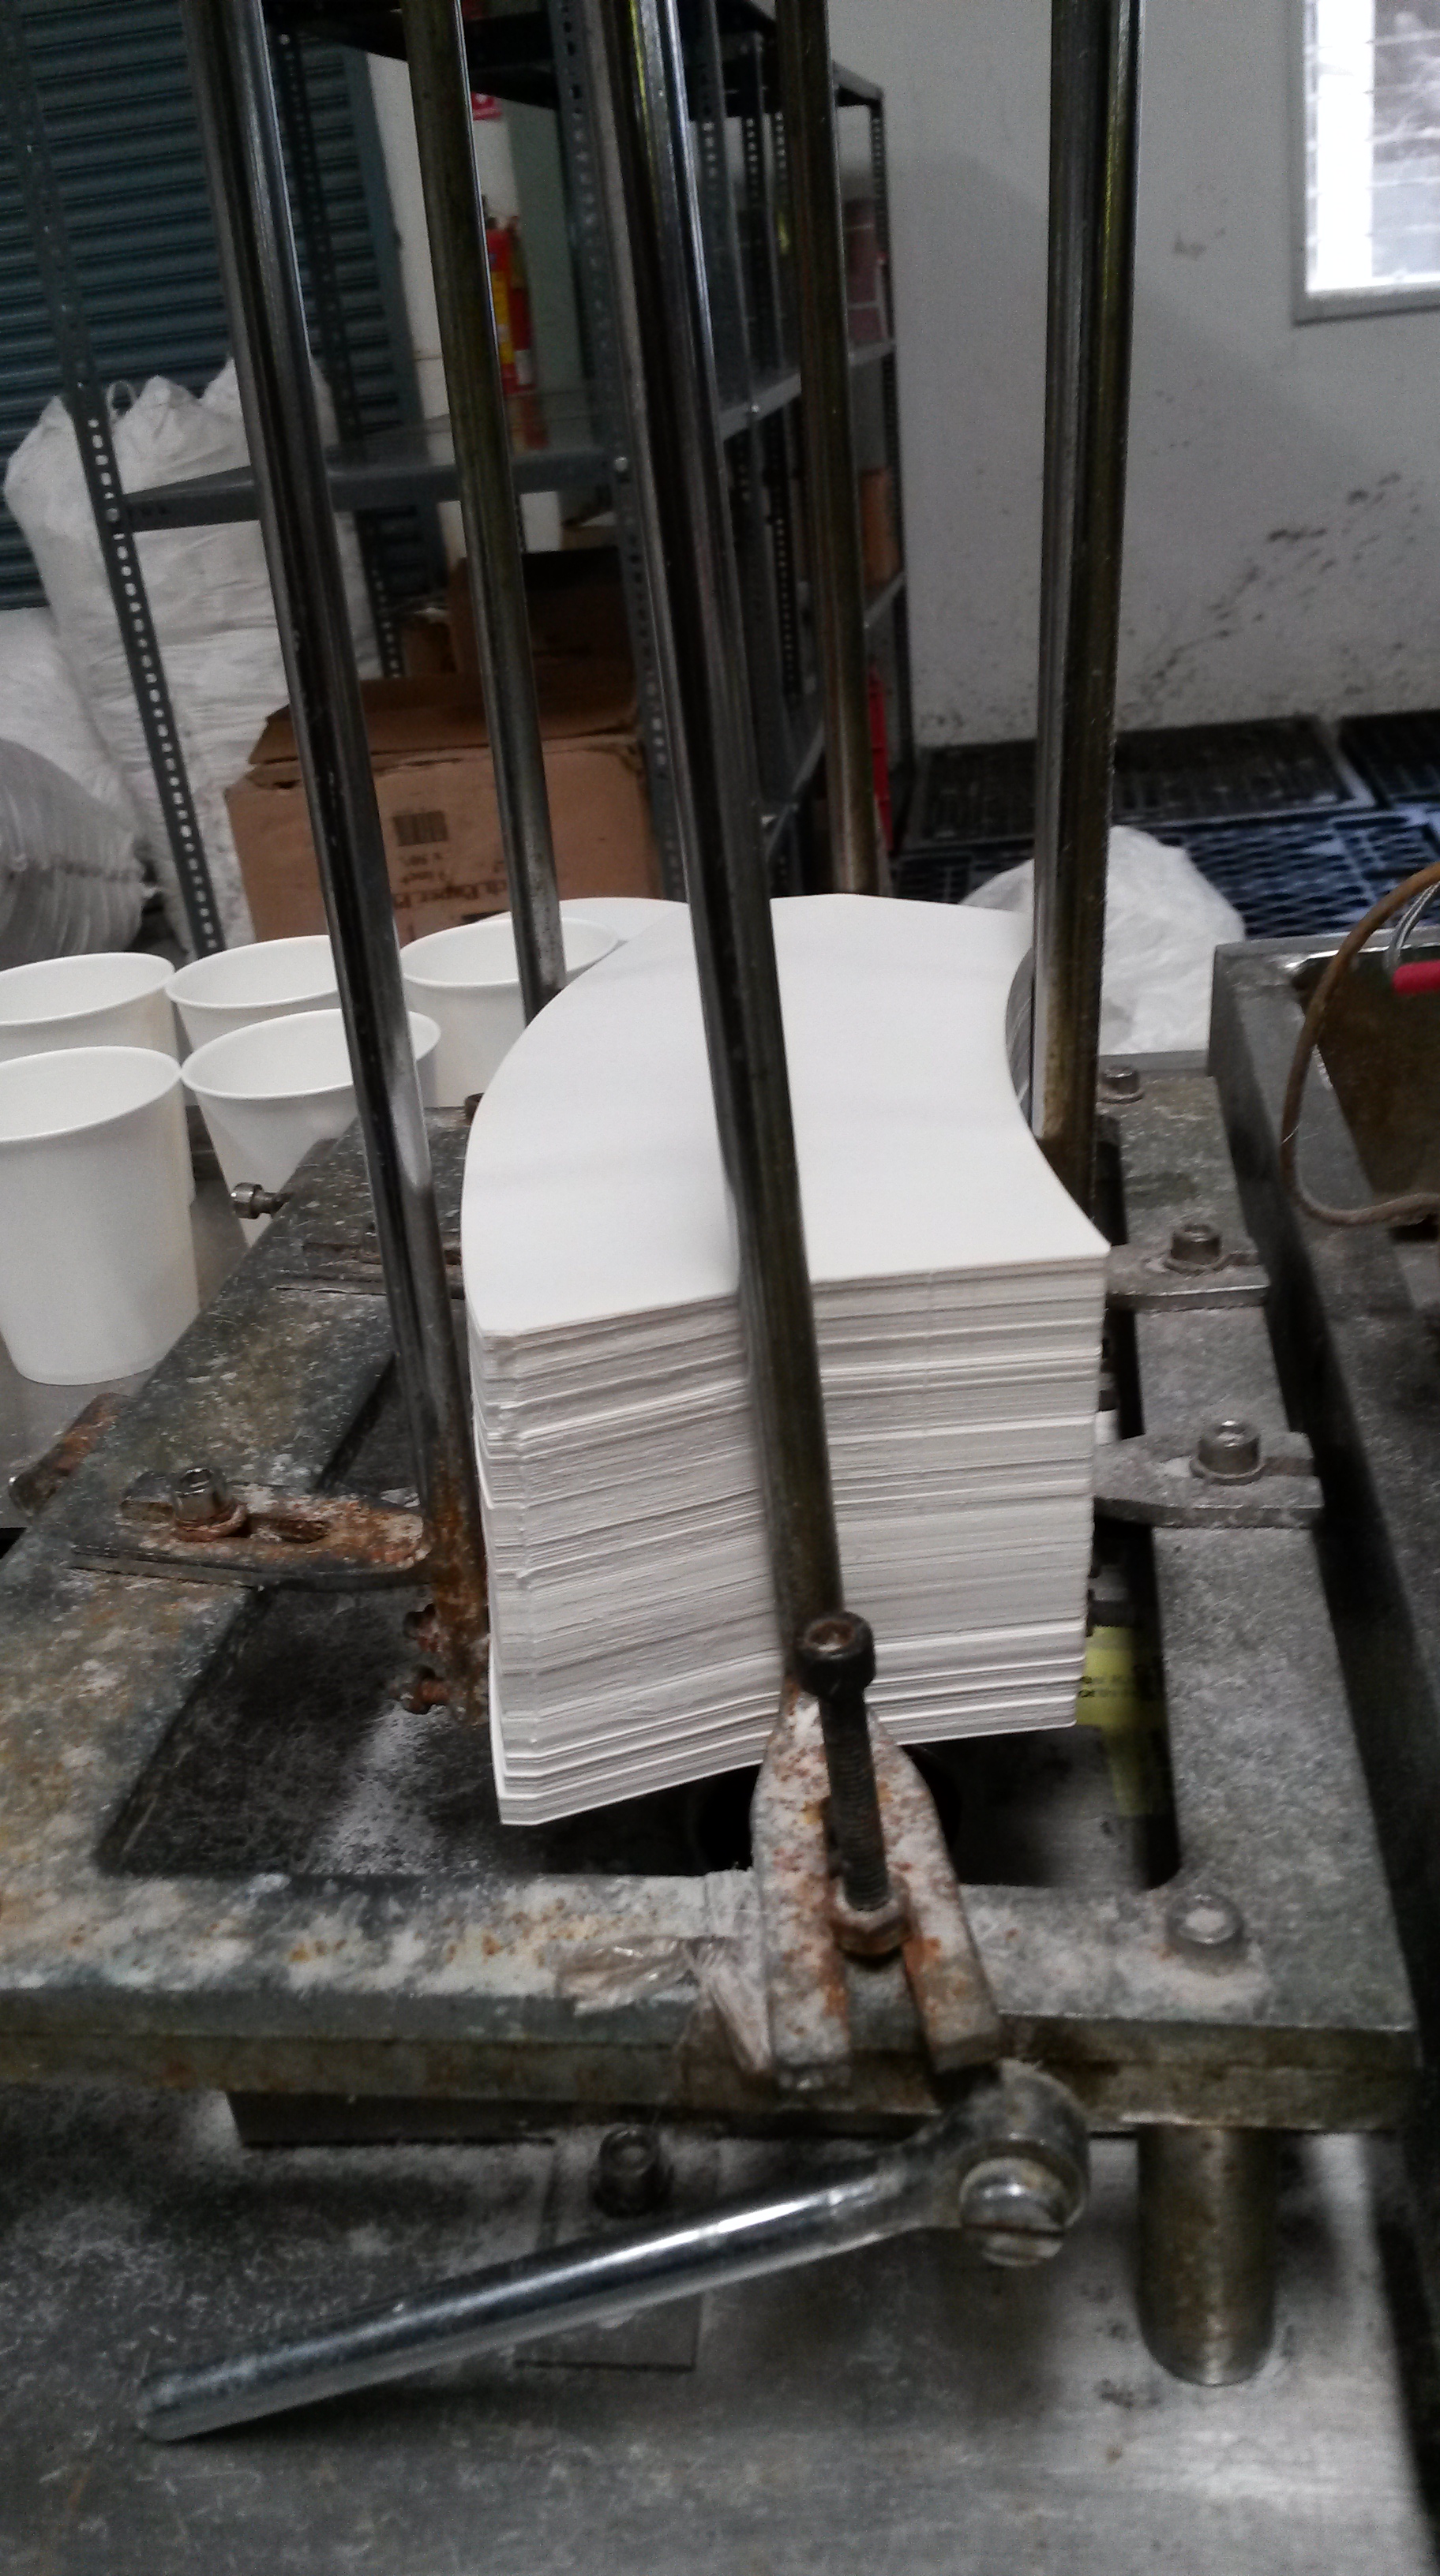
The first step in the process of making paper cups in the factory is to cut cardboard into pieces of the shape shown below. To ensure the final paper cup has a smaller base than rim, the initial cardboard shape is not a rectangle, but of the shape shown below:

Step 2: Forming the basic shape of the cup
The pieces of paper are stacked one on top of the other and one by one taken into the machine. To ensure that only one piece goes into the machine at a time, there is a tube at the bottom of the stack. The pressure in the tube is controlled so that it is less than that of atmospheric pressure. The pressure differential between the tube and the air surrounding the paper creates a force, which draws the paper towards the tube. The same principle is used in vacuum cleaners and the effect is referred to as suction. However the difference between the two is that the air pressure inside the tube is only a small fraction lower than that of atmospheric pressure. This small pressure difference is just enough to ensure that only the bottom piece is taken and dragged towards the machine.
This piece then is grabbed on either side by two jaws that then bend to curve the piece of cardboard around a metal mould of the cup. From above, a heated piece of machinery comes downward and presses itself onto the curved cardboard. Due to the heat applied the paper partially melts and the liquid produced acts as a glue to seal the paper while it is in the shape of a cup. The temperature must be maintained so that it is high enough so that the paper only partially melts, but not too high to ensure it doesn’t completely become liquid.
 The rounded and sealed paper then drops into a circular ring that rotates.
Step 3: Temporarily attaching the base:
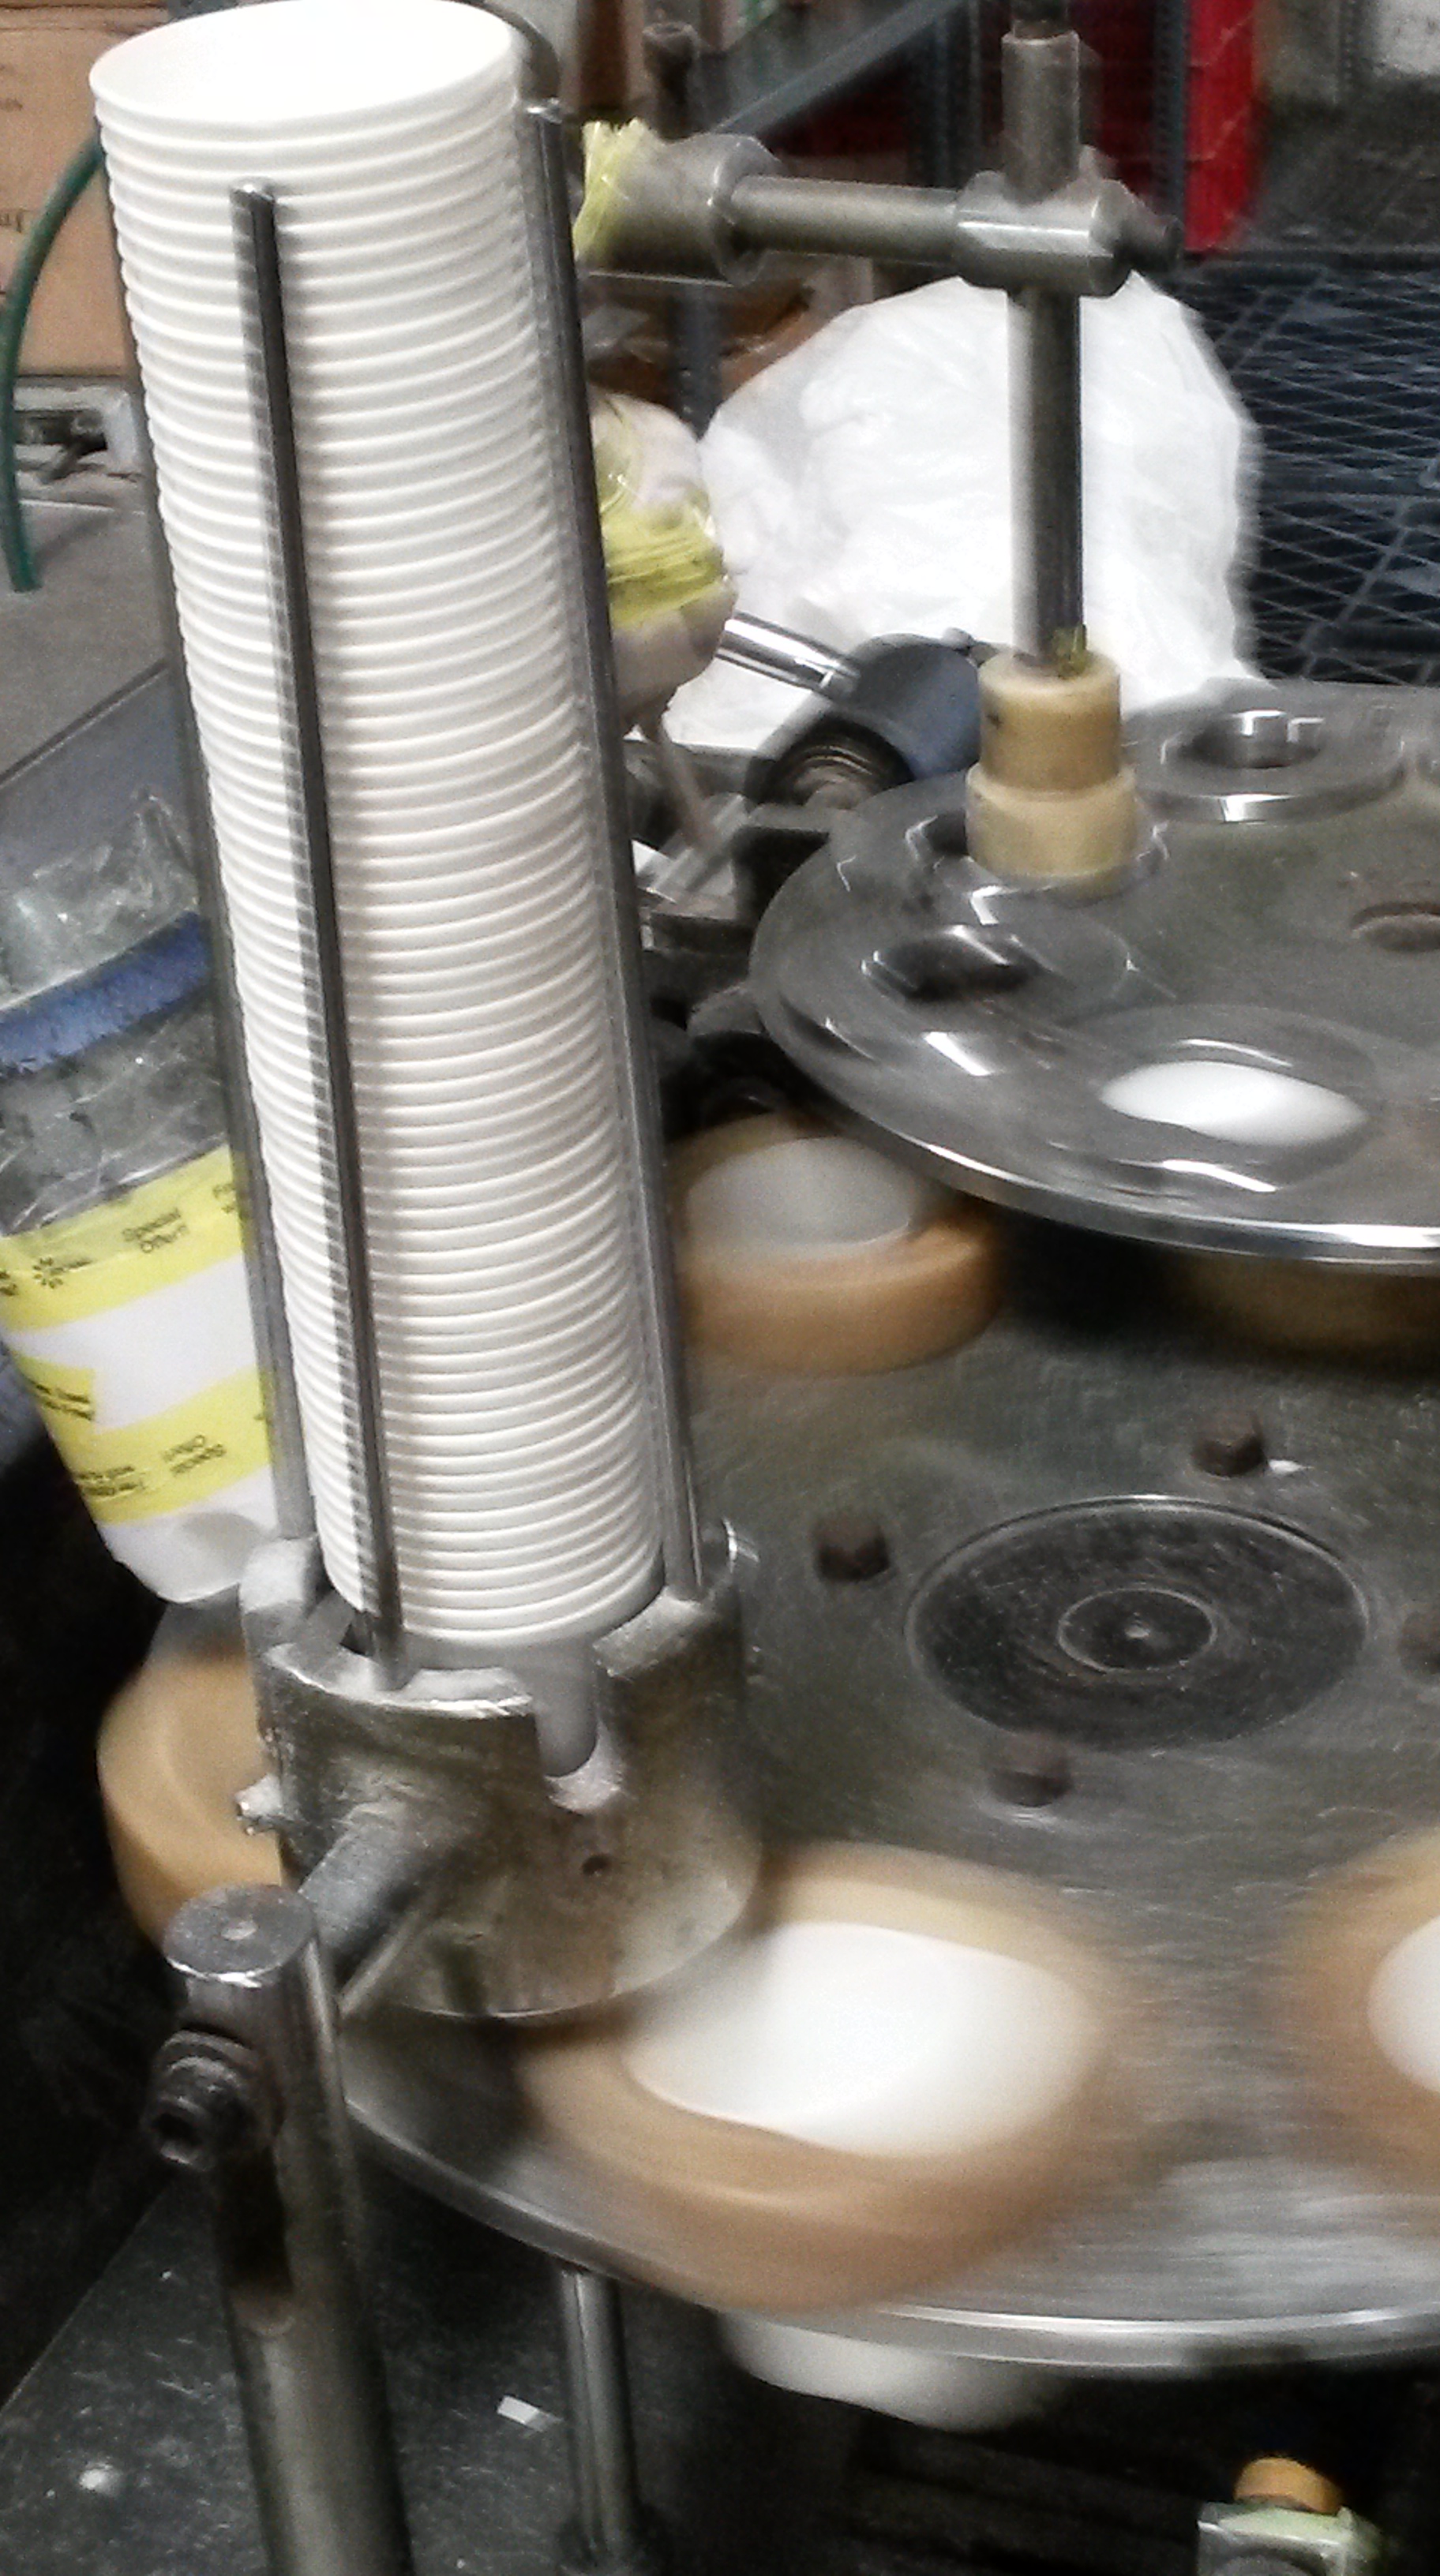
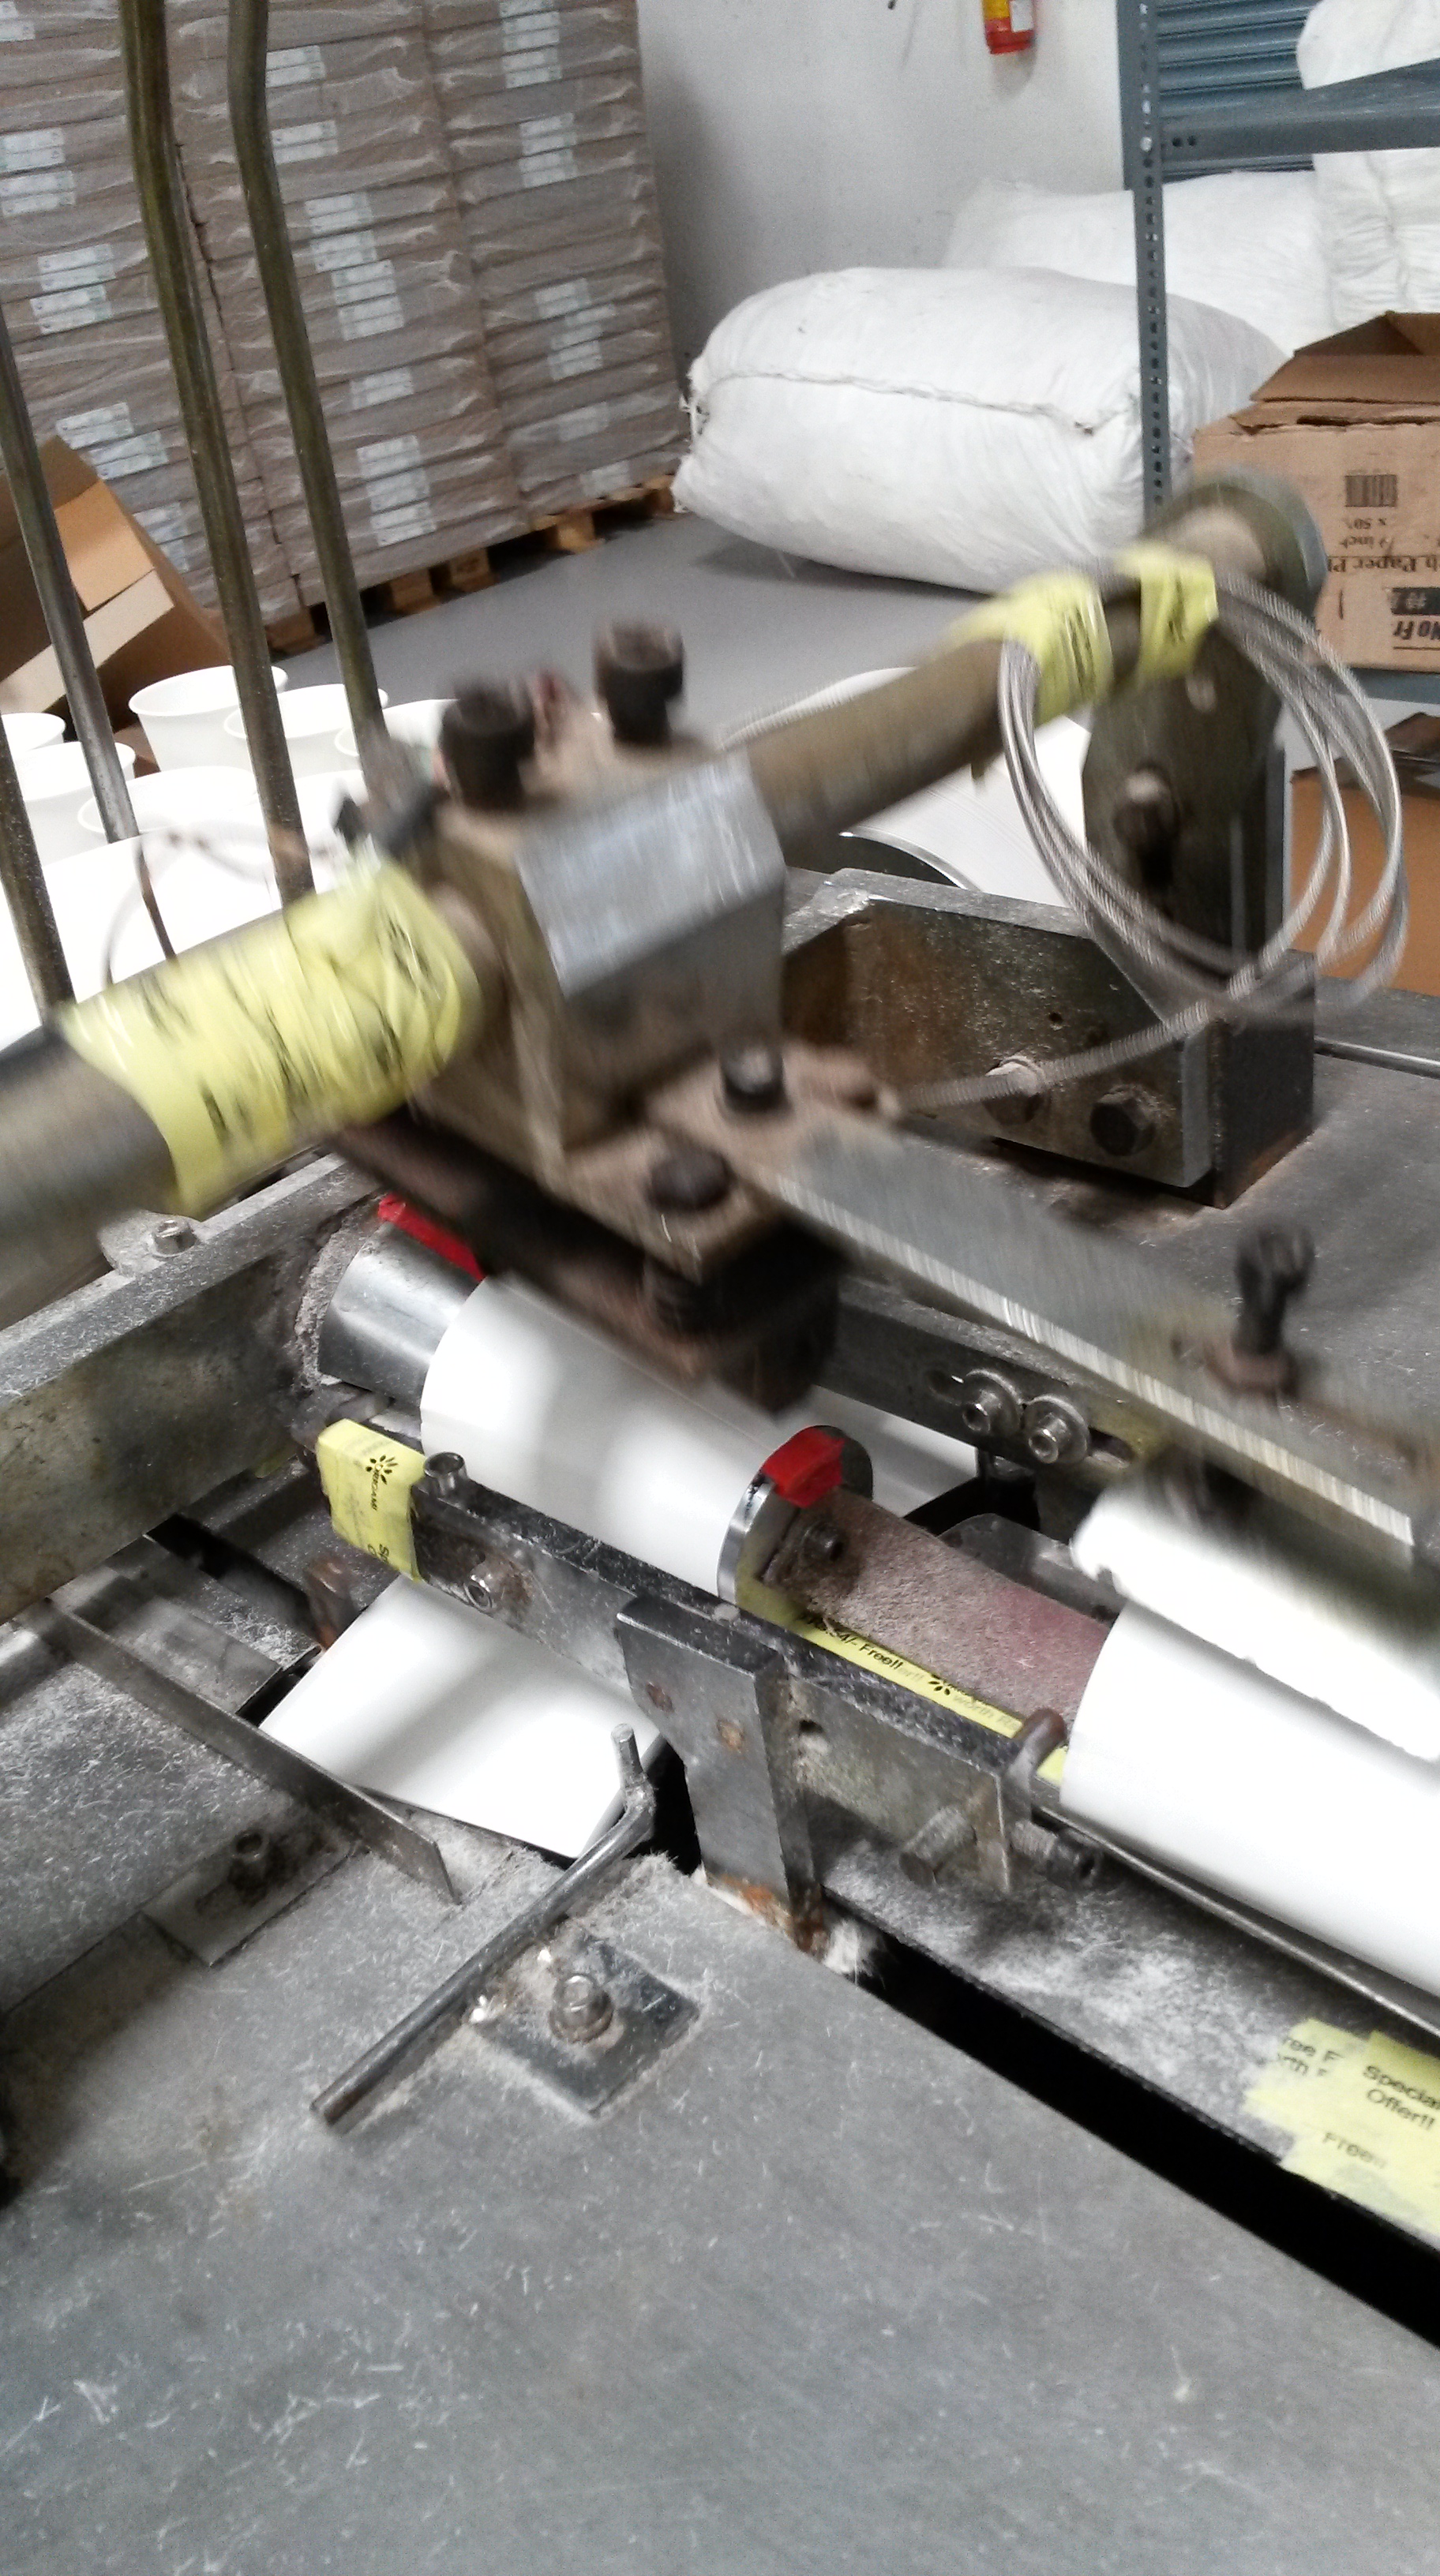
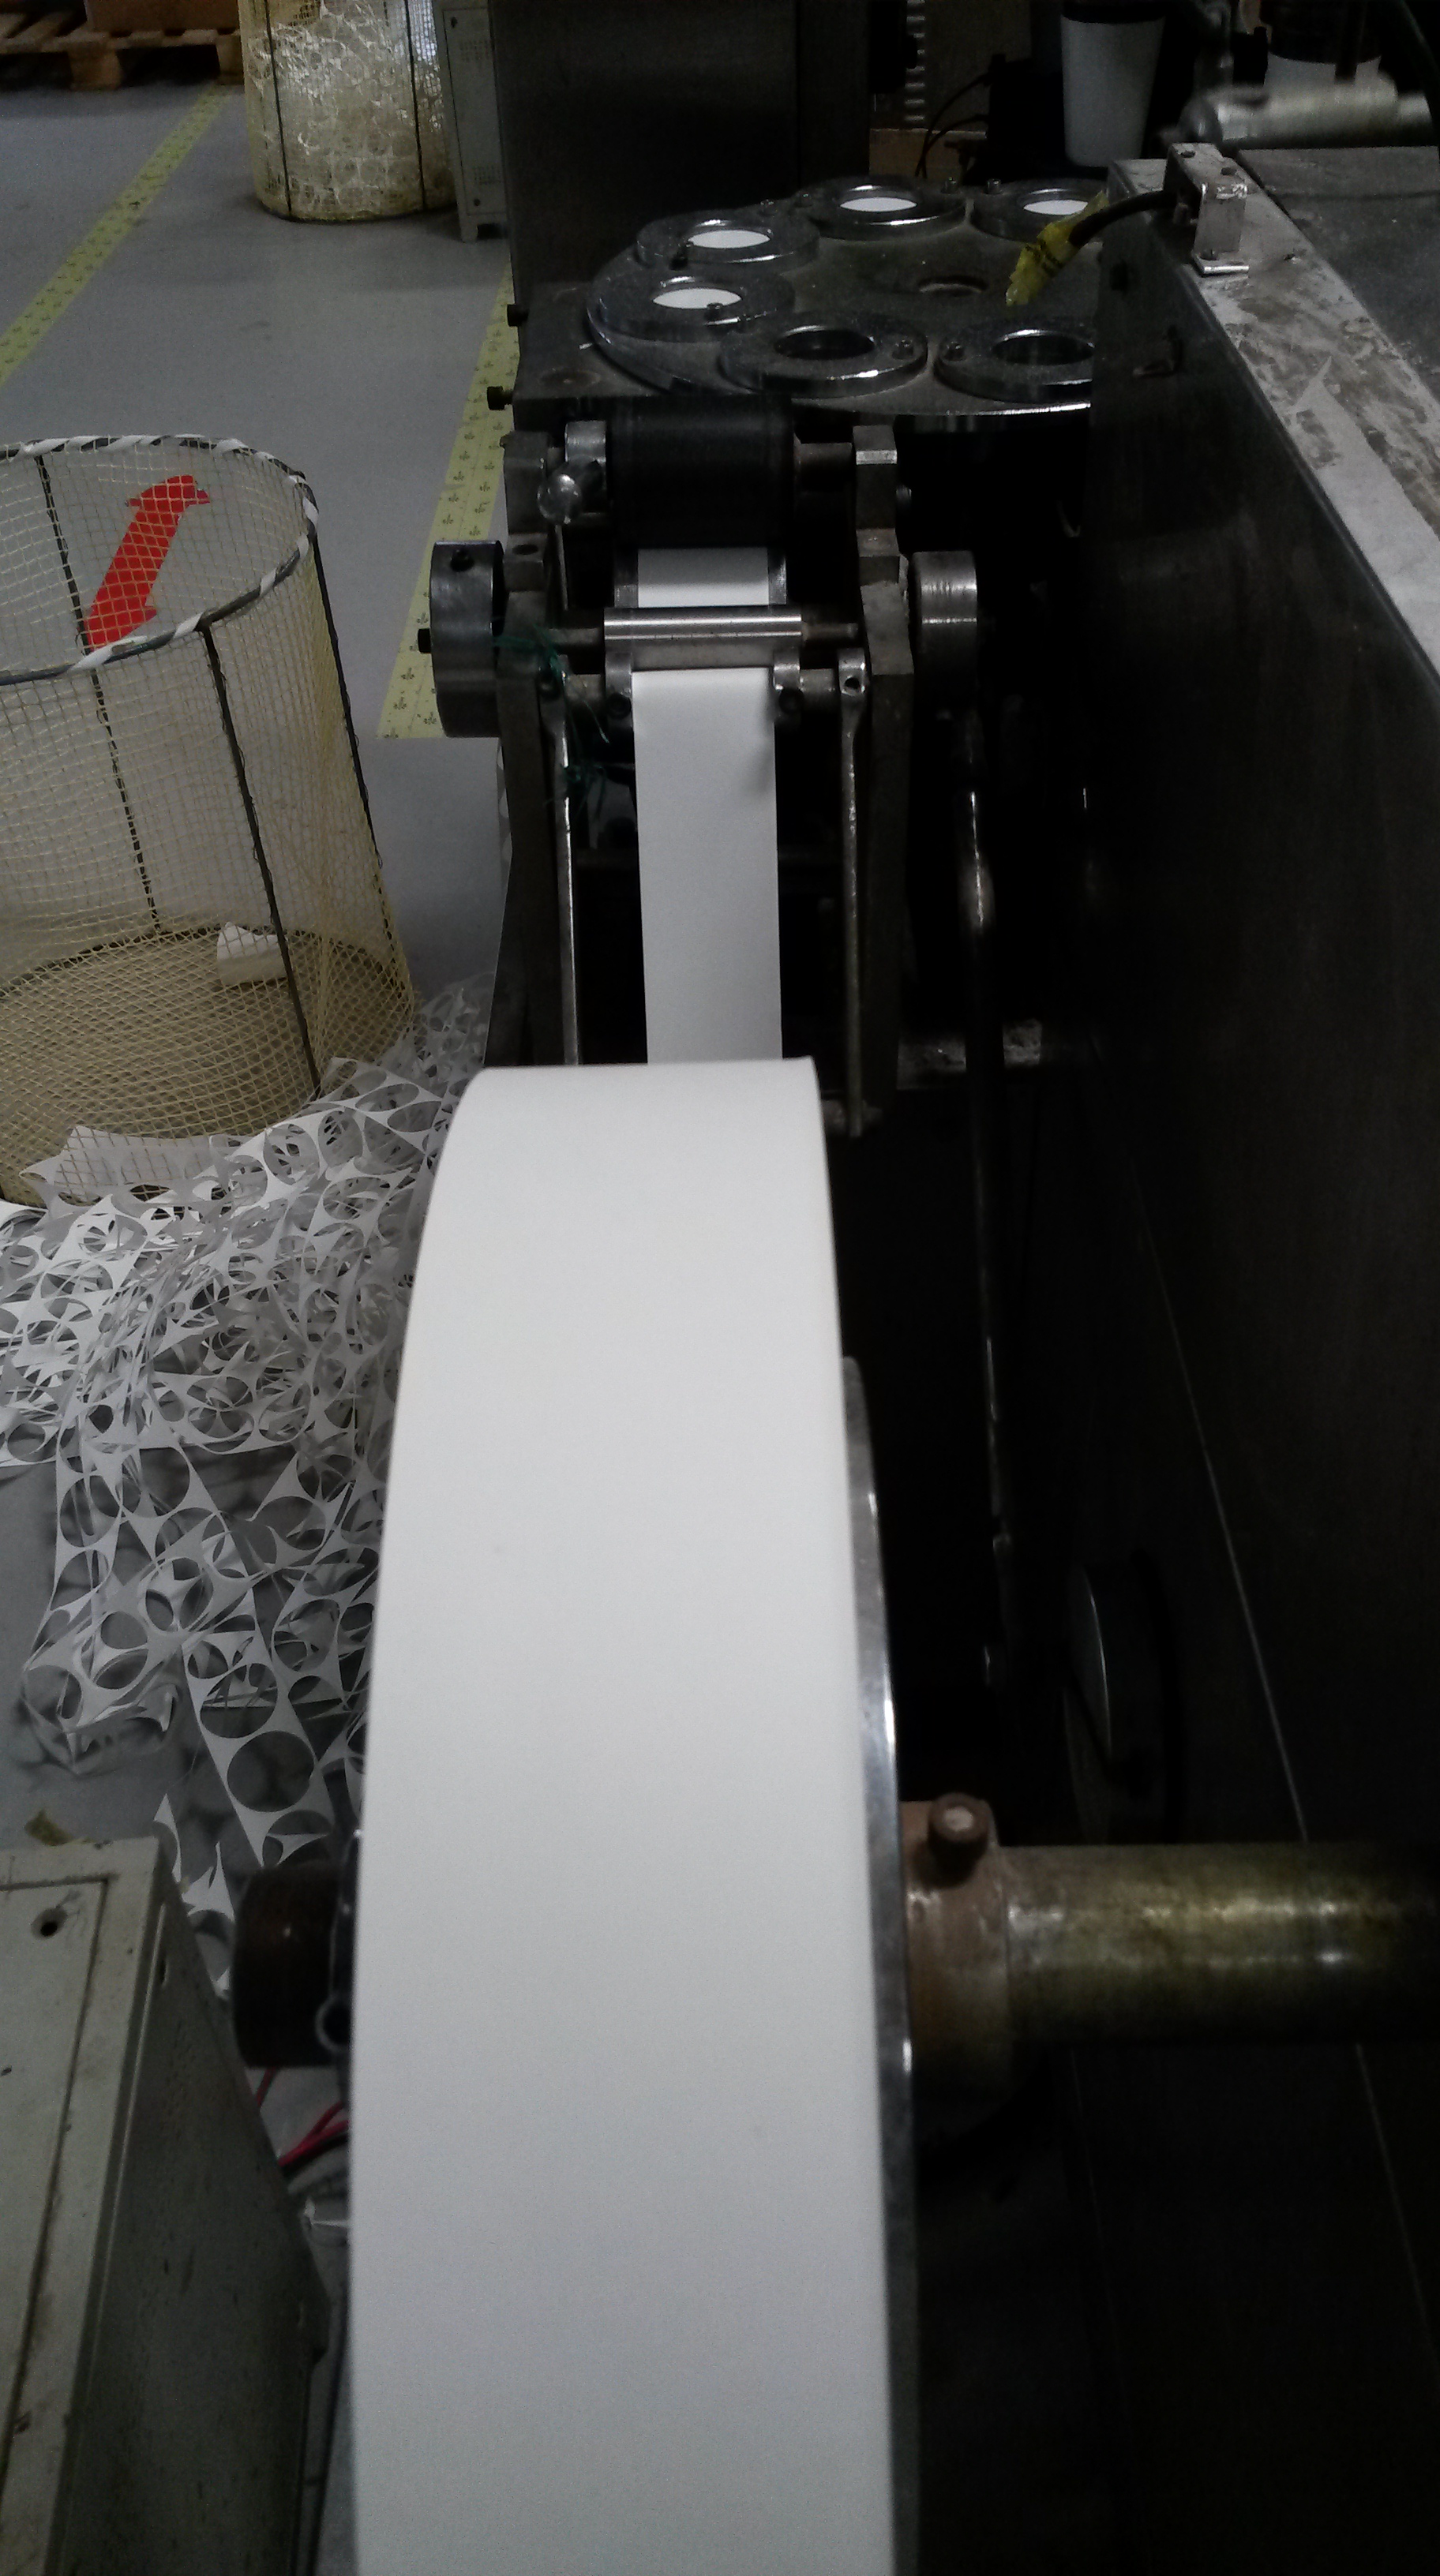
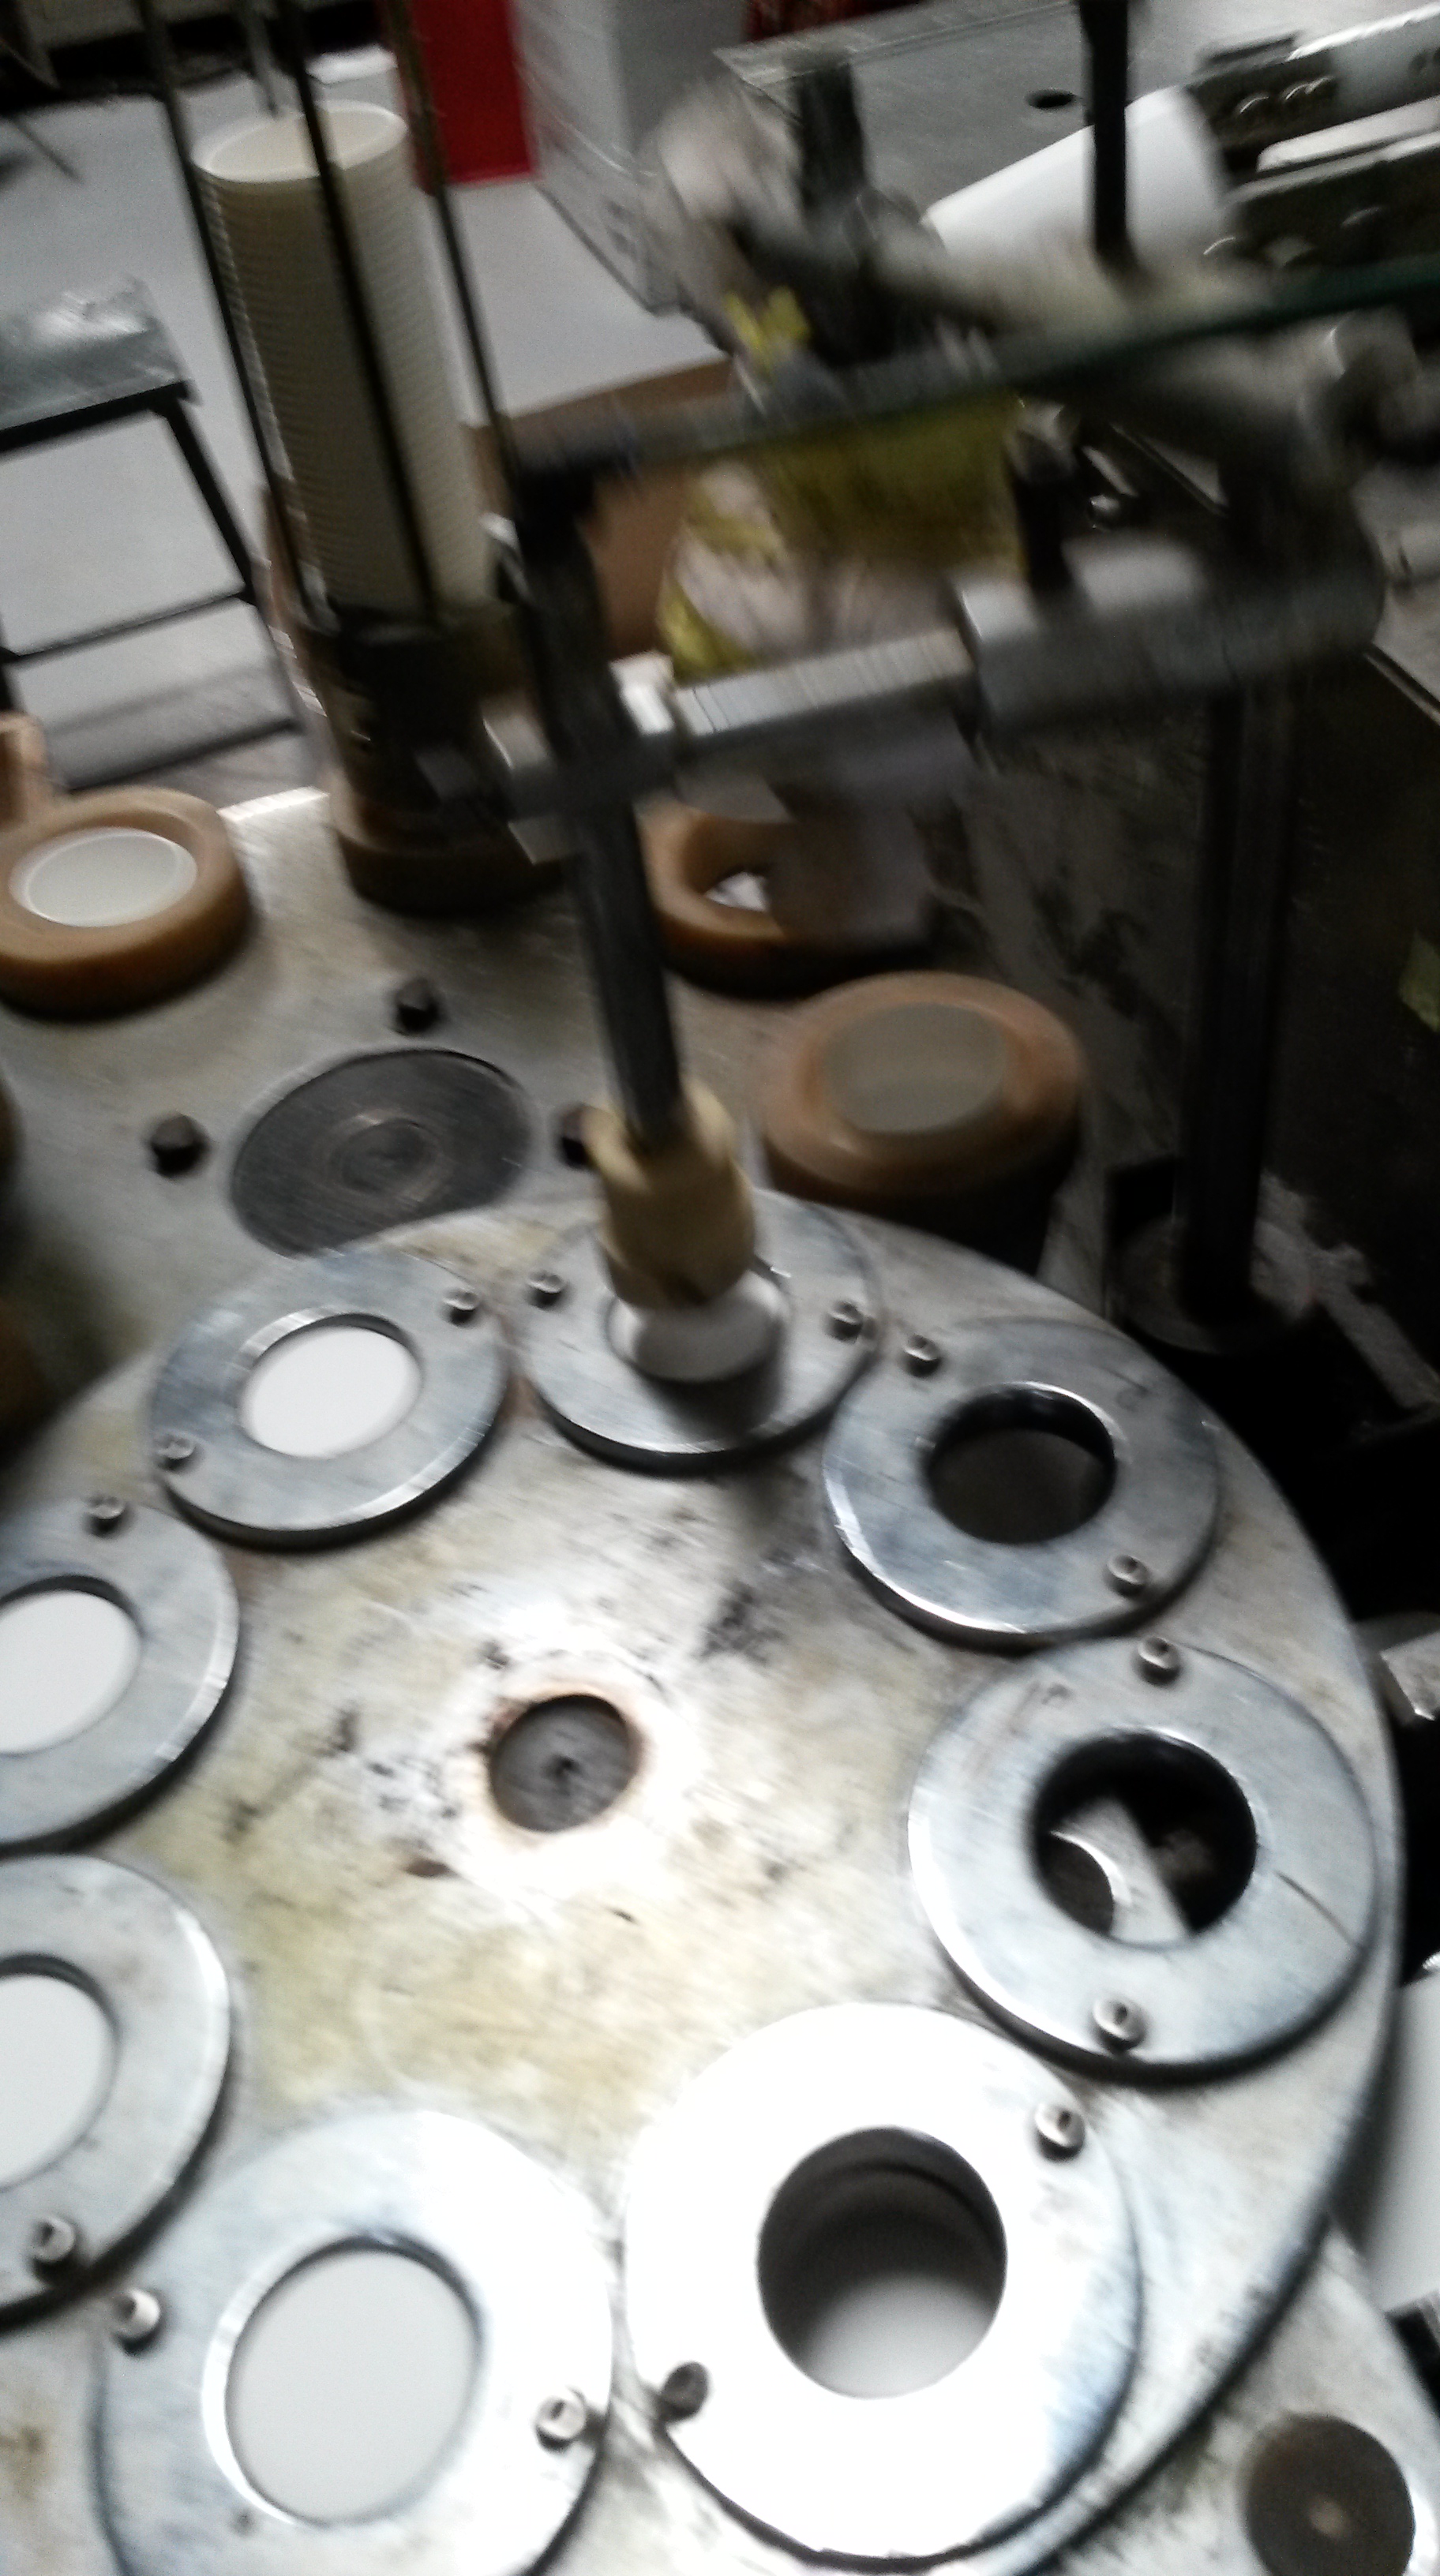
Simultaneously a thin roll of cardboard is fed into the machine and circular pieces are cut by a mould, which eventually form the base of the cup. The circumference of these circular pieces are equal to the length of the bottom curved section of the piece of cardboard in stage one. This ensures that the base fits perfectly into the cup.
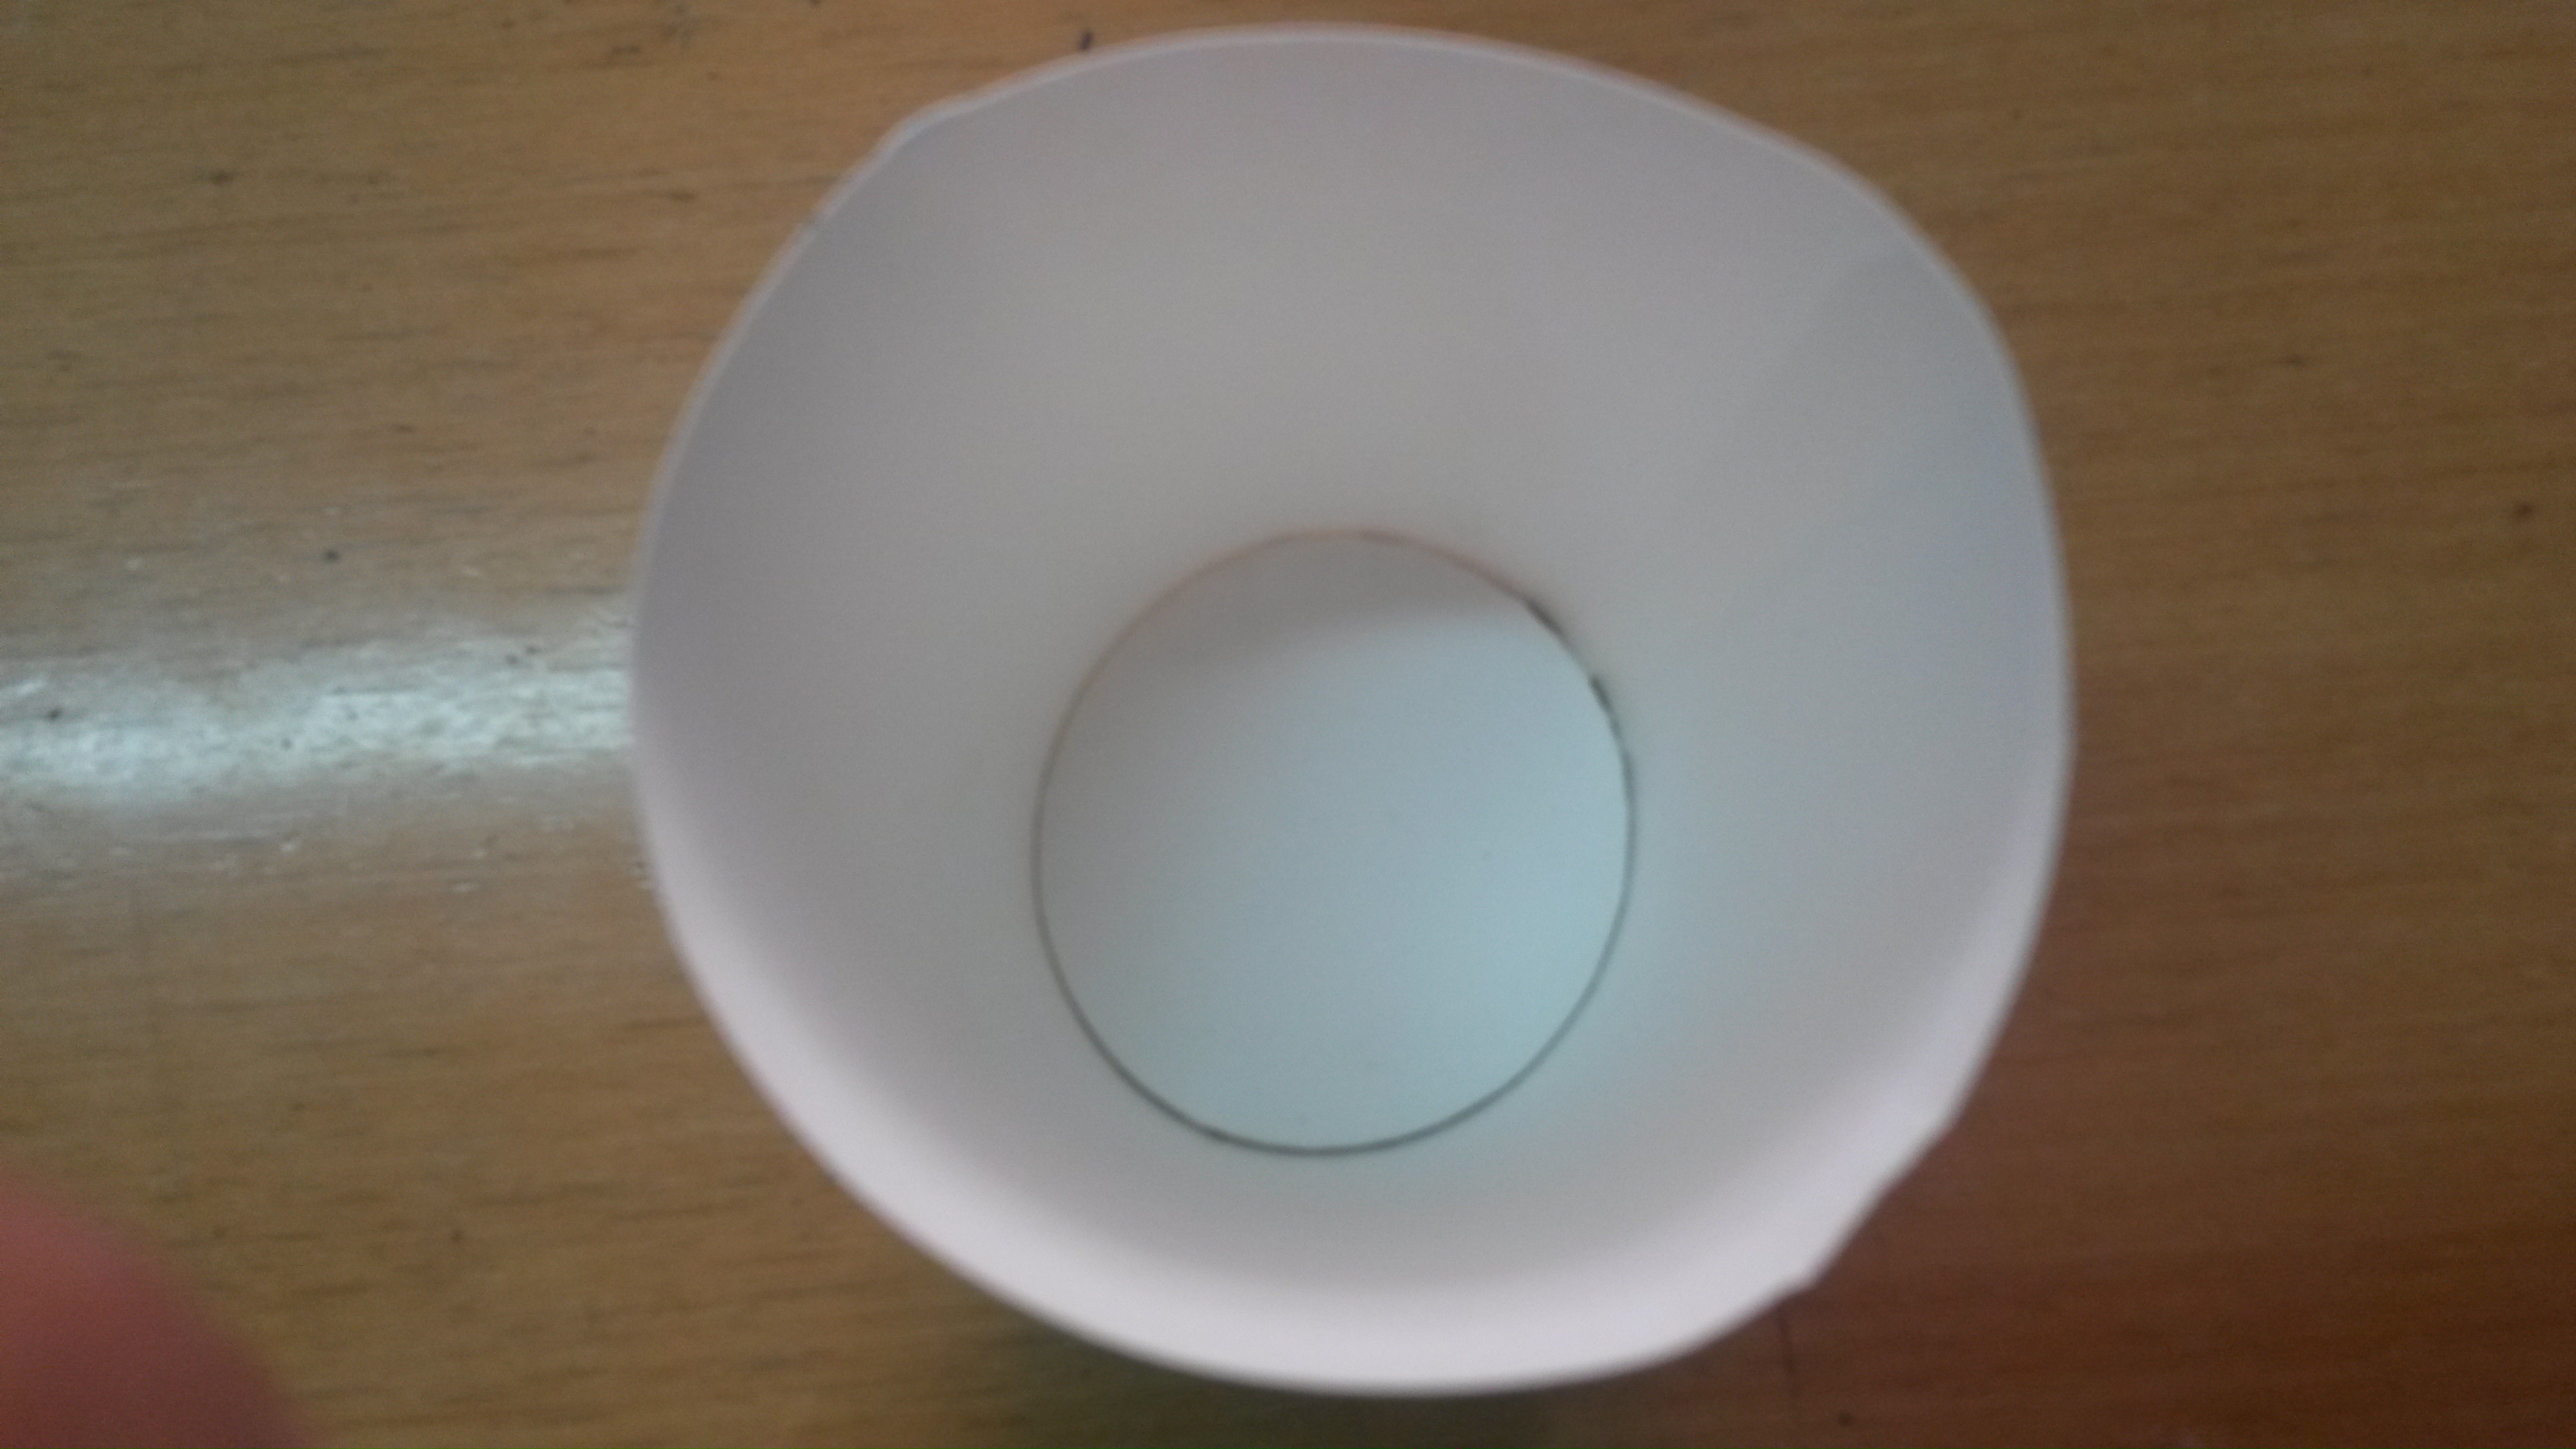
These small circular pieces of paper go into another circular ring that is identical to the one the rounded and sealed paper goes into in stage (b), but is at a higher level. The two circular rings rotate at a specific rate to not only ensure that the rounded, sealed paper/ circular pieces proceed into the hole, but also so that the holes of the two rings intersect. When they do intersect, a vertical rod from above moves downwards and pushes the cut circular piece of paper into the bottom of the rounded, sealed paper, forming a base. The circular paper simply doesn’t fall through as its circumference is equal to the bottom of the rounded paper. Therefore, it rubs against the sides of the rounded cardboard, creating friction which opposes the downward motion, eventually making it stop or get stuck, to form the base. The force with which the rod comes down should also be regulated so that the downward force is enough to make the paper stop at the base, but not too much to make the paper fall through.
However, the base is only temporarily attached and would fall through if anything was stored in it. Therefore, the paper cup is not ready yet.
Step 4: Permanently attaching the base:
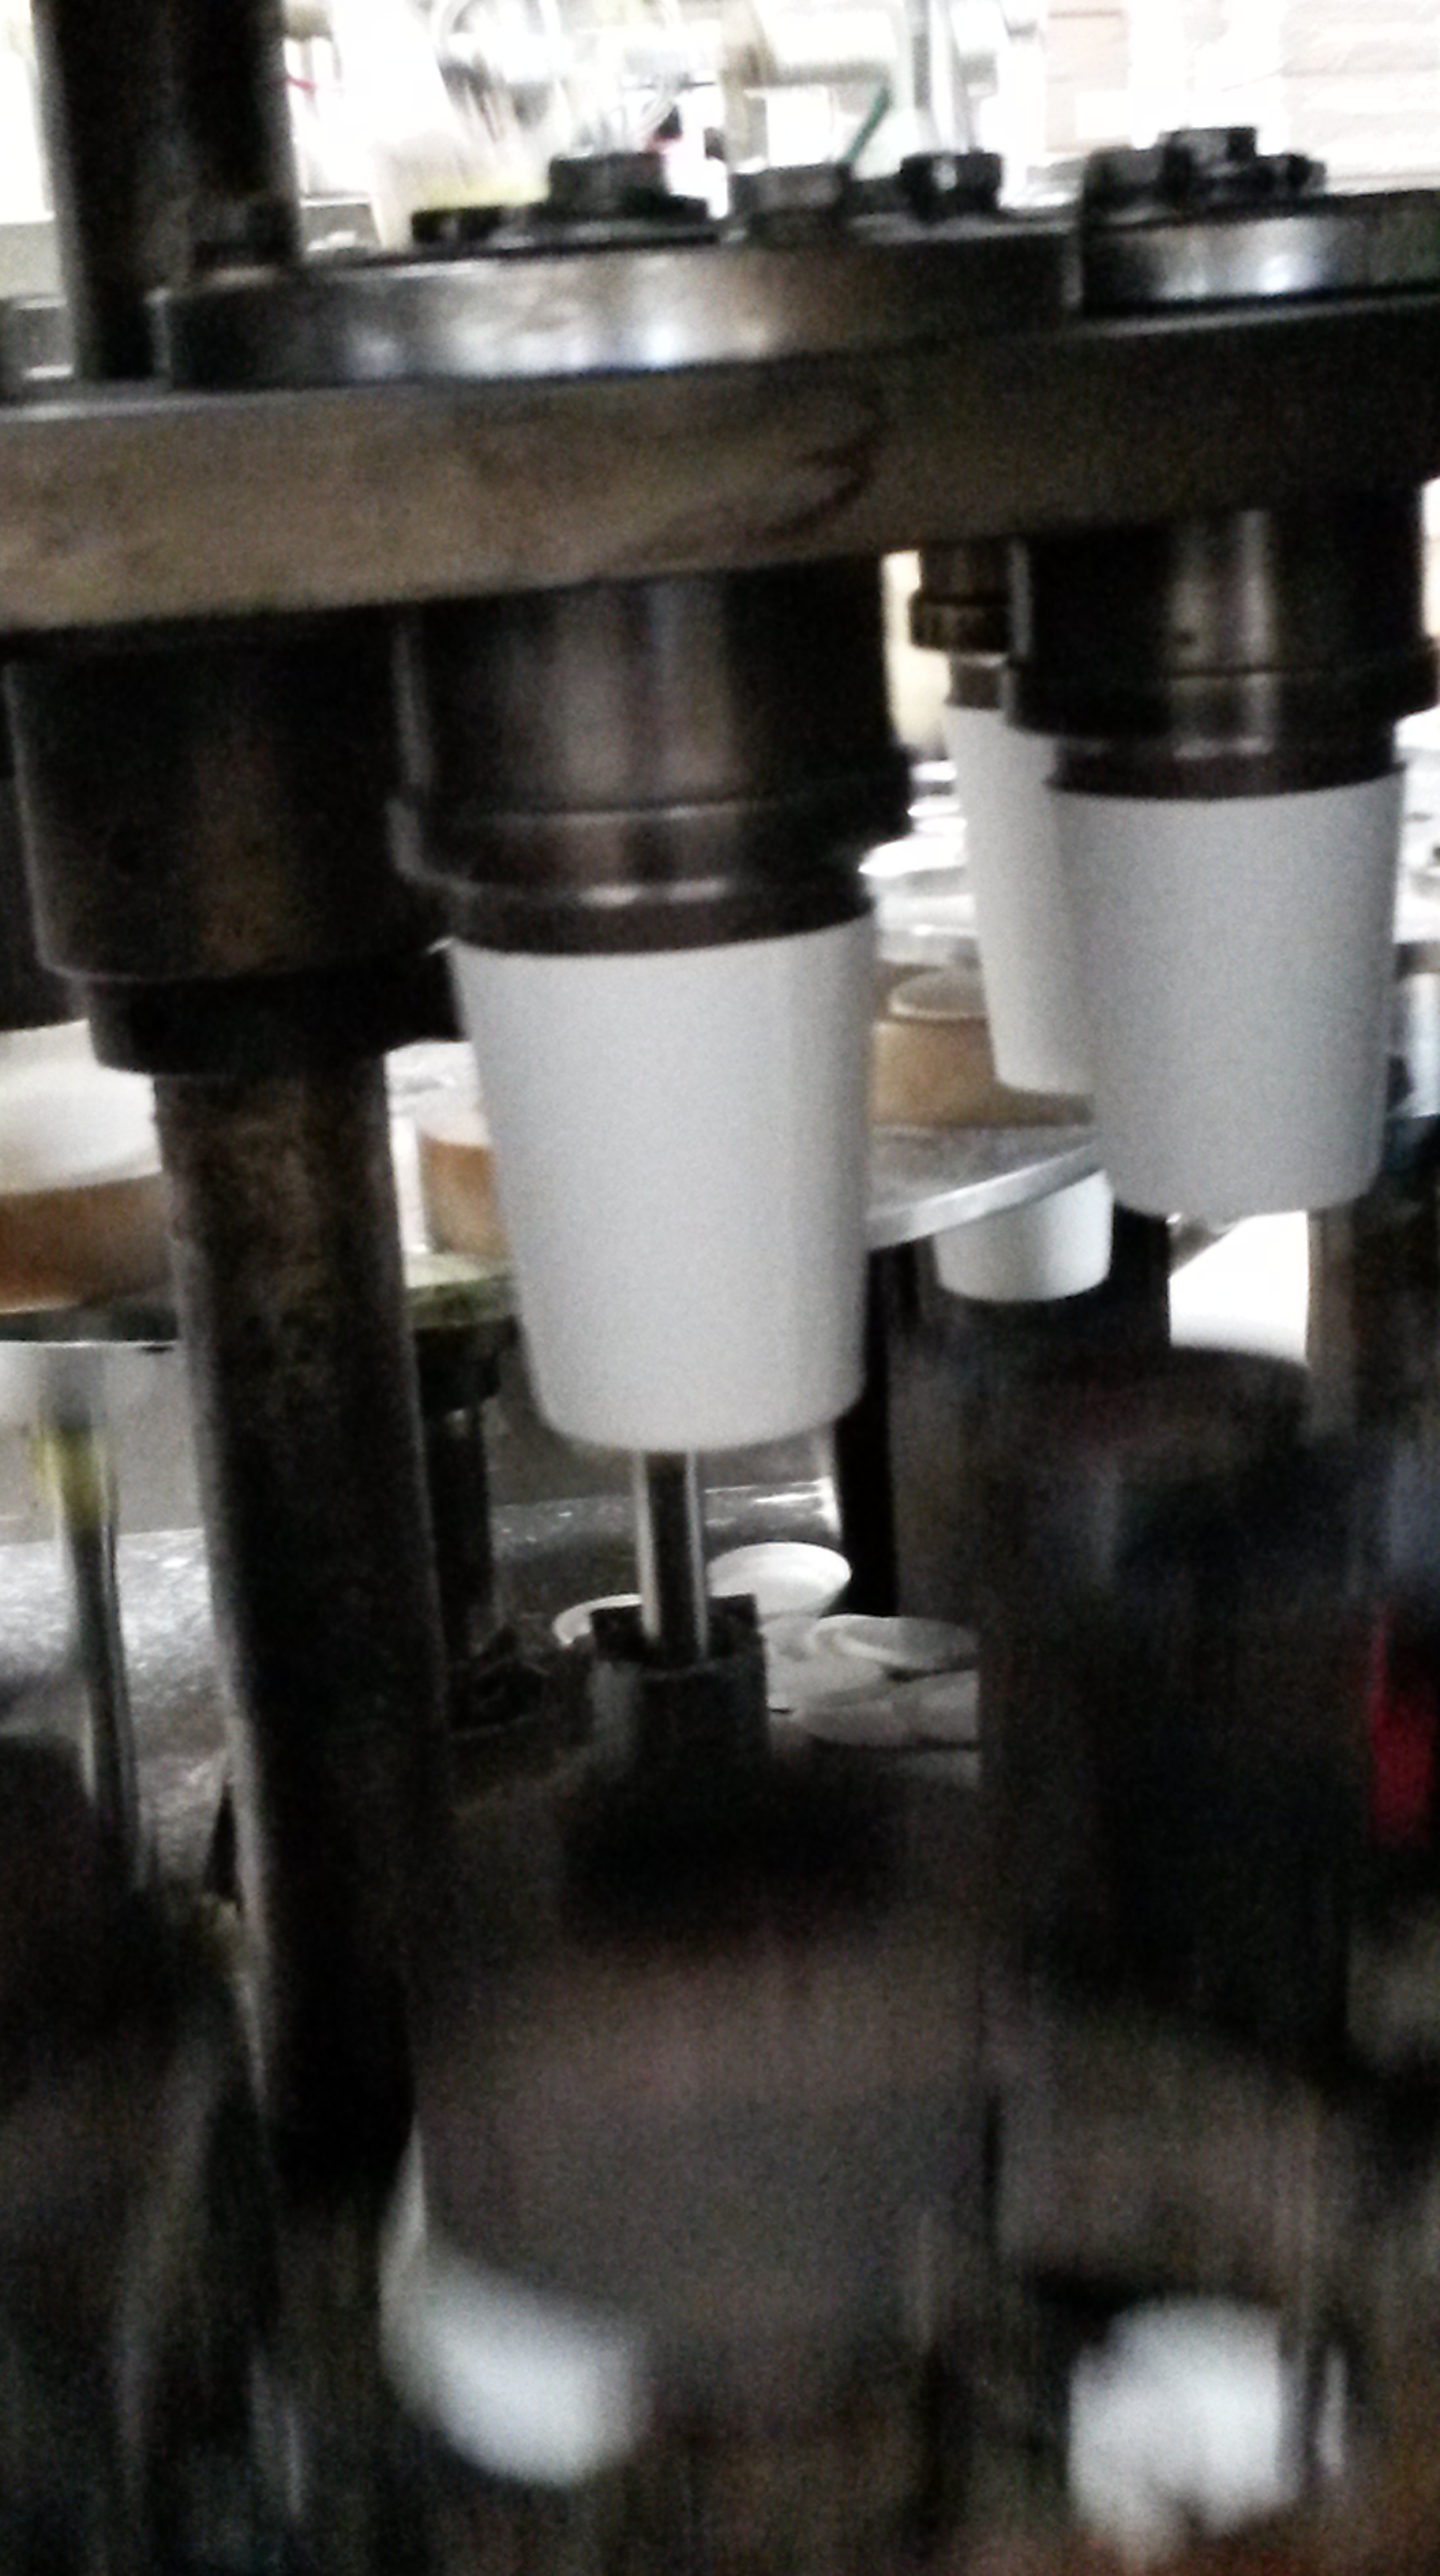
To make the base stronger and more permanently fixed, the same heating effect is used to seal the base to the cup as in stage (2).
The rounded piece of paper with the base temporarily attached is pushed upward onto a steel mould of the cup. Immediately, a heated rod with a circular end (the same size as the base of the cup) is pushed upward and pressed onto the bottom of the cup. It pushes the base slightly upward before bending the rounded piece of cardboard upward. Due to the heat, the base and the rounded cardboard are stuck.
The result of this process is a cup that can be used. However, one final step of the process remains.
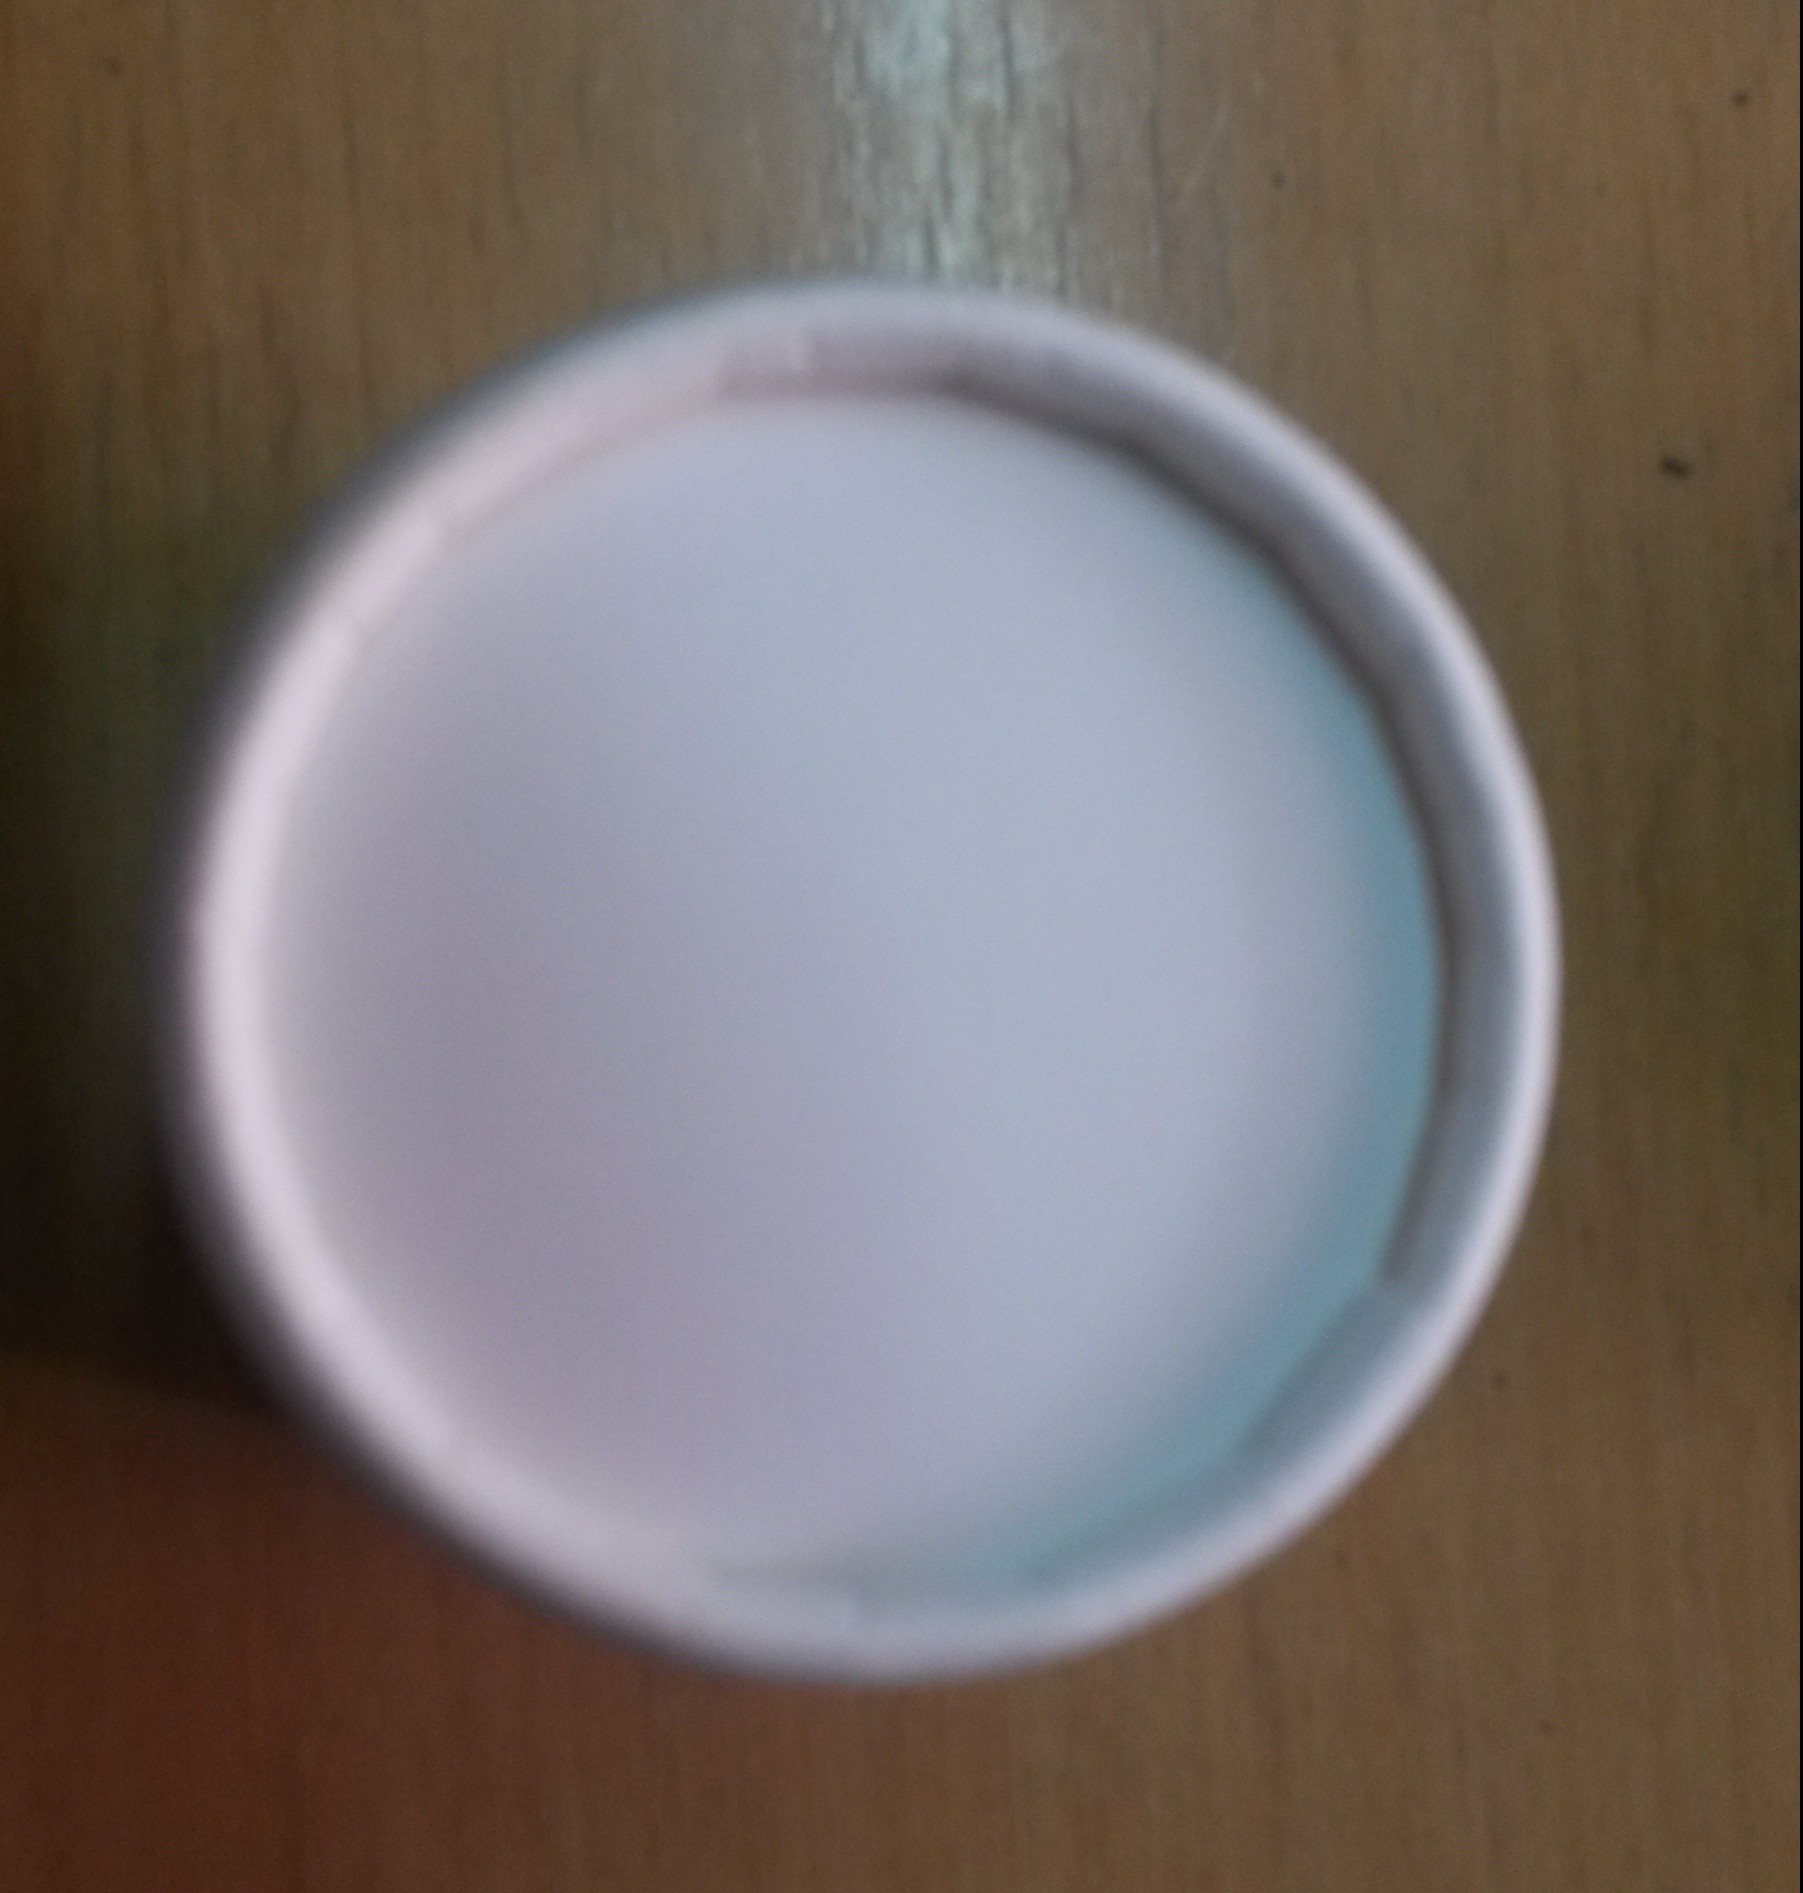
Step 5: Rounding the top of the cup:
As you may have noticed, the top of paper cups are rounded. This not only makes it easier for drinking, but also makes the cup more rigid and stable. The same heating effect is used to curl the cups and then keep them in position, as shown below:
Finally, the paper cups get stacked one on top of the other in a collector, ready to be packed and sent into the market.