Paper Plates

Blog
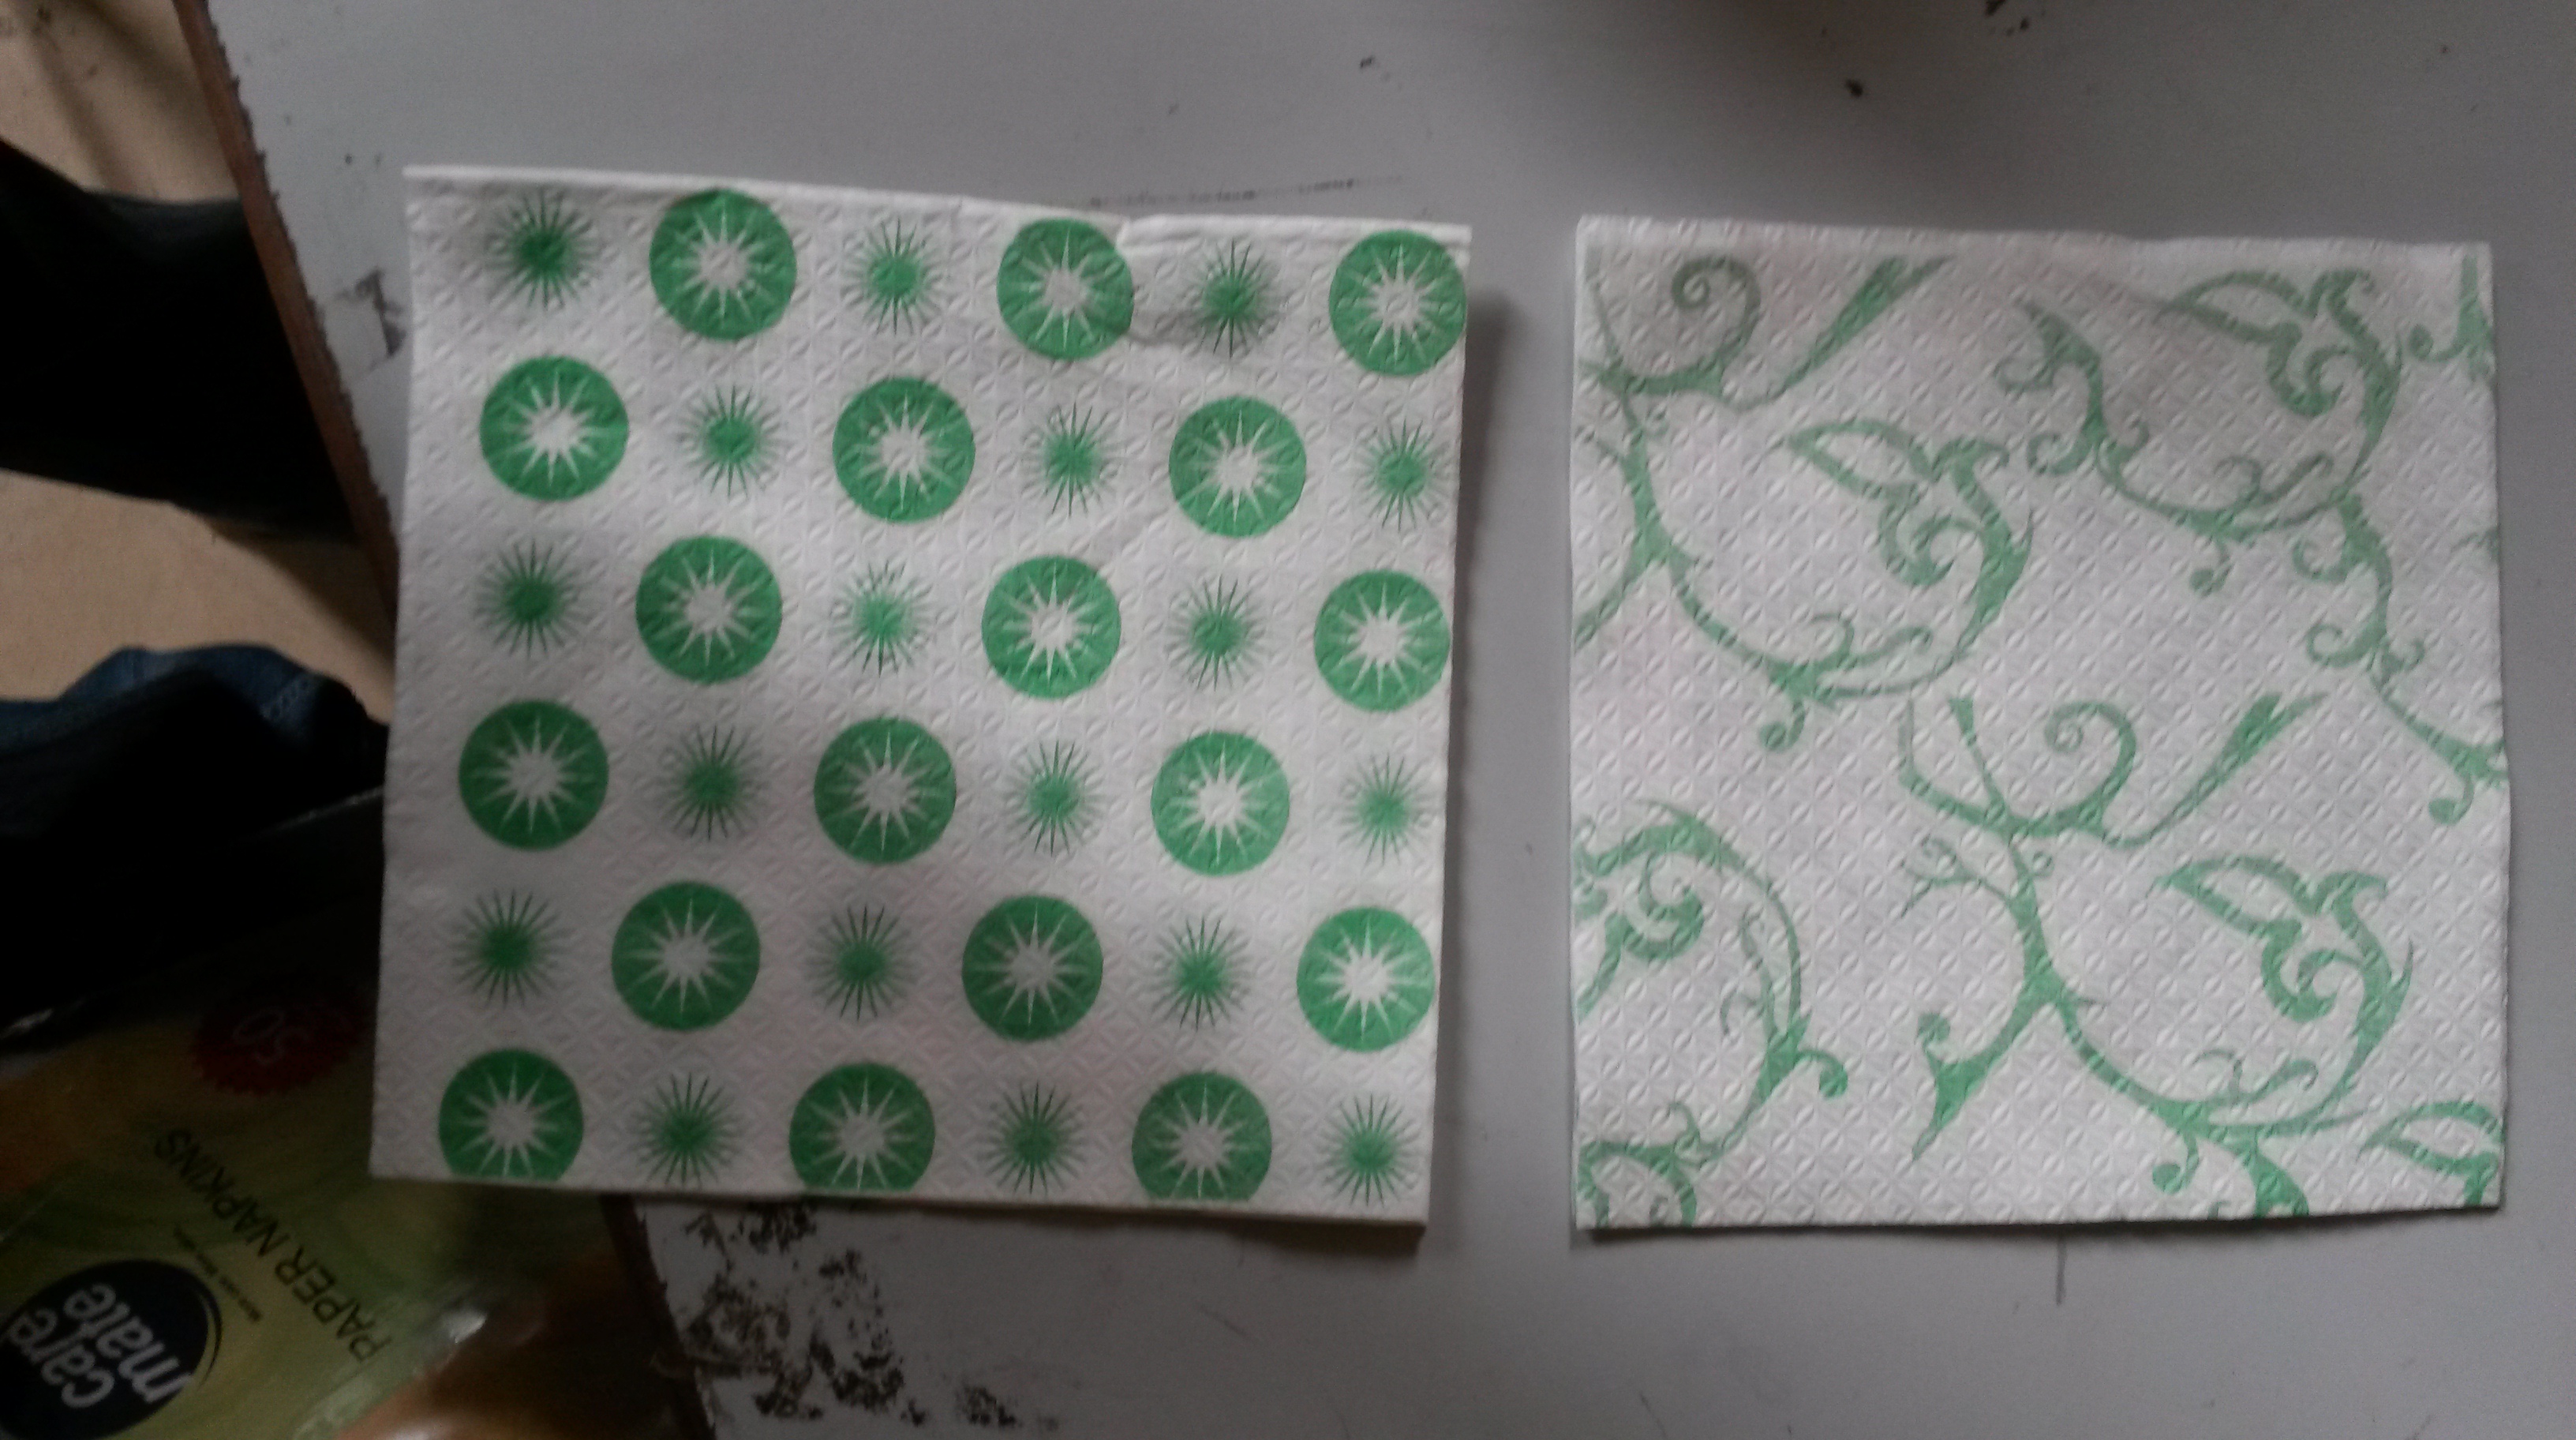
  1. Similar to the process of paper cups, paper plates also start out as a piece of cardboard. The cardboard is then put into the machine shown below. The two ends of the machine converge and engrave the shape of the plate onto the cardboard. The force that the two ends of the machine exert squishes the sheet of cardboard onto the engravings. Due to the force the cardboard fits into the small depressions on the metal plate, engraving the shape of the paper plate onto the cardboard

20140609_124110

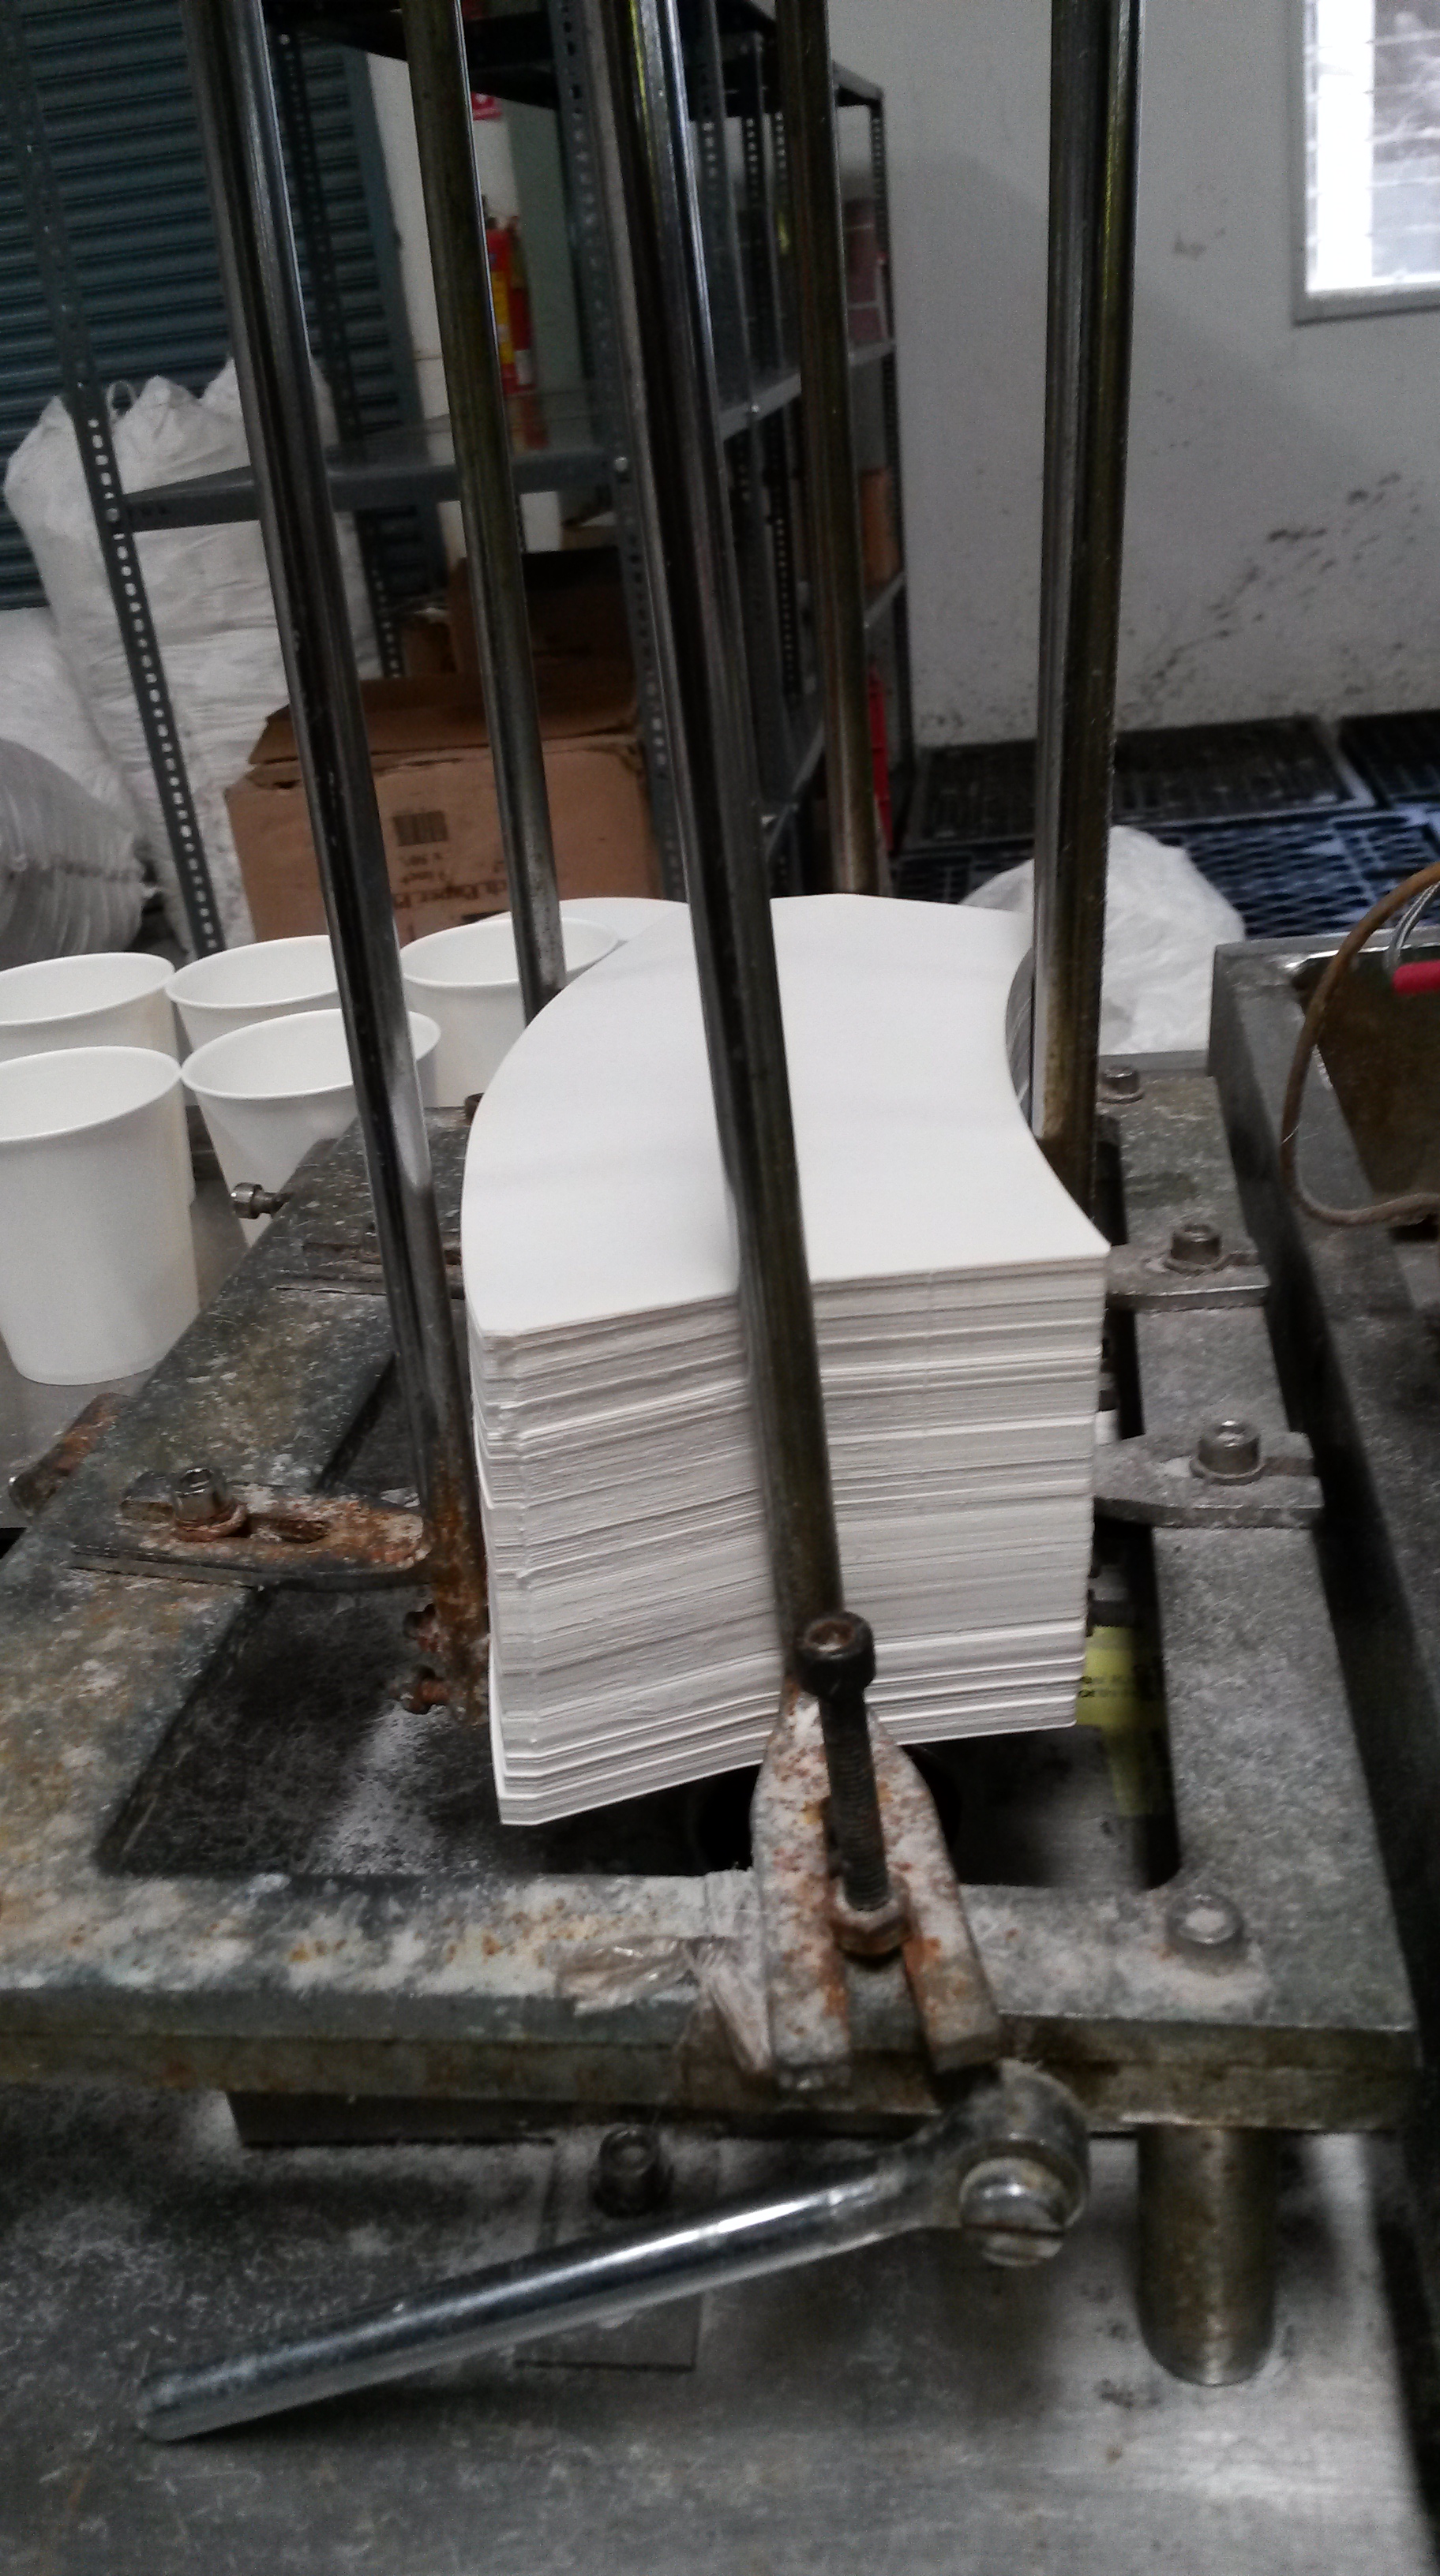
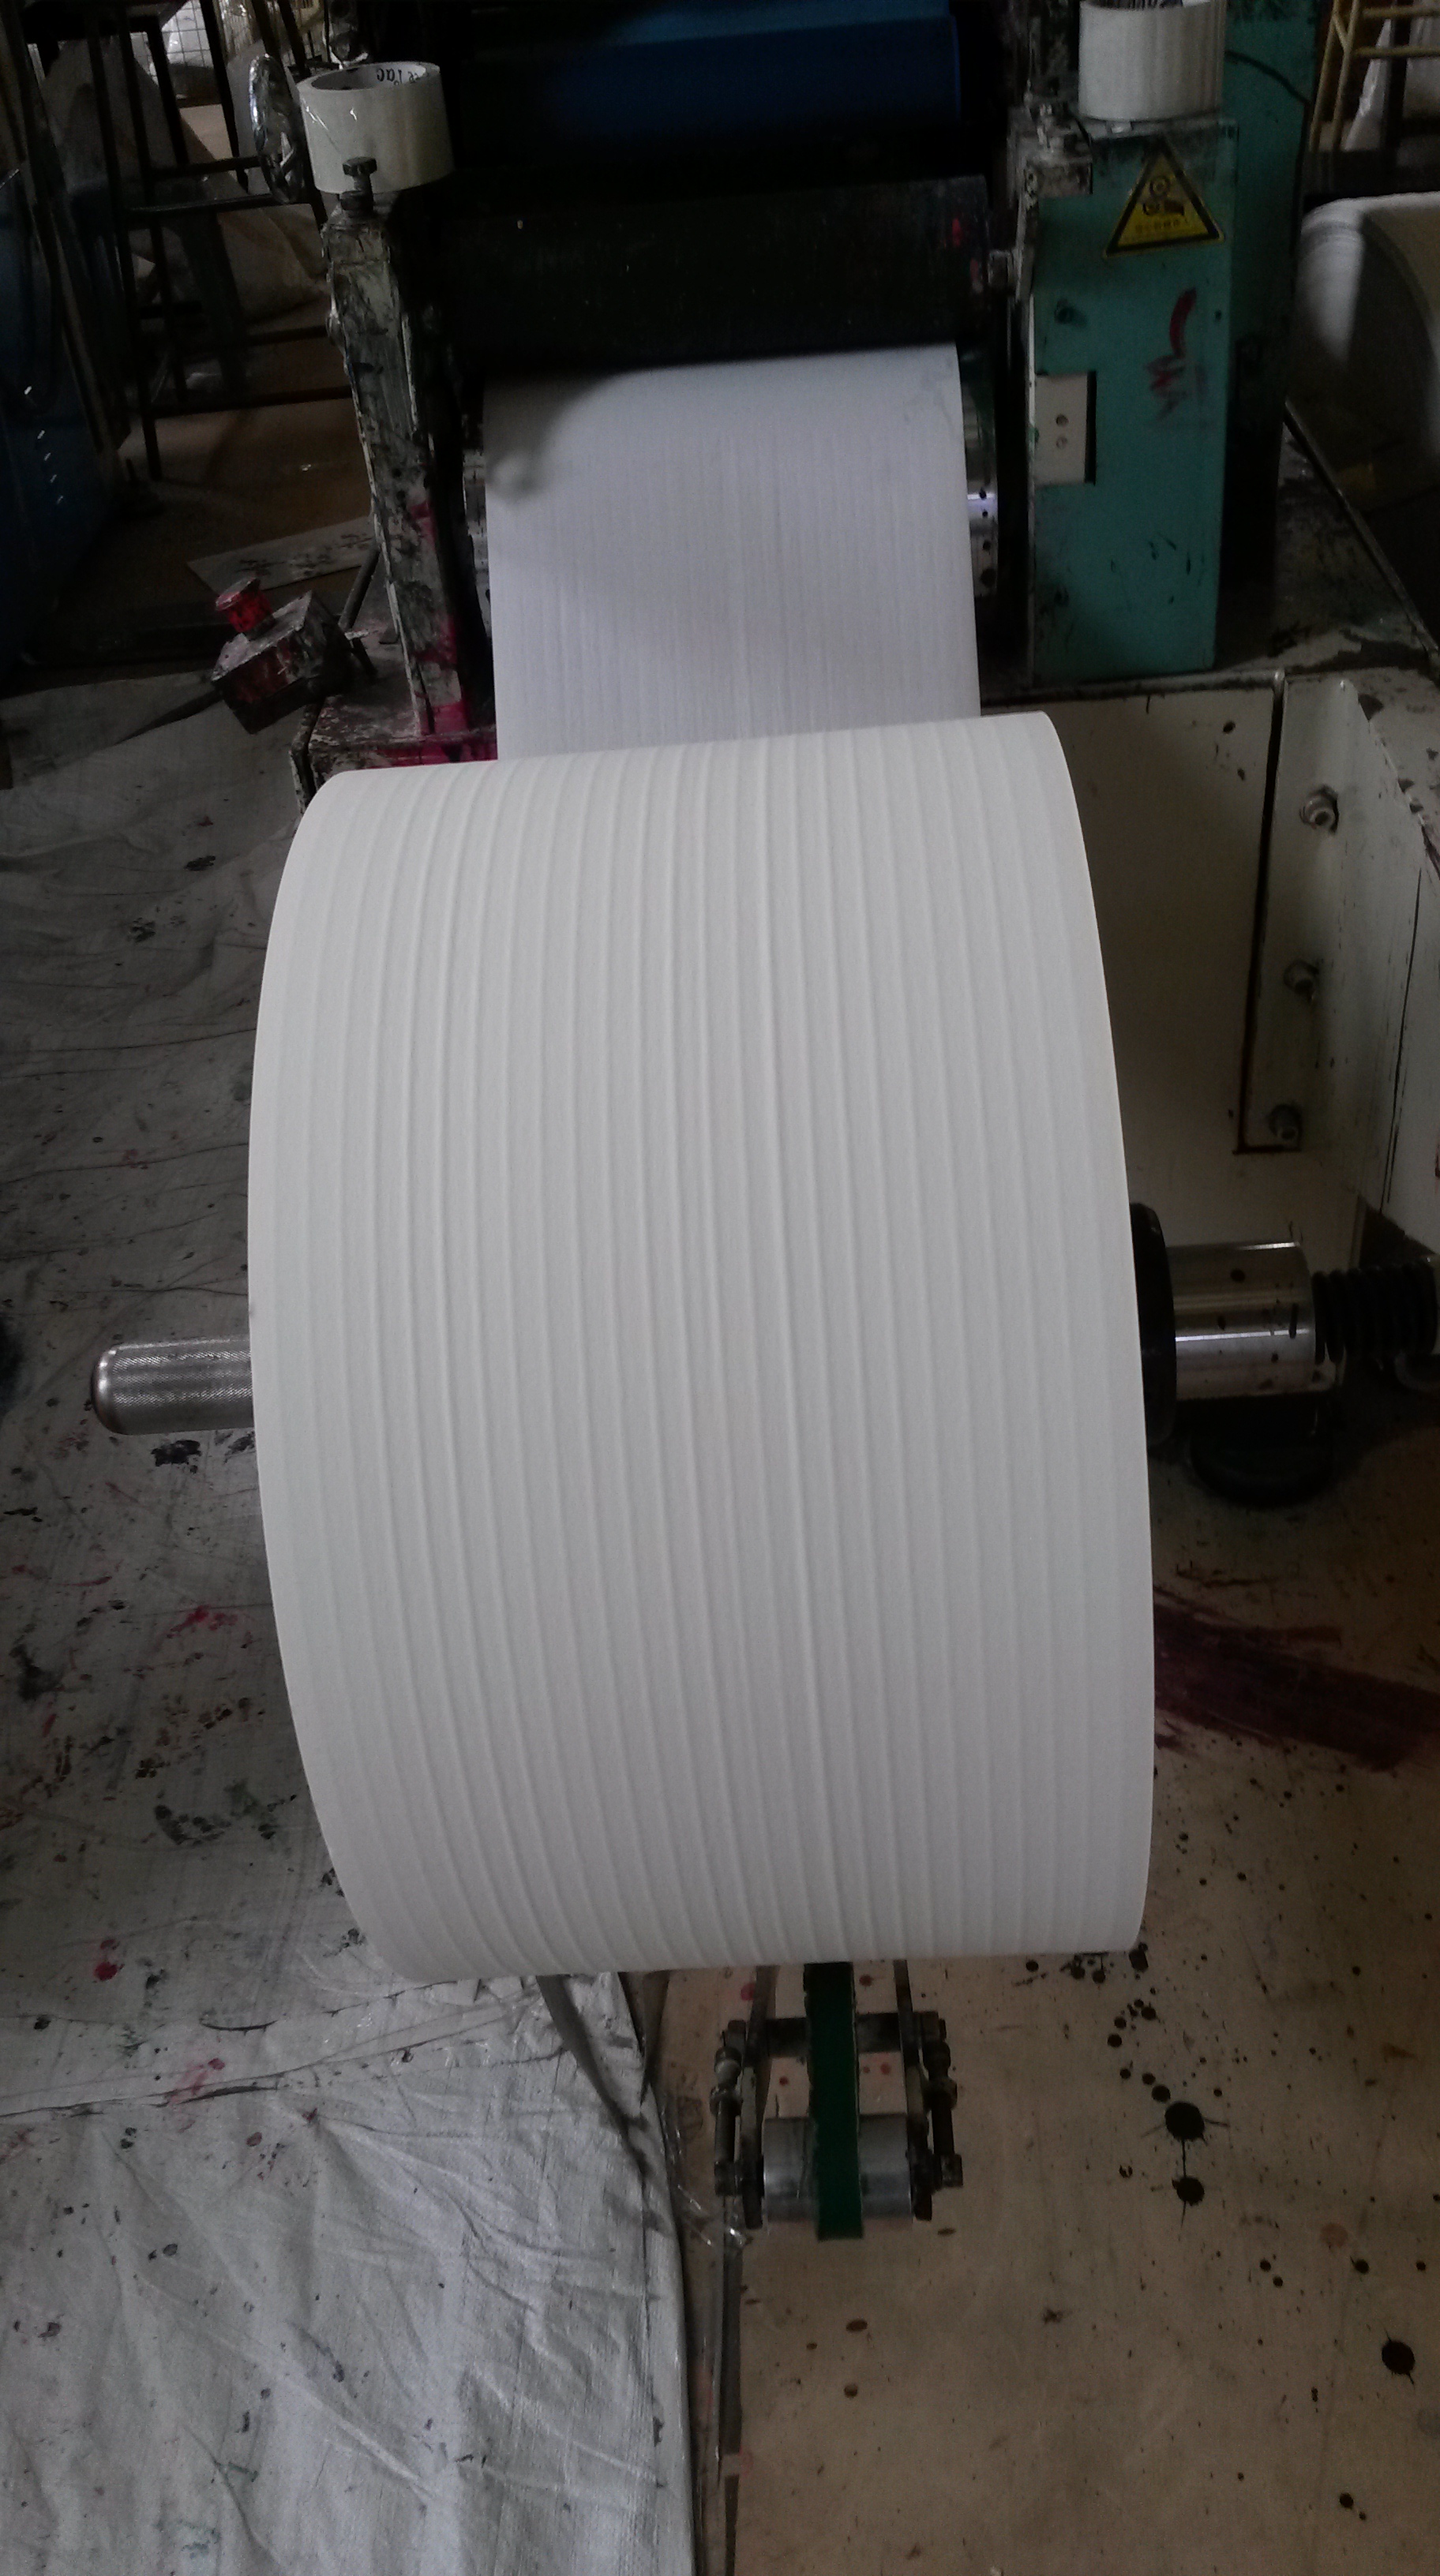
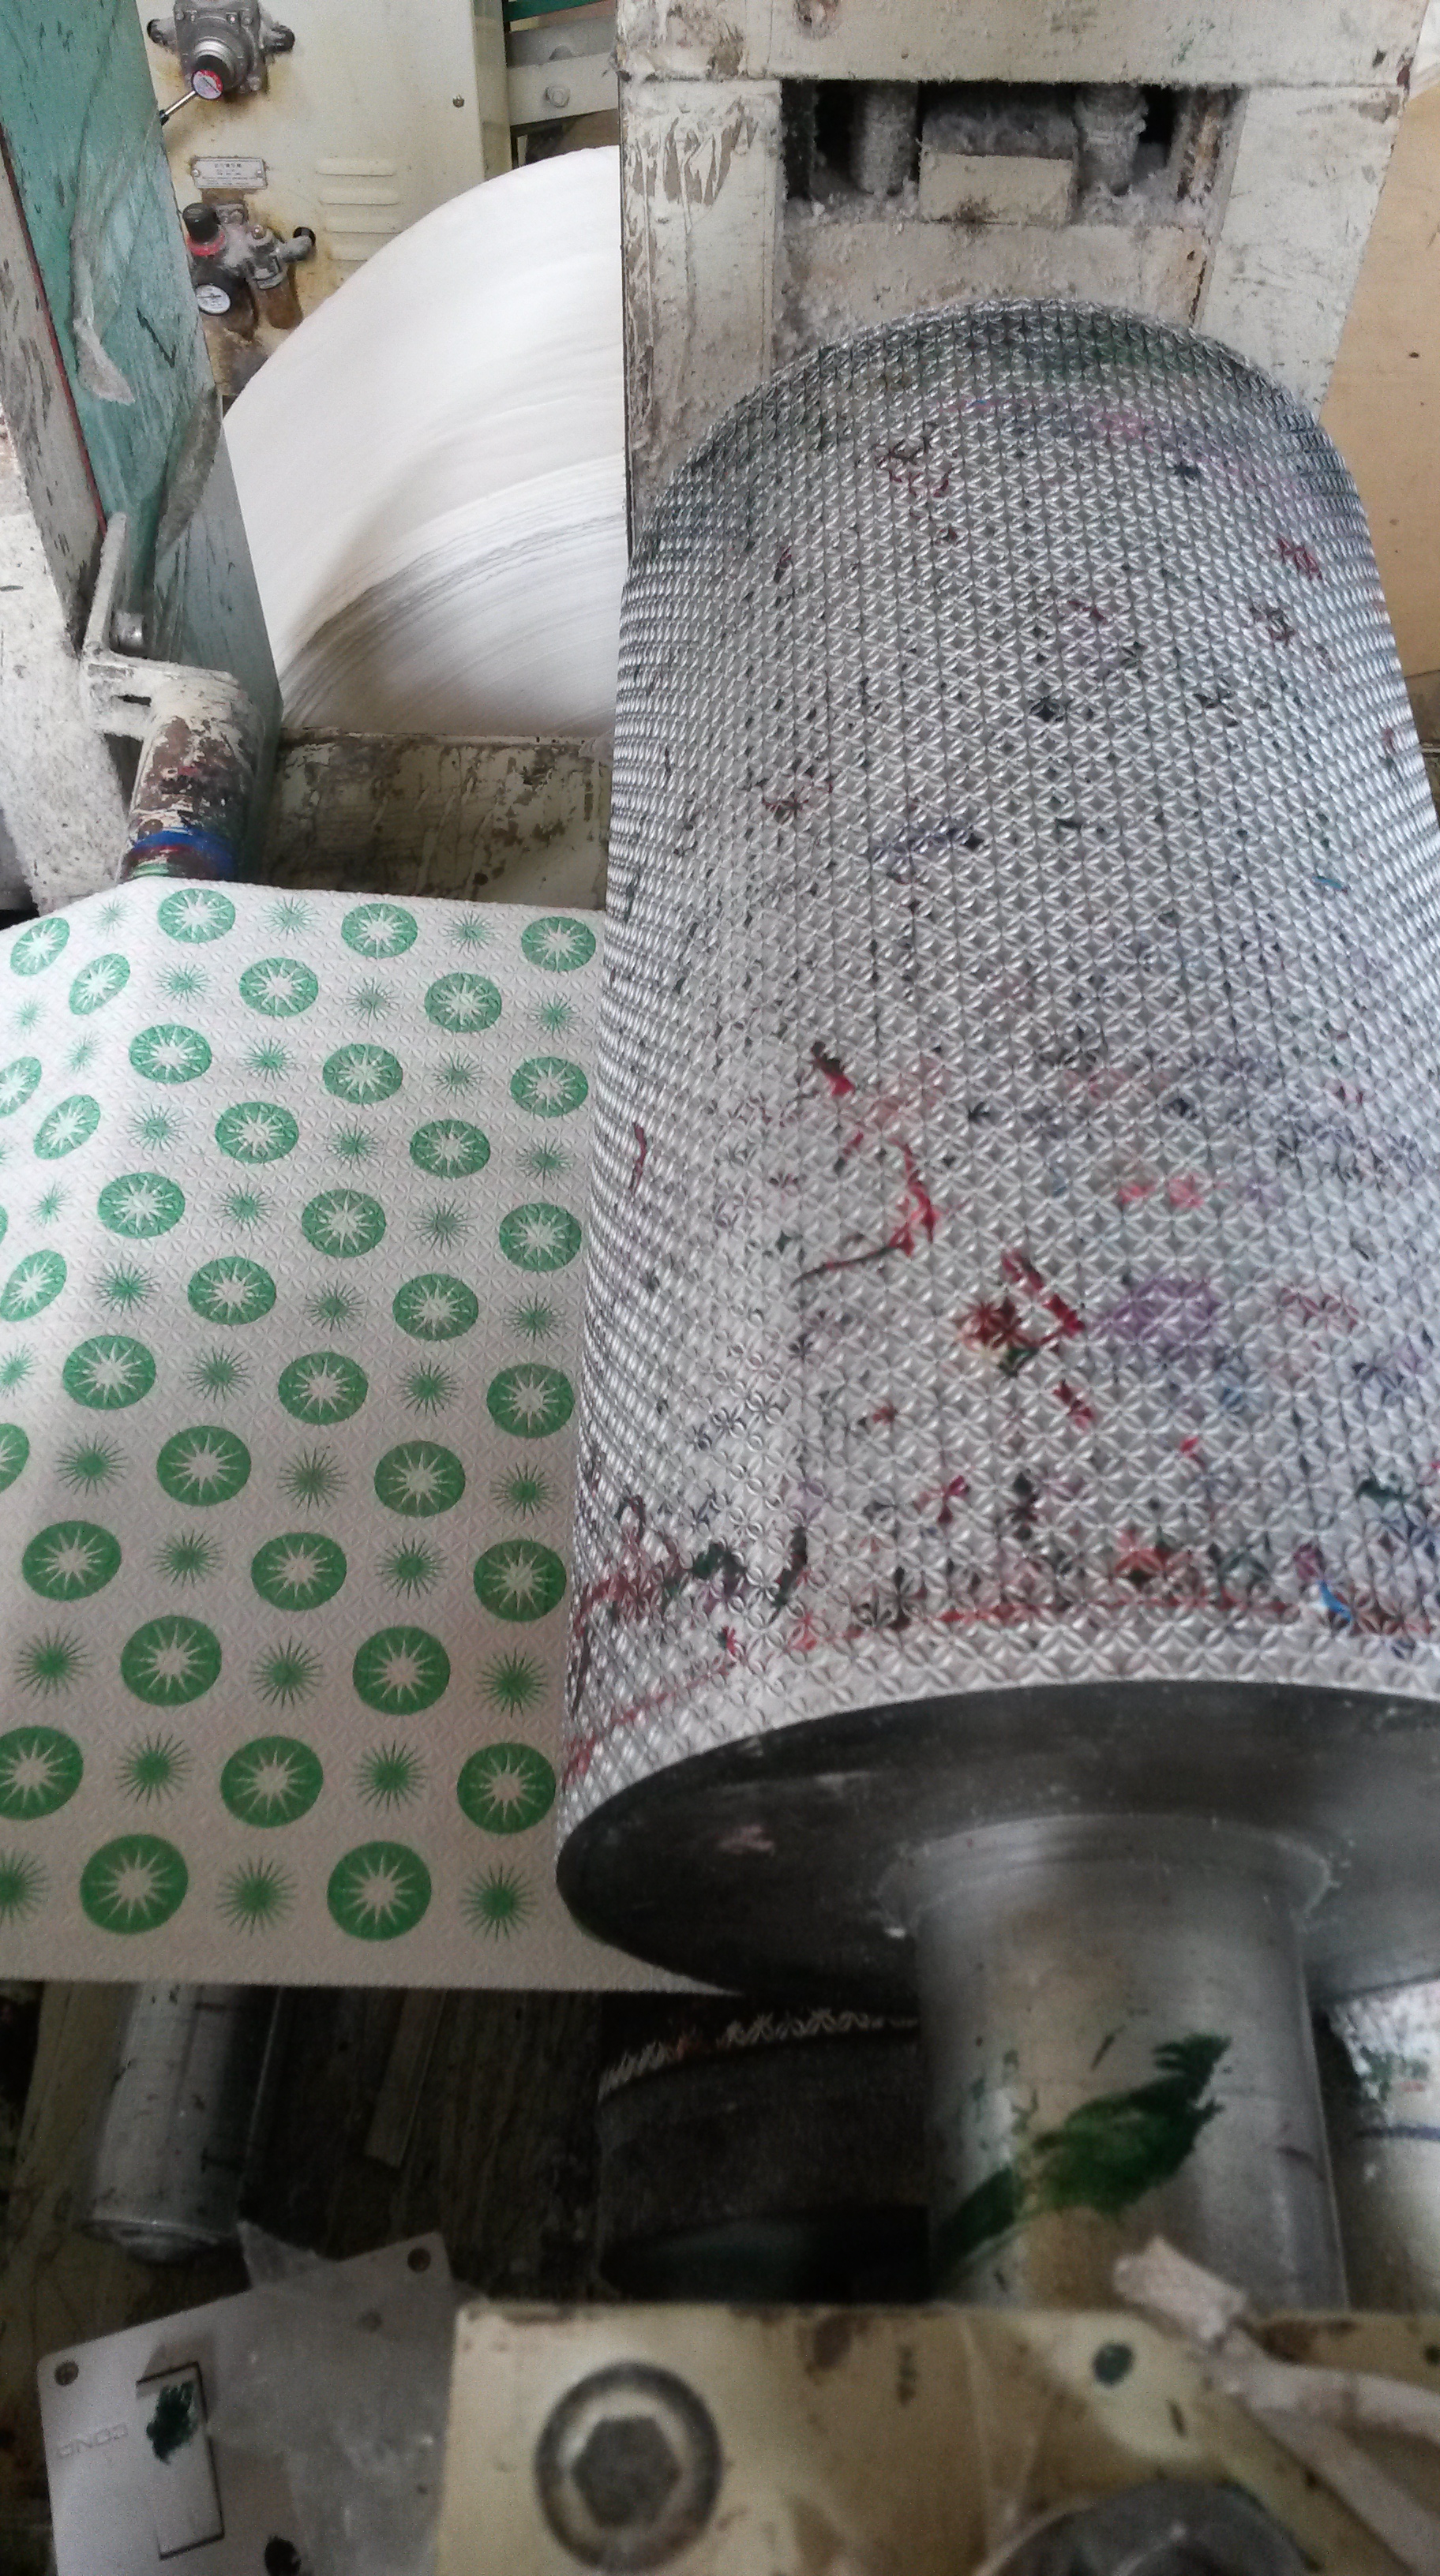
The circles engraved are then cut and fed into the machine.

20140609_124125

2. Using the principle of suction the pieces of cardboard are fed into the machine one at a time.

20140609_123913

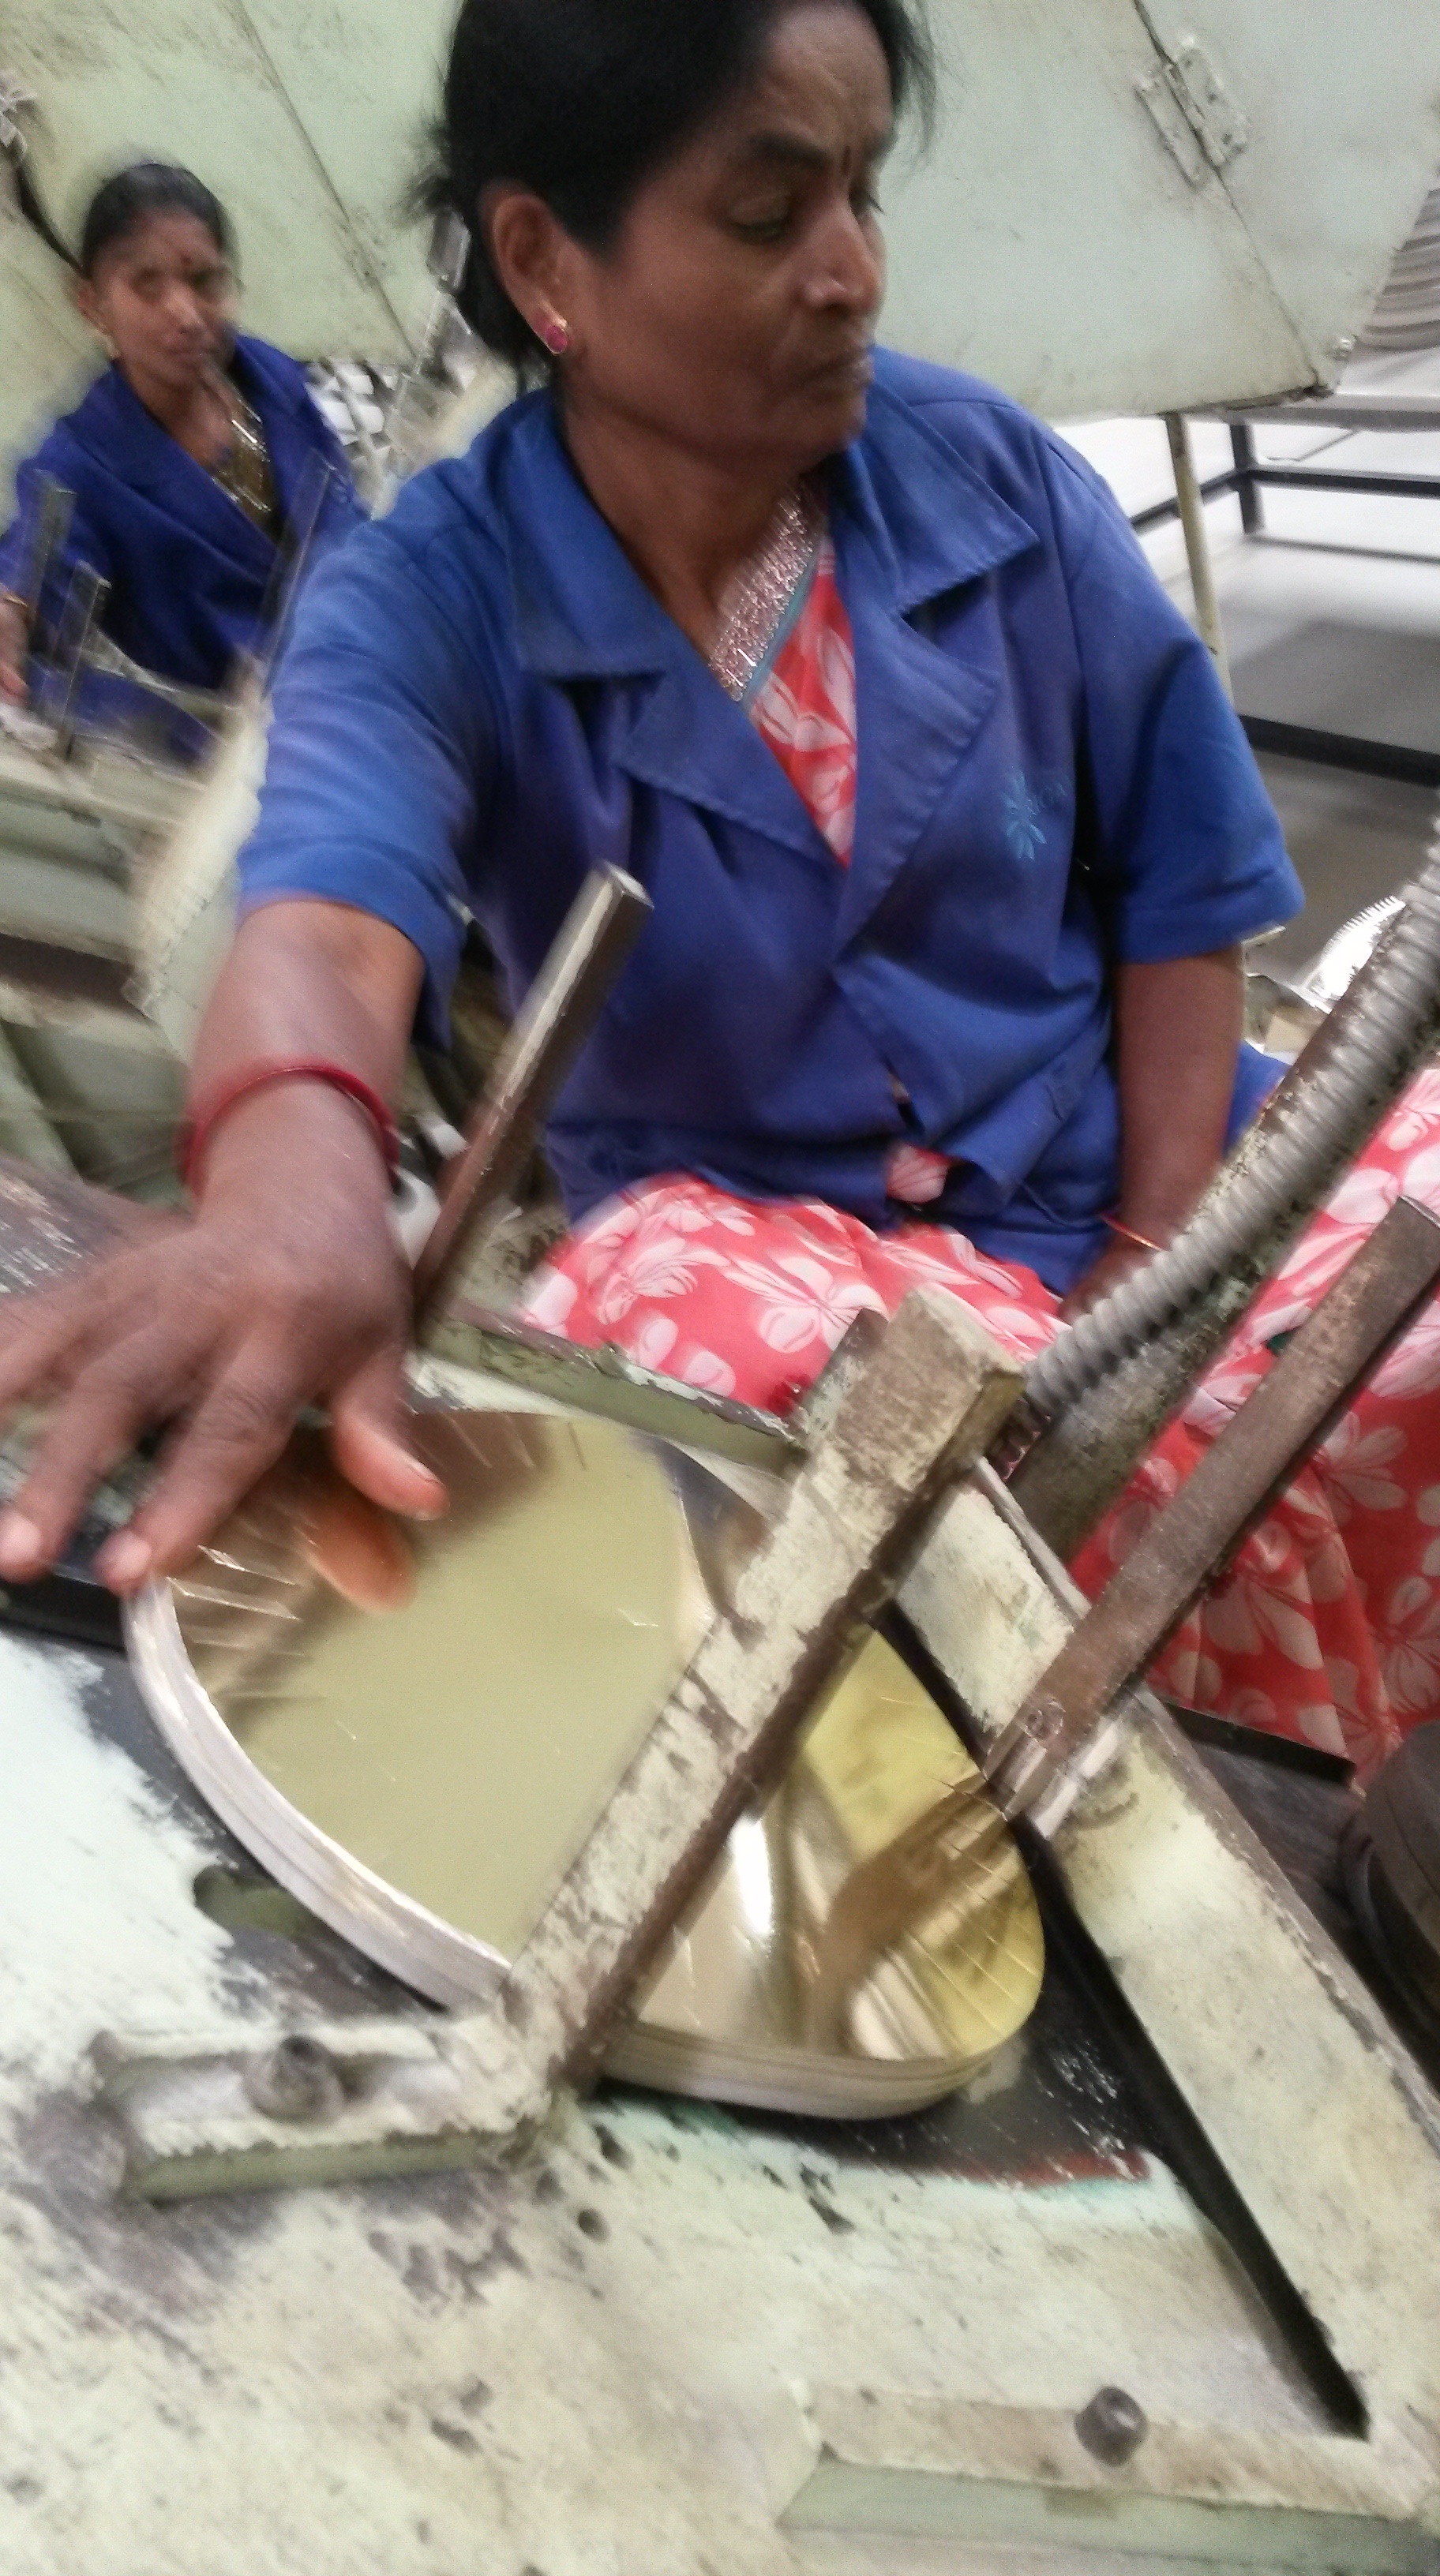
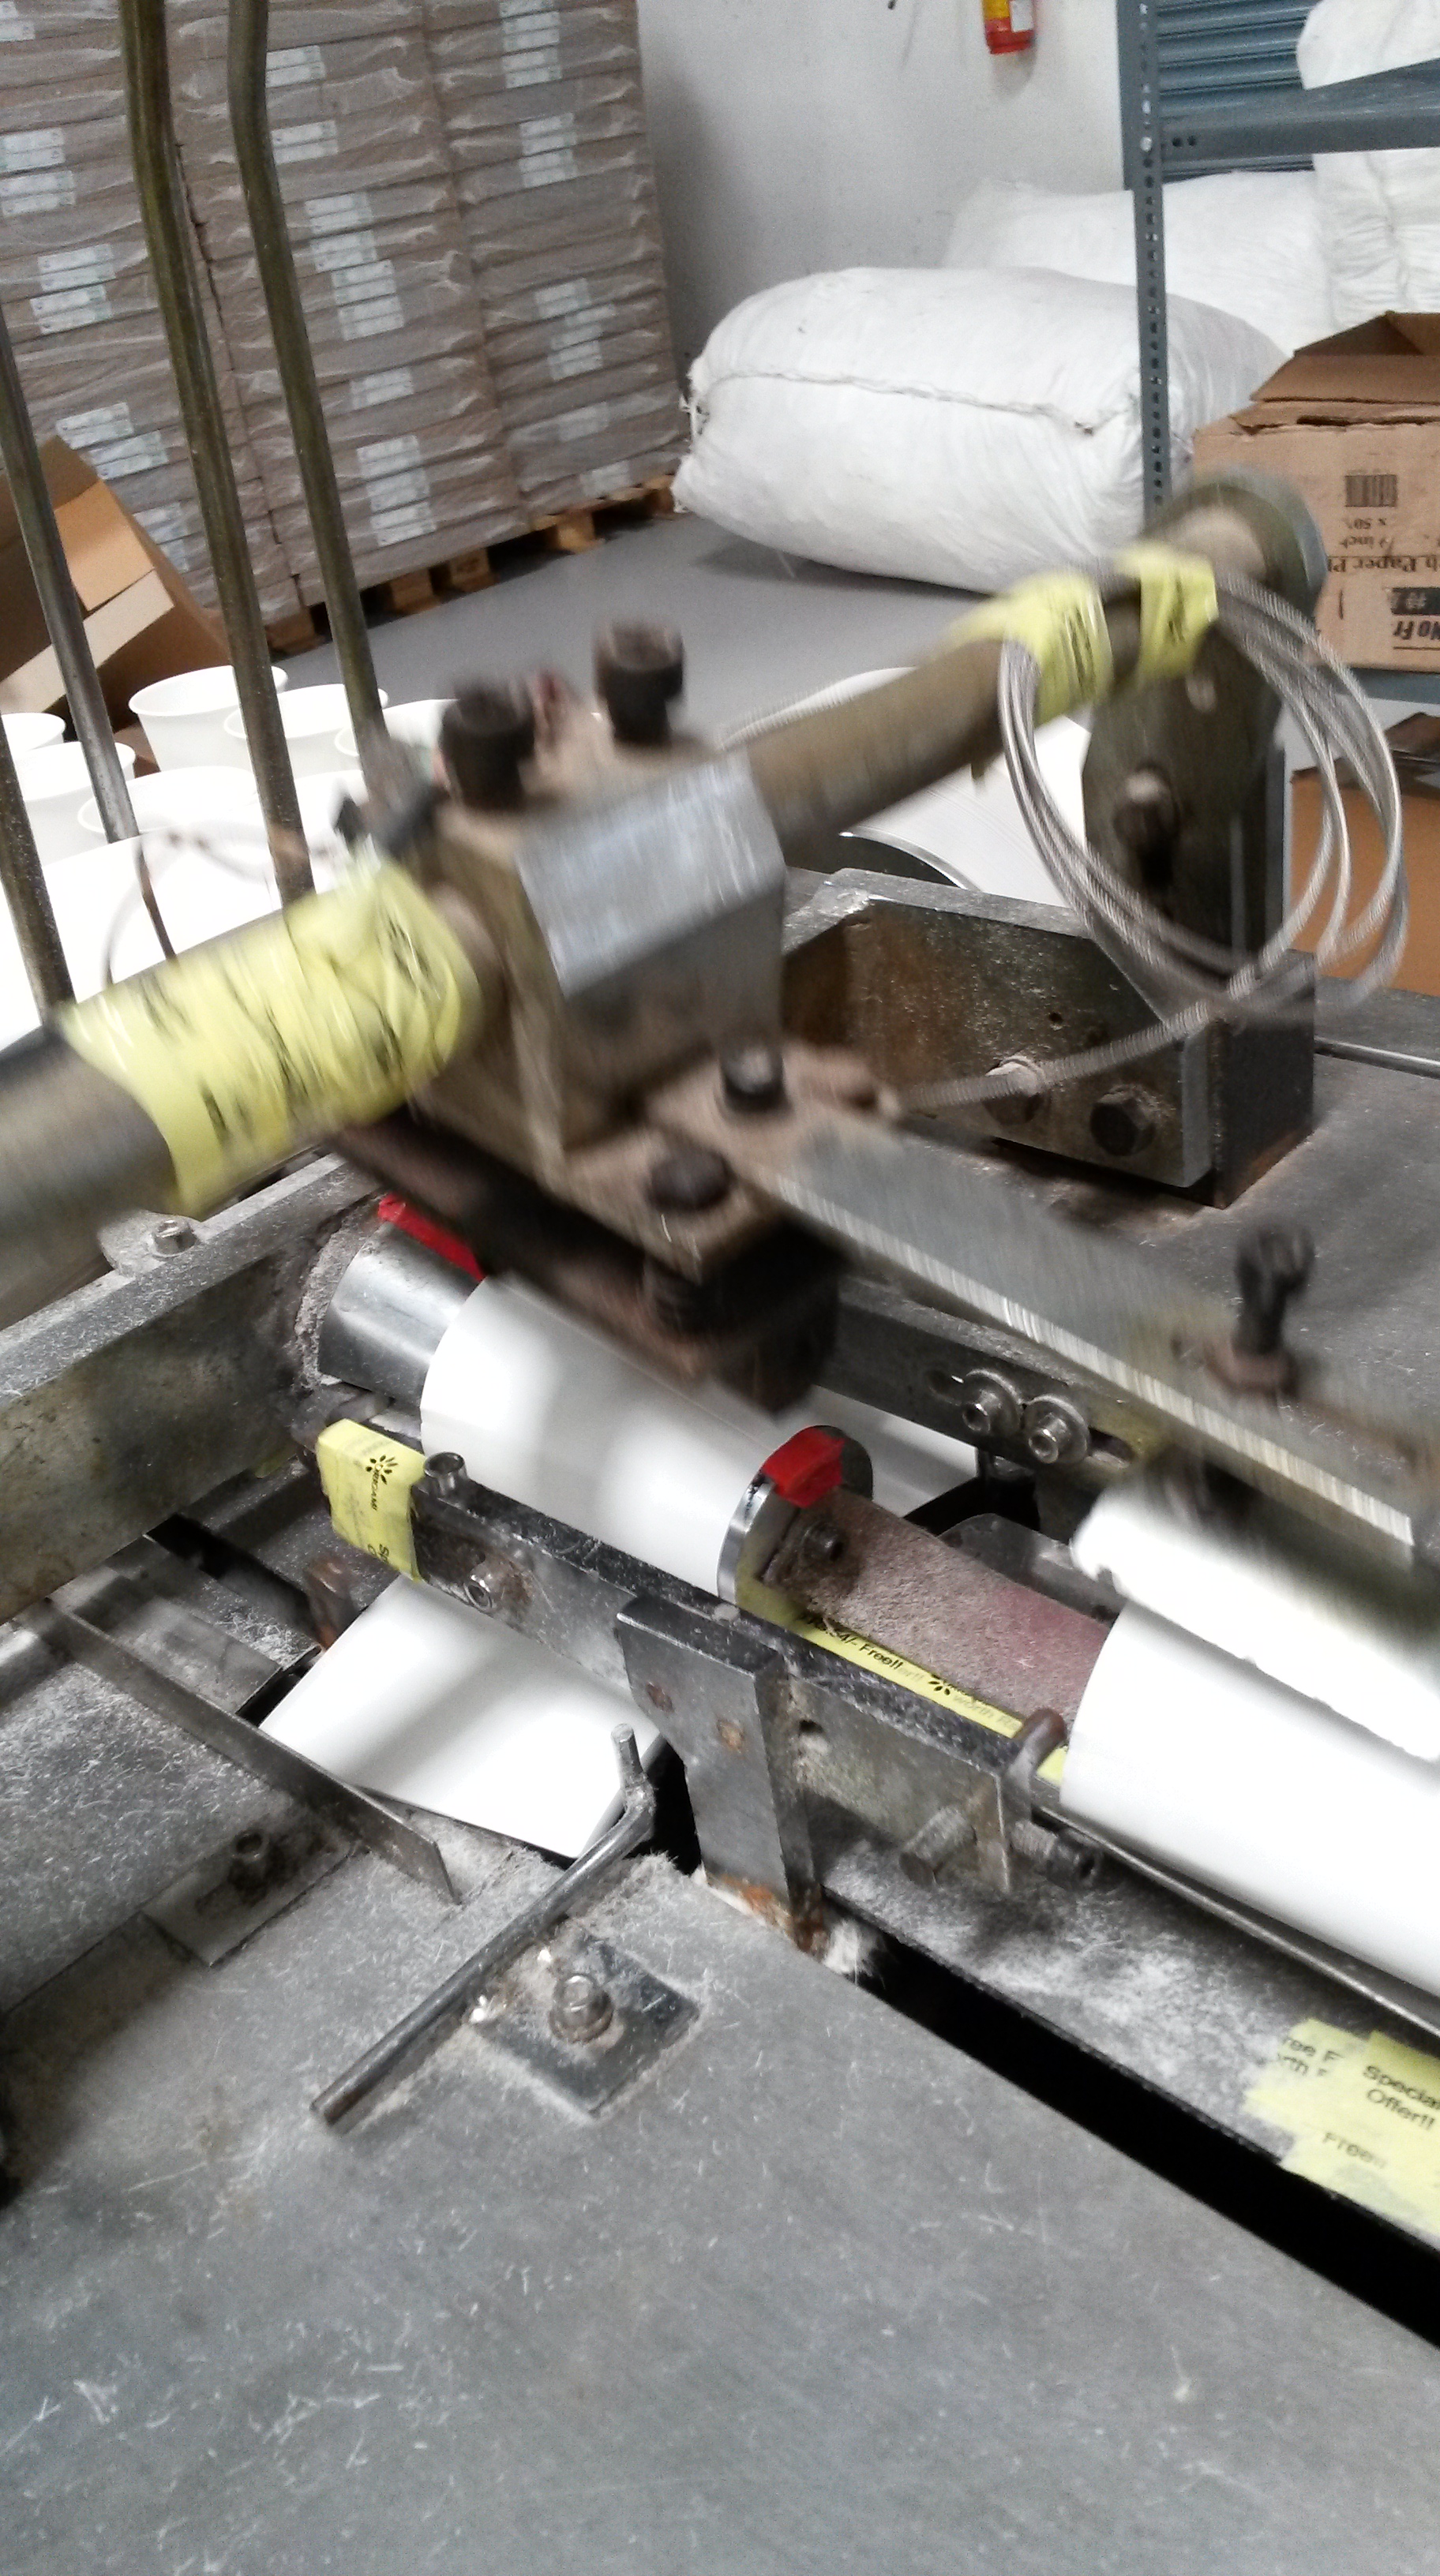
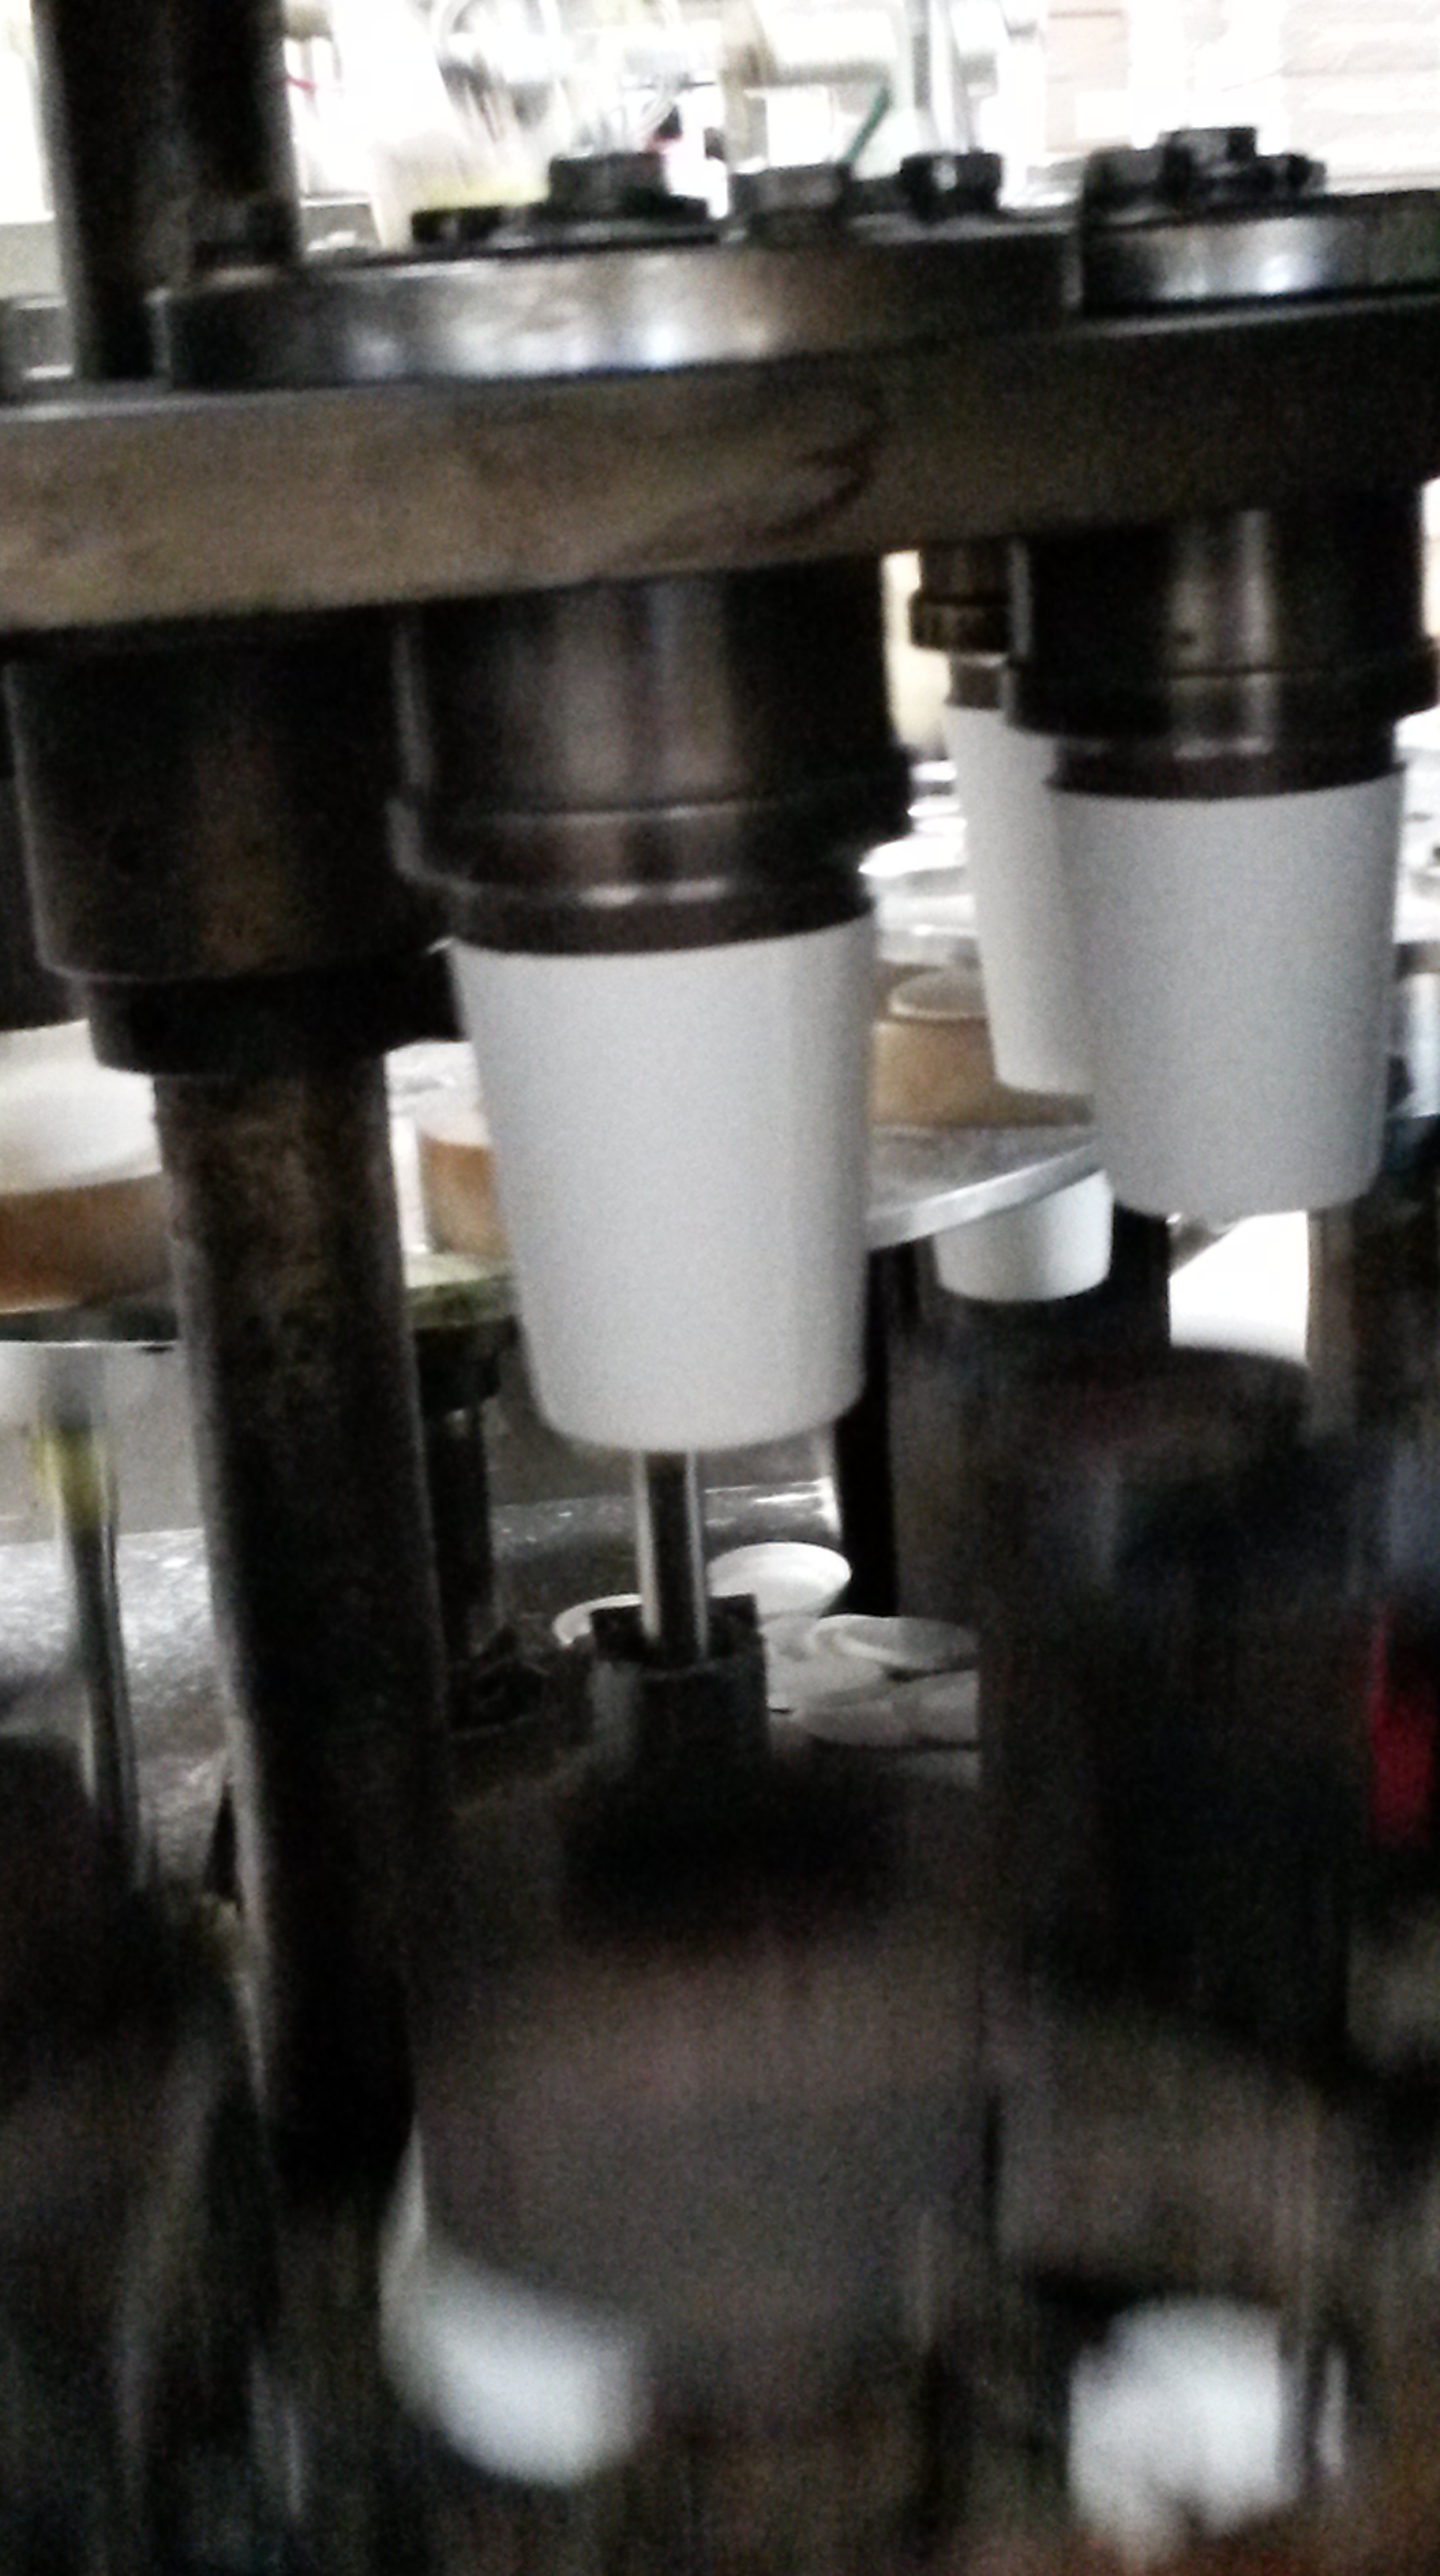
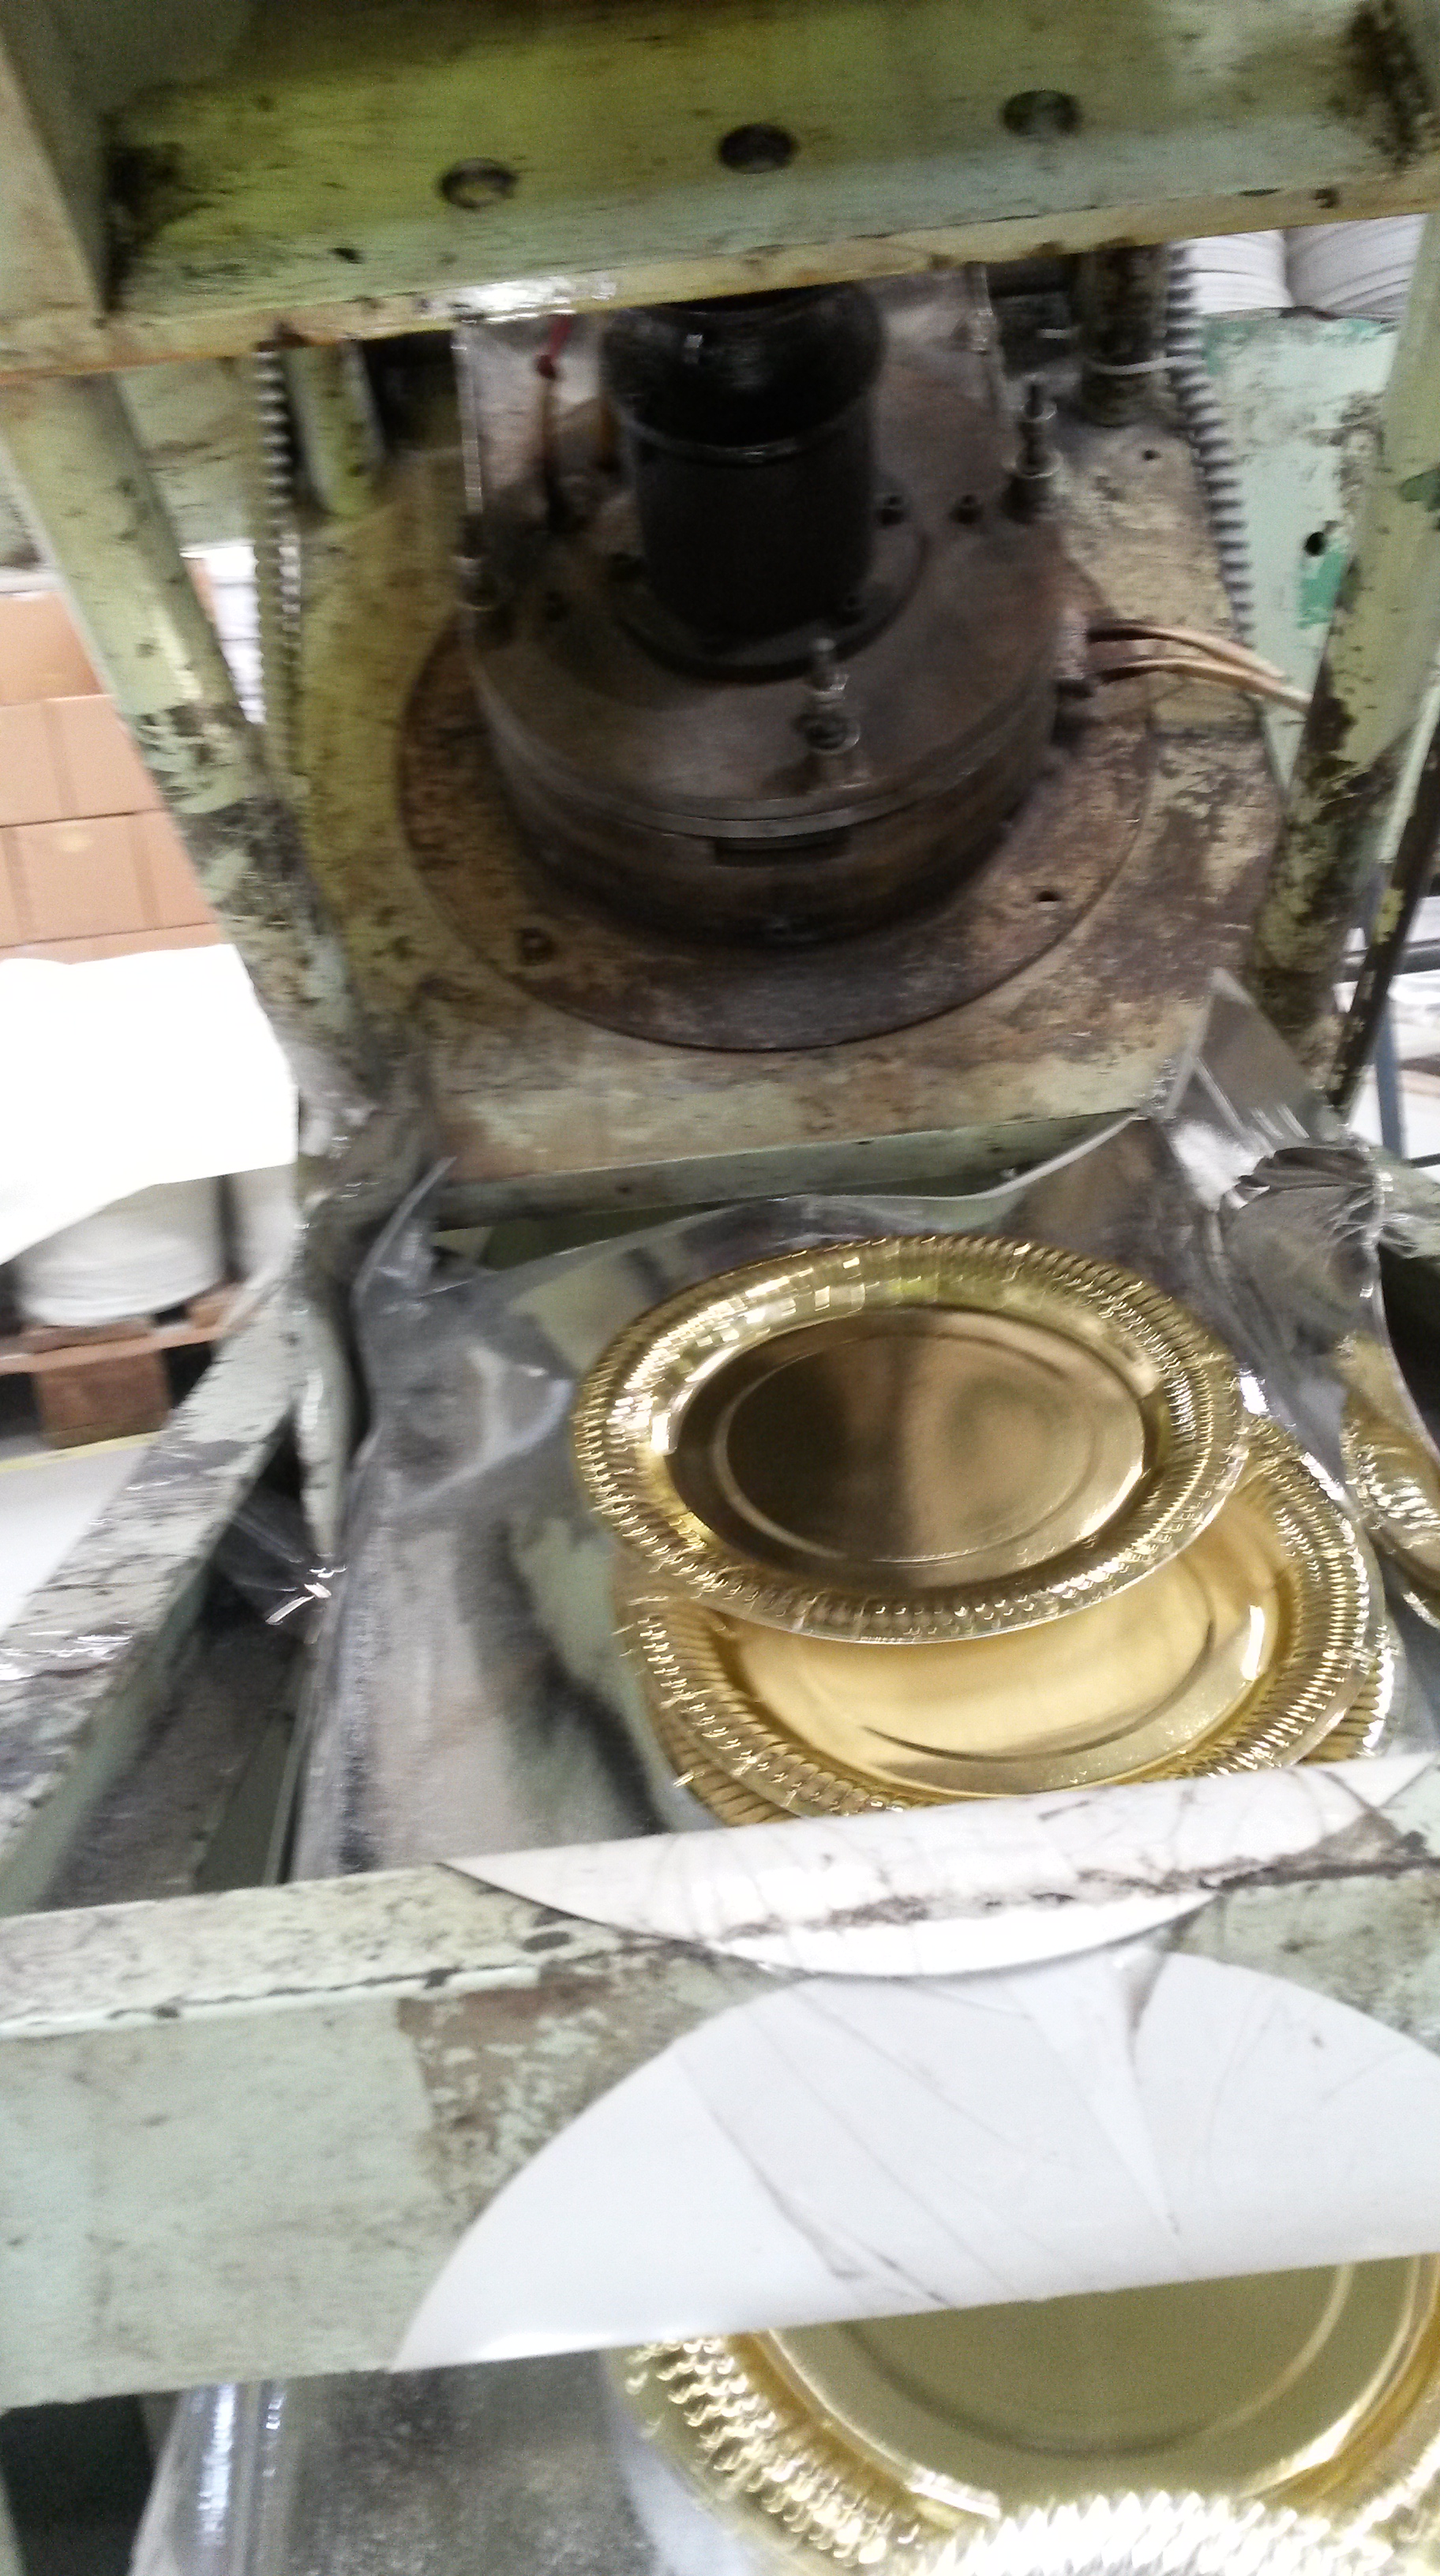
3. The machine is timed in such a way that as soon as the cardboard piece goes into the mould a rod from above moves downward. At the end of the rod, a metal piece is attached that fits perfectly into the mould below. The metal piece from above is also heated which makes it easier for the cardboard to be moulded into a plate.

20140609_124008

The timing of the rod moving downward is not controlled by sensors, but is controlled mechanically. The rod which moves the cardboard down in step (b), triggers the movement of the rod moving downward onto the paper plate mould.  Sensors could also be used, but the mechanical method is cheaper, thus is used.

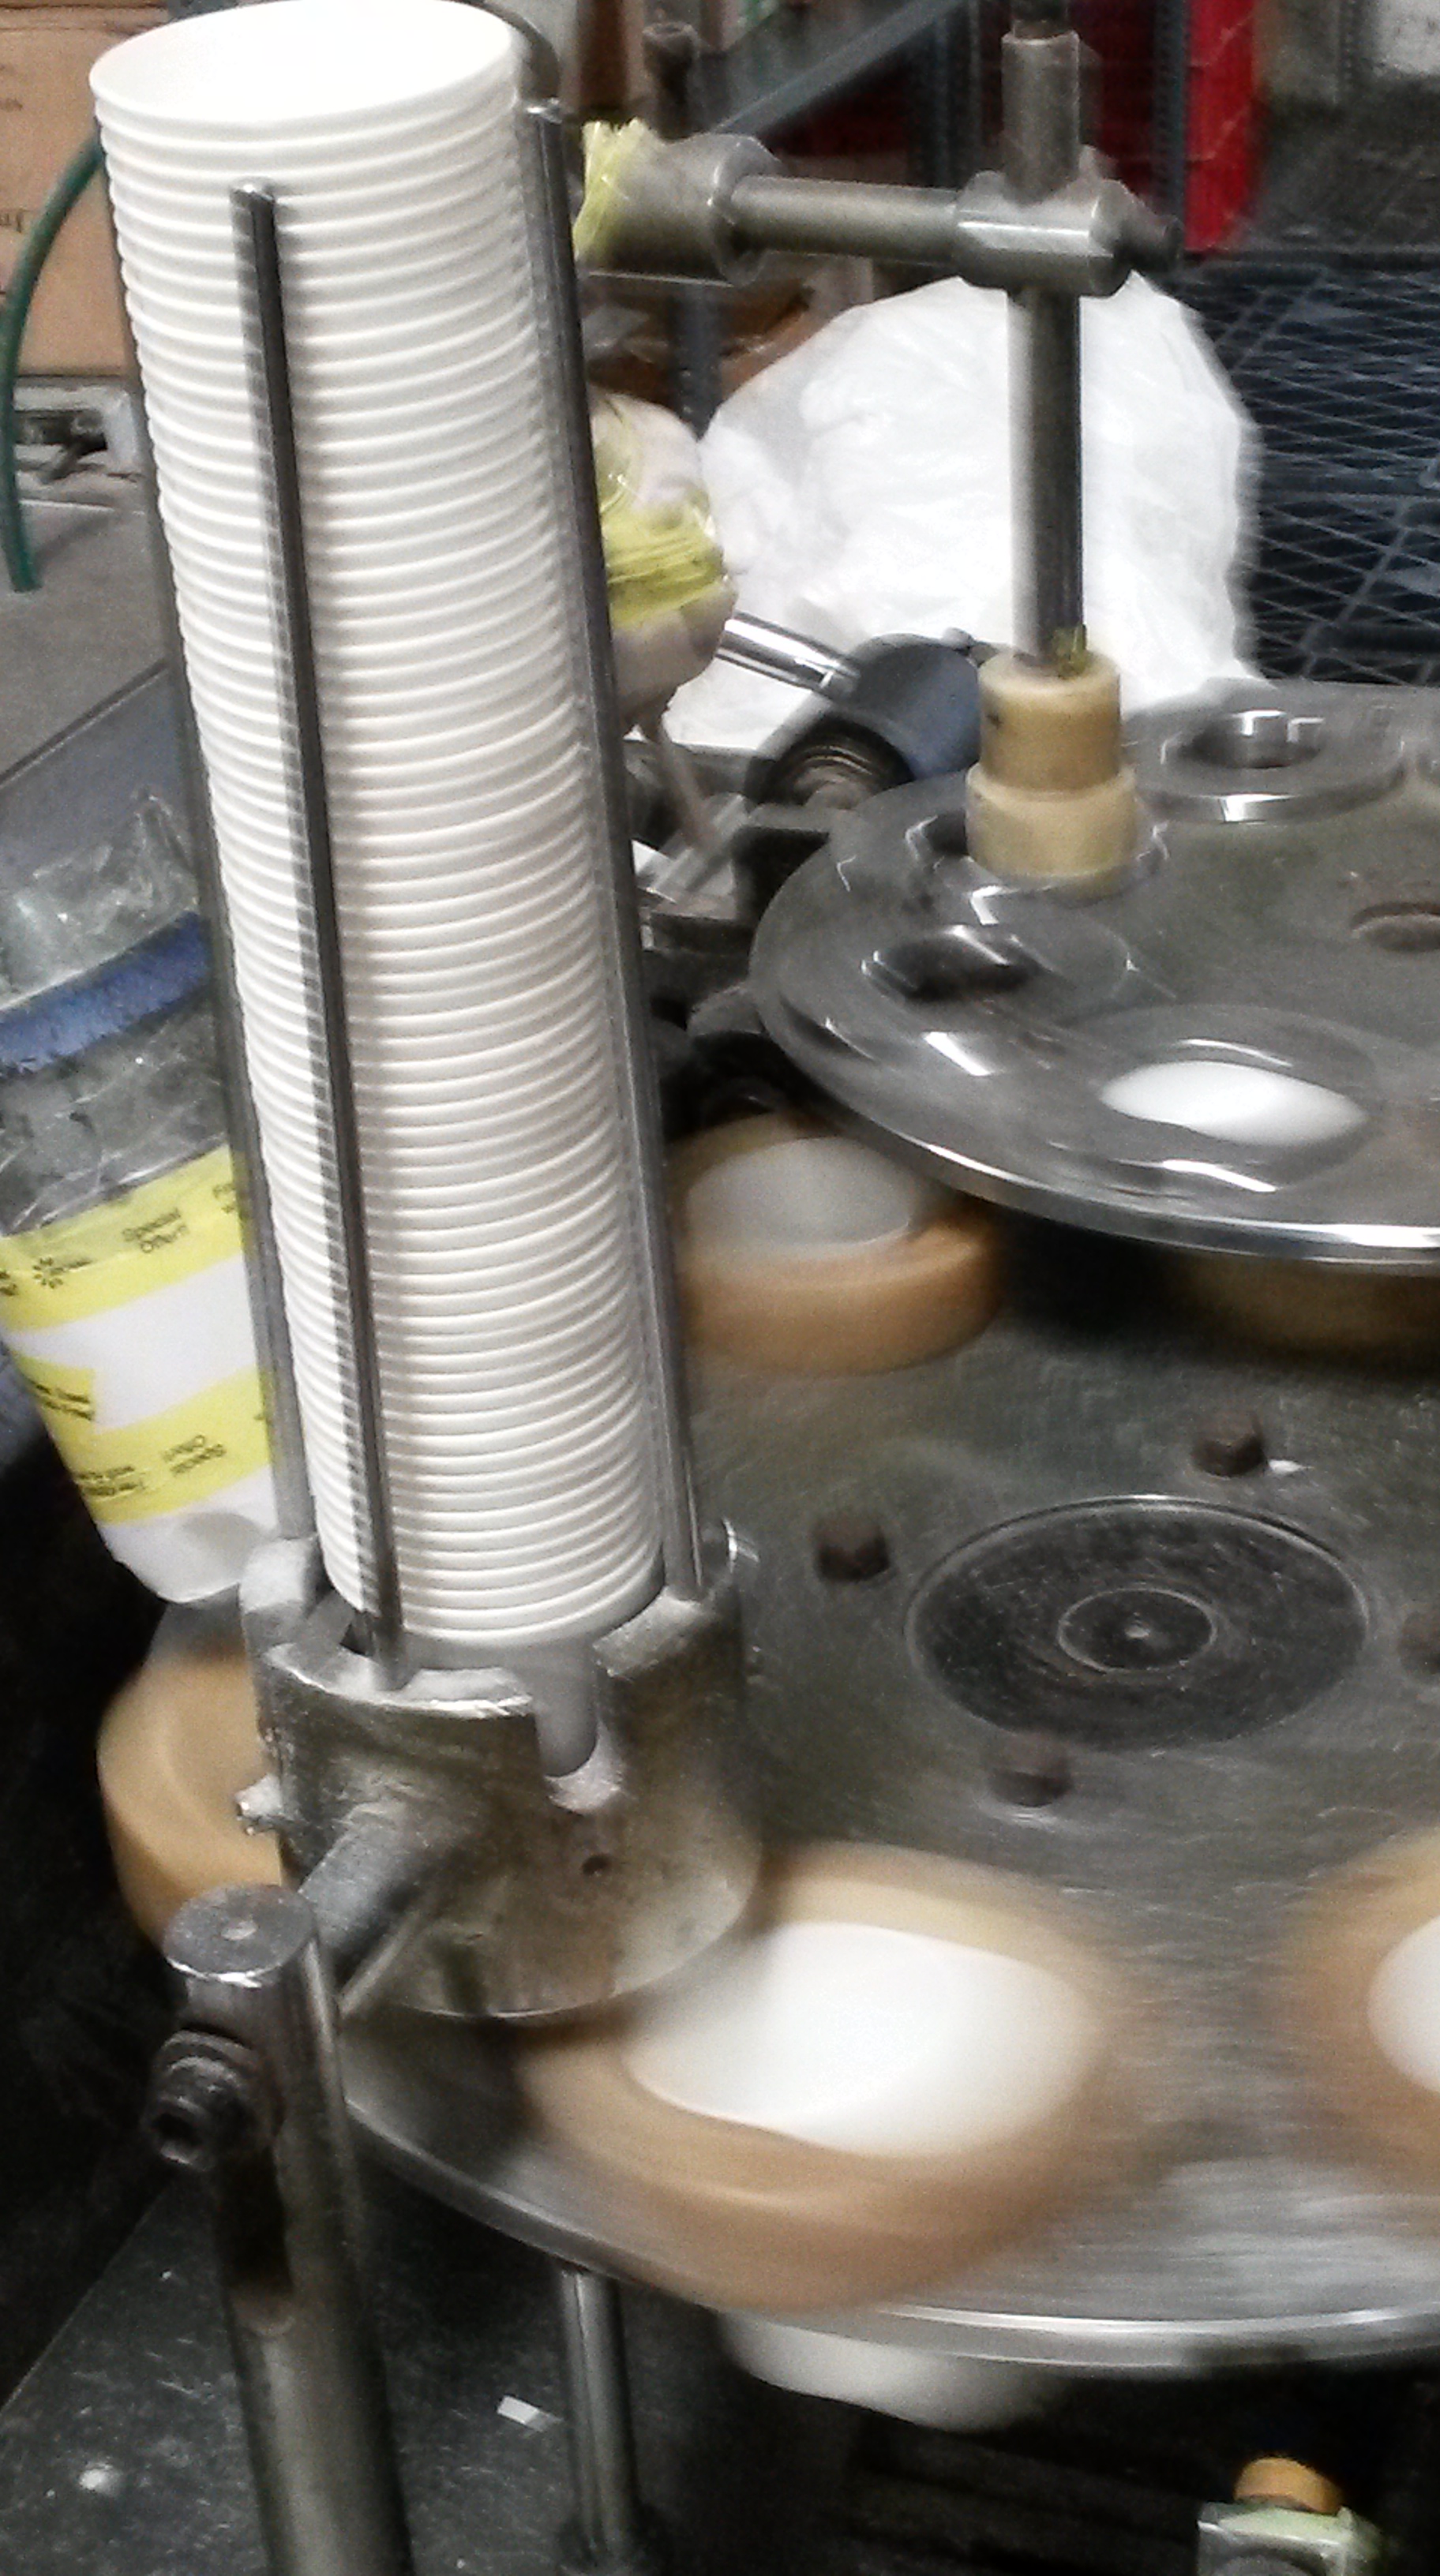
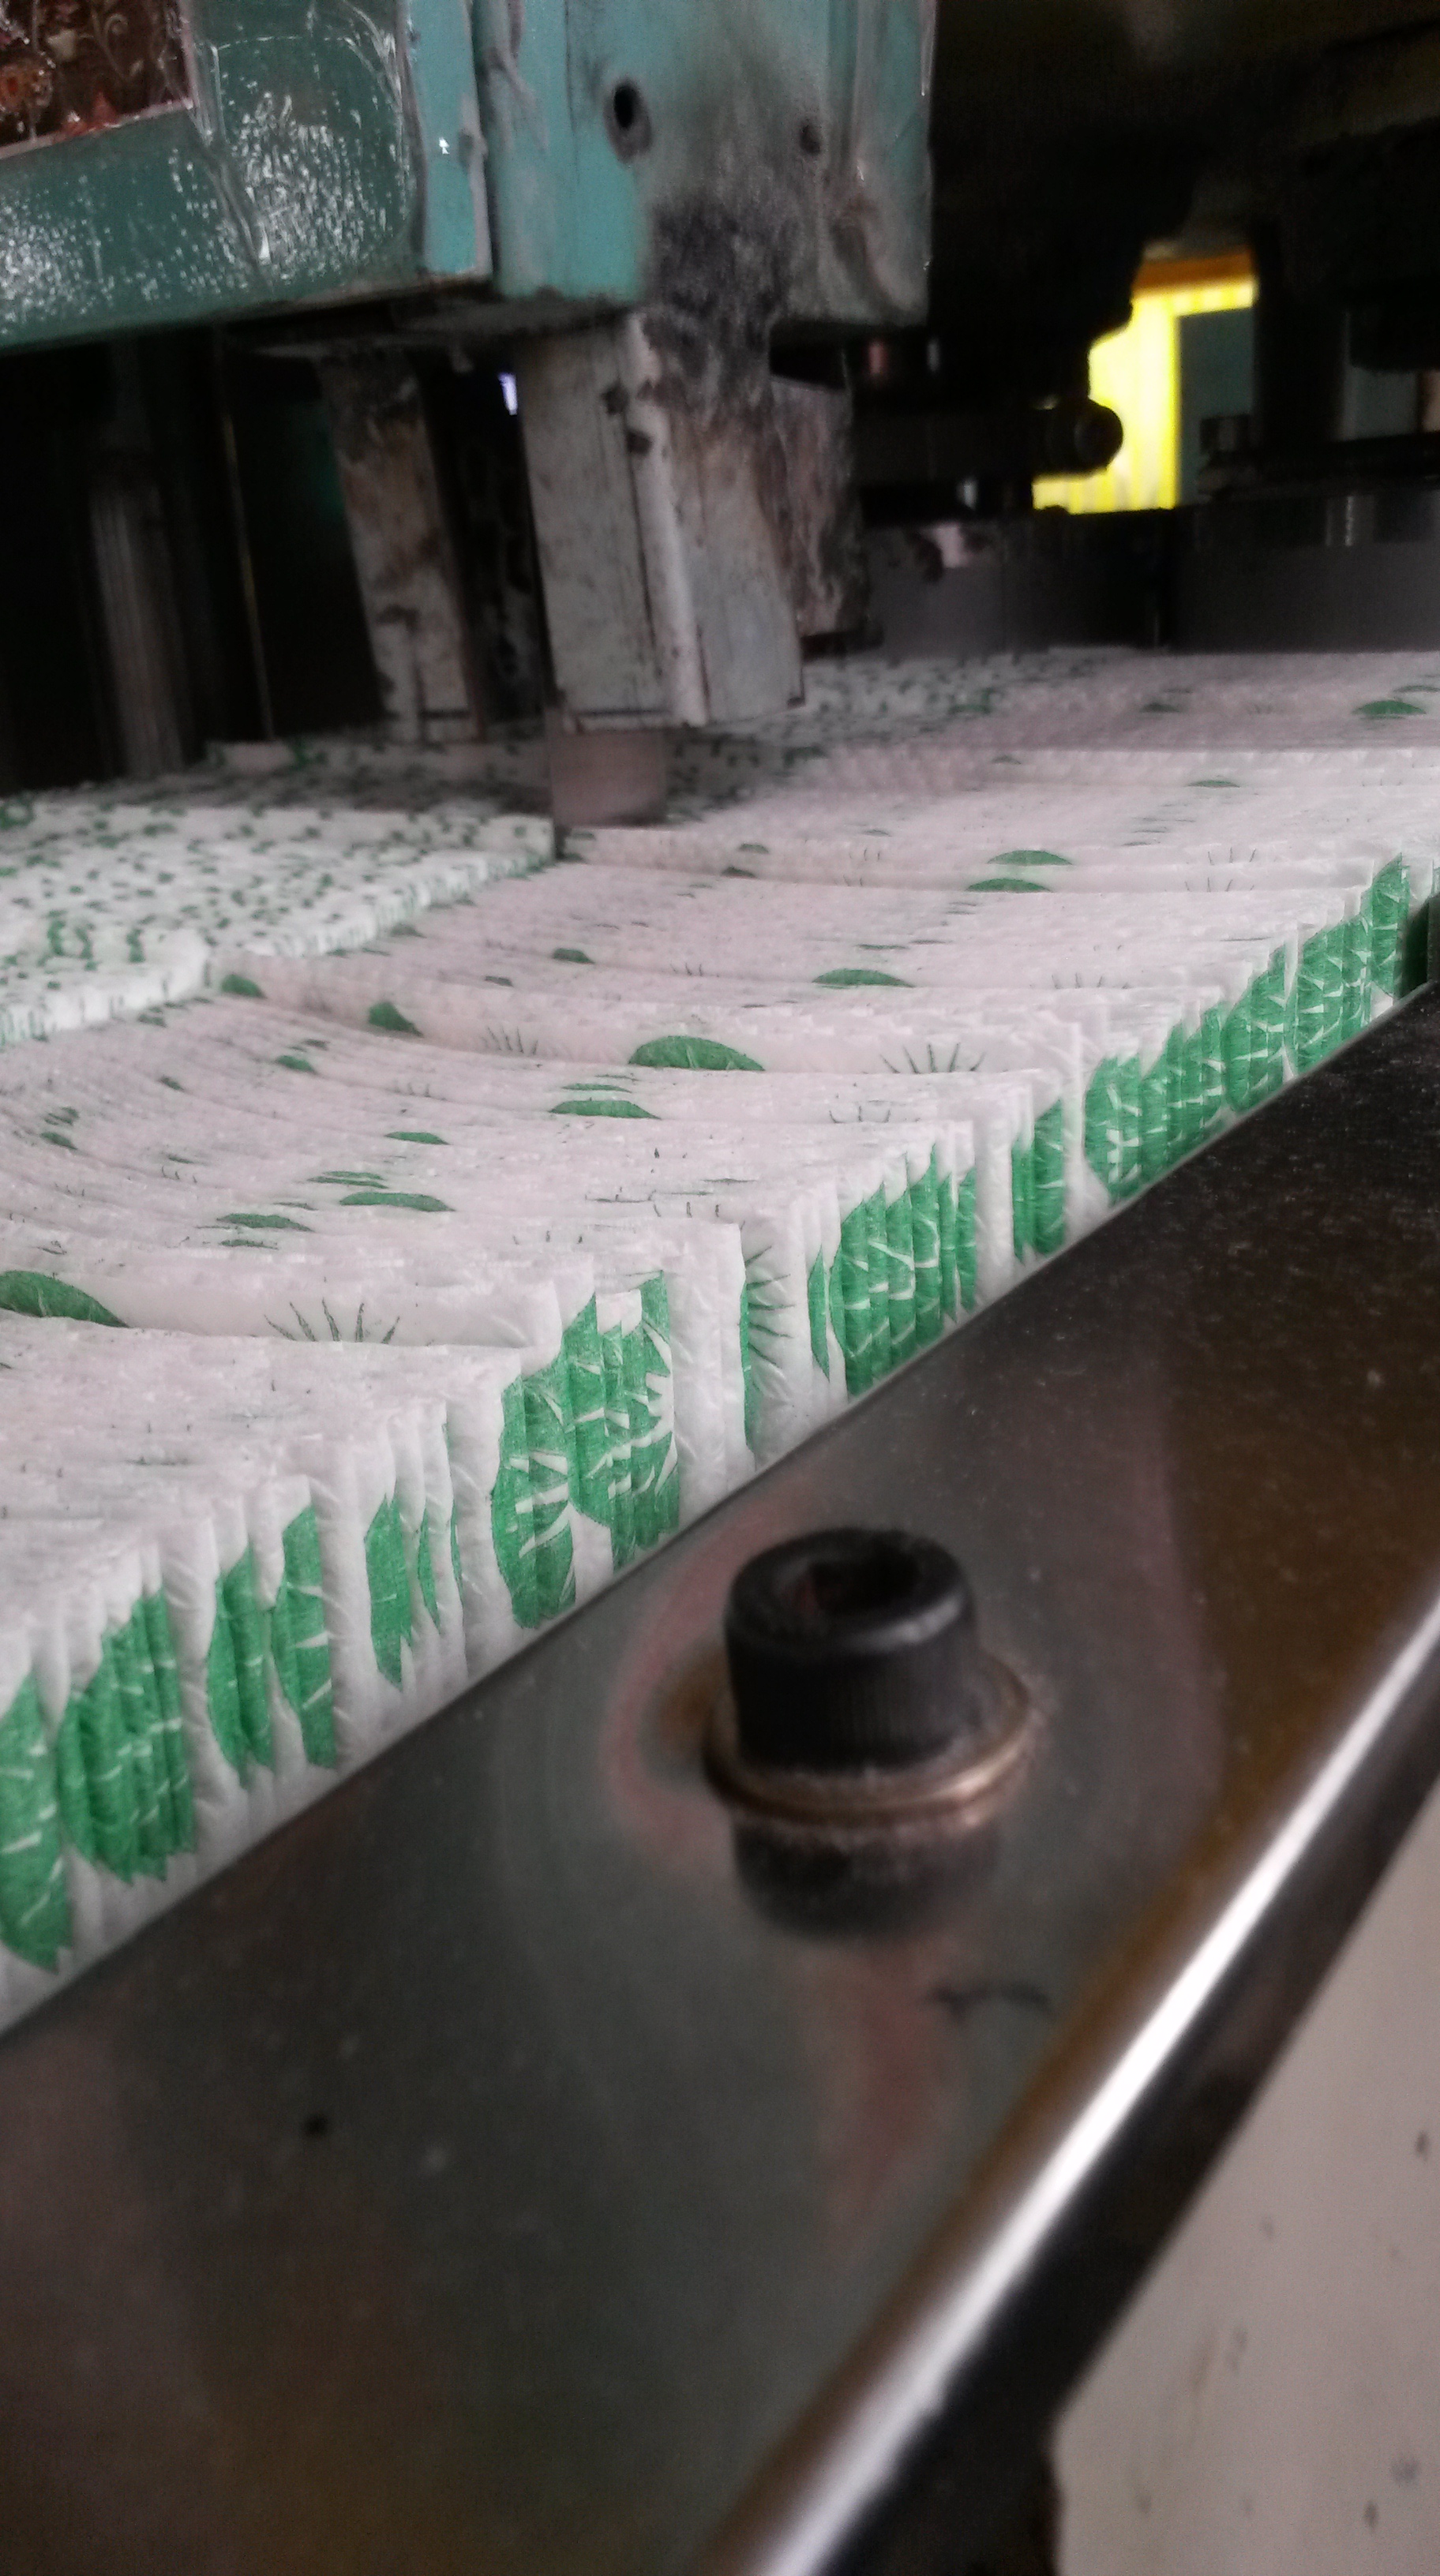
The rod then moves upward again to reveal that circular piece of cardboard that is now a paper plate. The plate slides downward and another circular piece takes its place in the mould before the rod comes down again.

20140609_123932

4. The plates are then manually counted and wrapped in shrink wrap before being sealed with a hand sealing machine. The machine applies heat onto the shrink wrap and melts it. Thus, the shrink wrap gets cut off and wraps the plate, as the picture shows.

20140609_124145

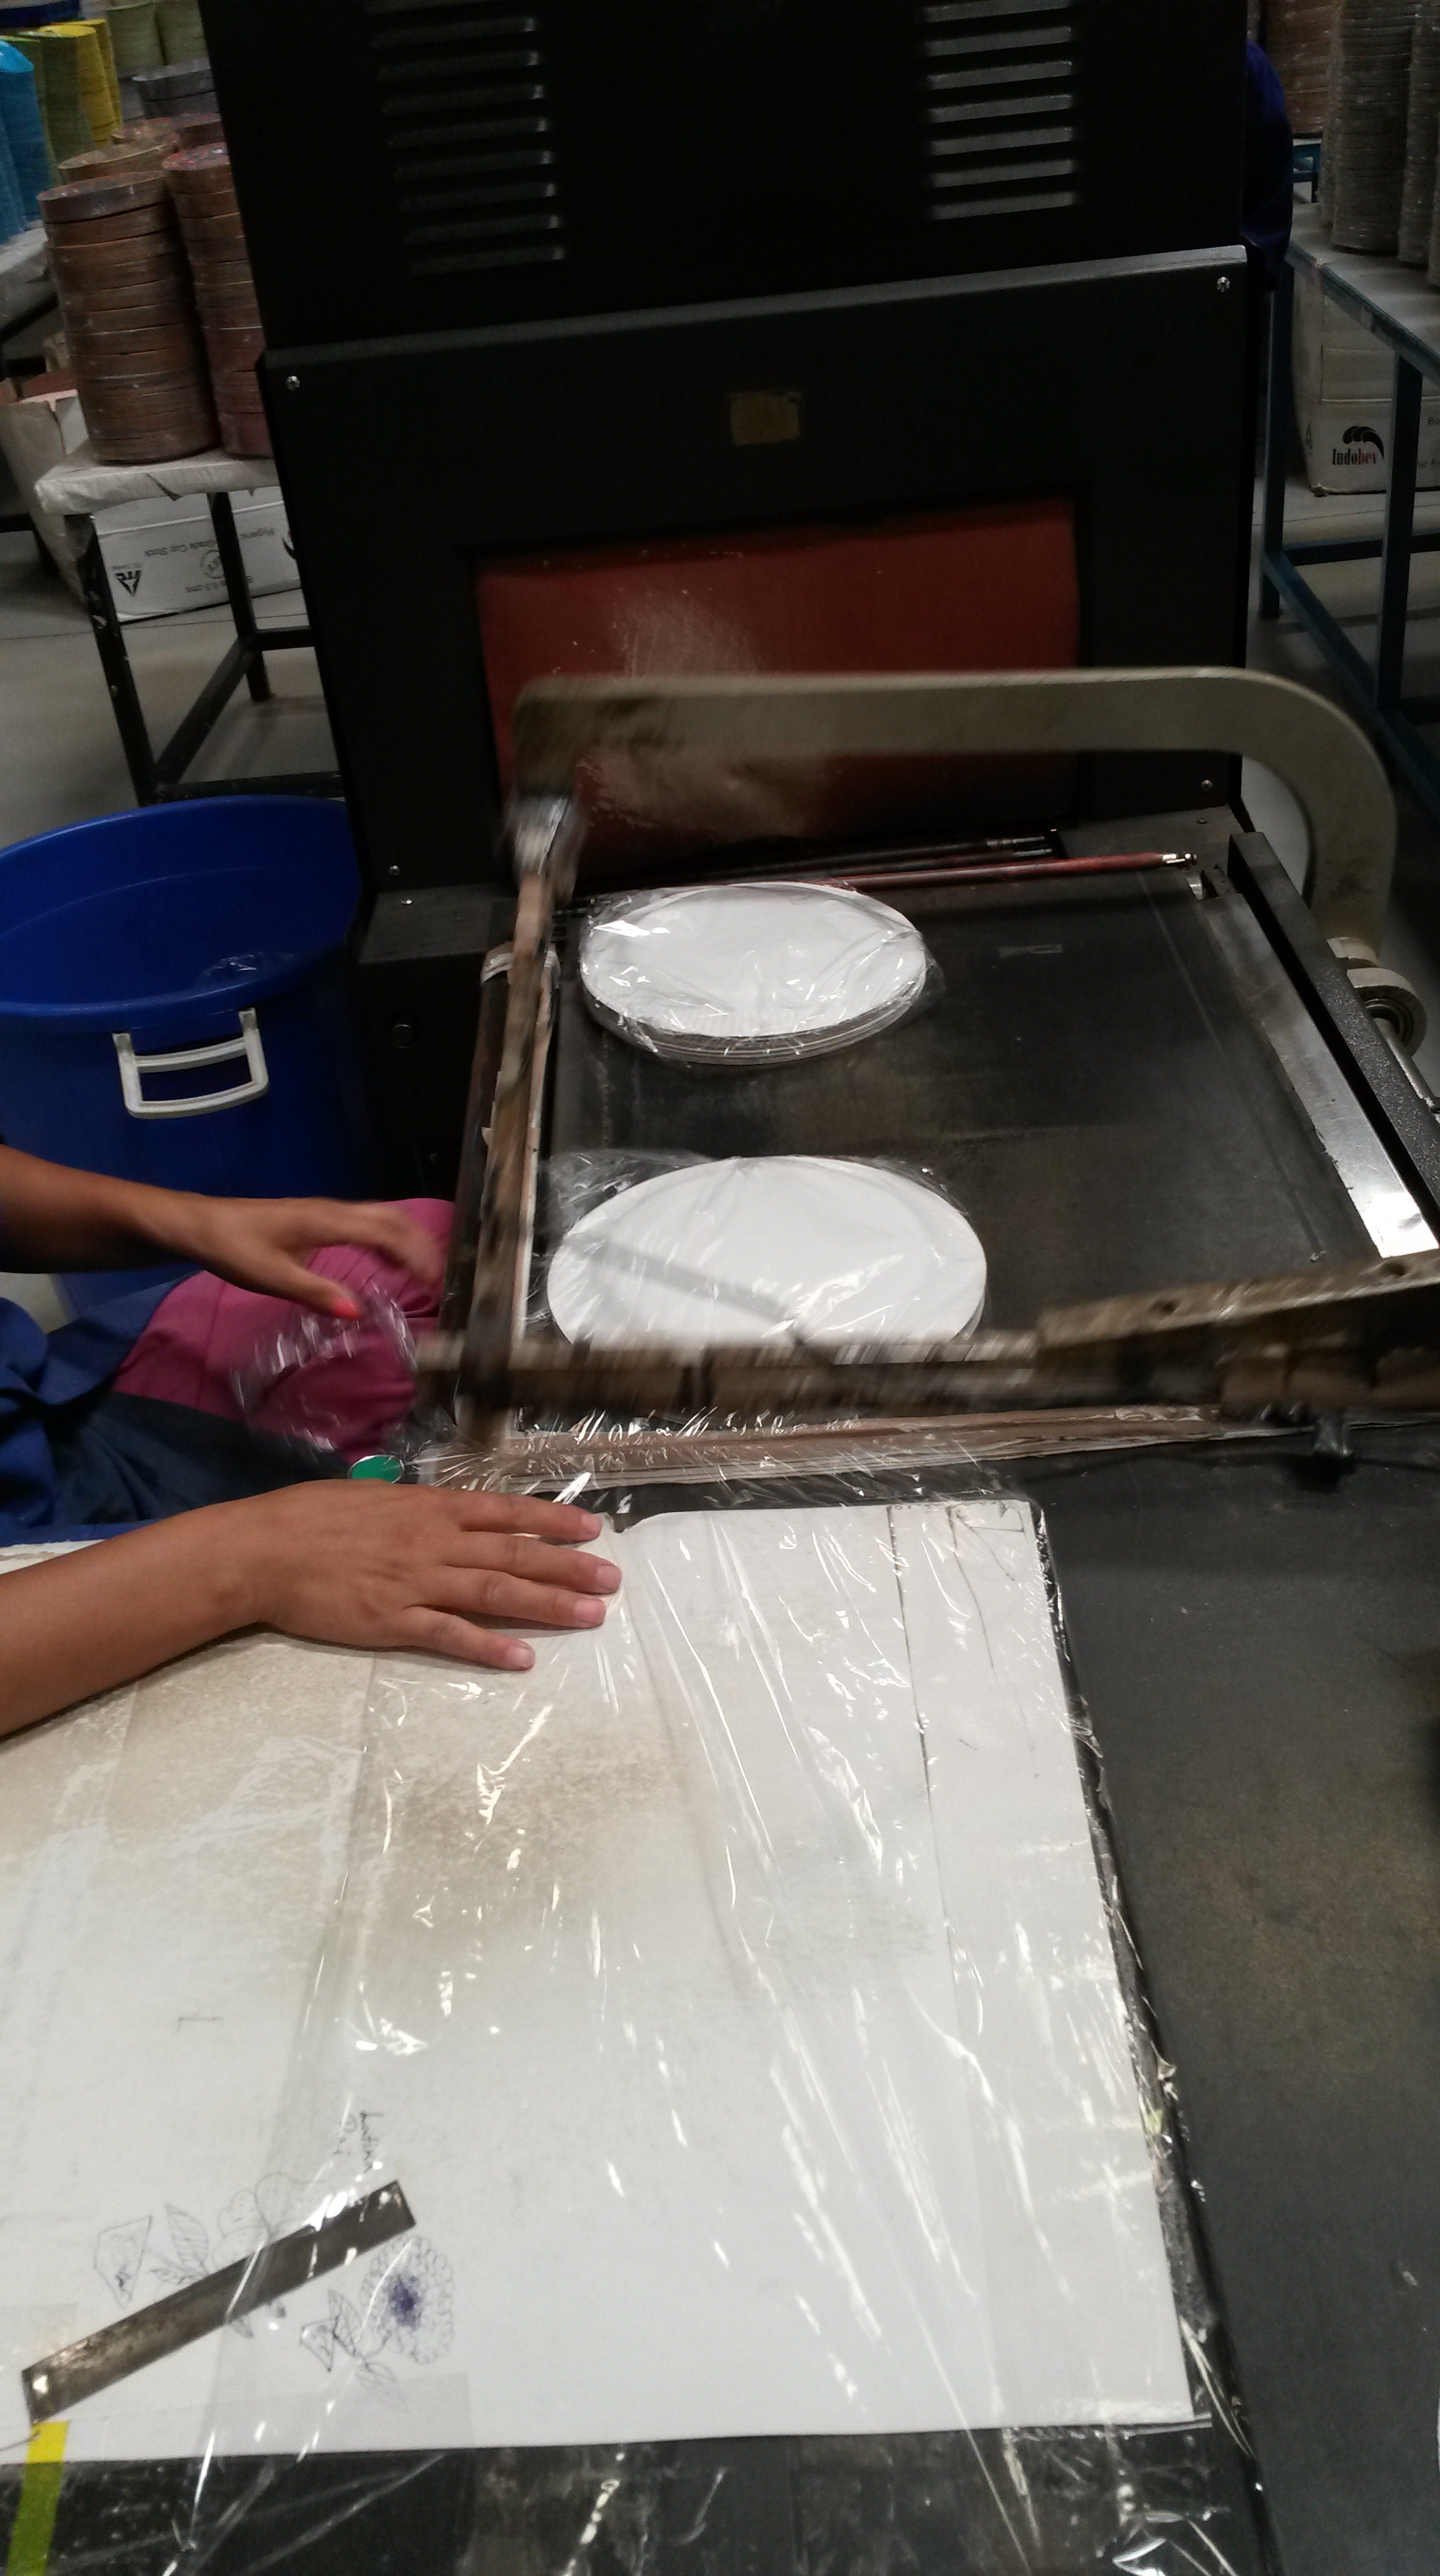
However, the shrink wrap is still loosely packed around the plates. To solve this problem it is put onto a conveyer belt which flows through a heated chamber. Normally, materials expand on the application of heat. However, shrink wrap shrinks, thereby allowing the plastic to firmly wrap around the stack of plates.

So how does shrink wrap work? Shrink wrap is made out of polymers (a long chain of small molecules that combine to form a macromolecule) that are oriented in an elongated state, as shown below. However, on the application of heat, the polymers break out of this elongated state and become entangled. As a result, the shrink wrap shrinks and firmly wraps around the plates.

shrink

Paper Cups

Blog

As part of my visit to a paper product making factory, I documented how the paper cup making machine works. Enjoy reading!

Step 1: The Raw Material 

The first step in the process of making paper cups in the factory is to cut cardboard into pieces of the shape shown below. To ensure the final paper cup has a smaller base than rim, the initial cardboard shape is not a rectangle, but of the shape shown below:

20140611_150216

Step 2: Forming the basic shape of the cup

The pieces of paper are stacked one on top of the other and one by one taken into the machine. To ensure that only one piece goes into the machine at a time, there is a tube at the bottom of the stack. The pressure in the tube is controlled so that it is less than that of atmospheric pressure. The pressure differential between the tube and the air surrounding the paper creates a force, which draws the paper towards the tube. The same principle is used in vacuum cleaners and the effect is referred to as suction. However the difference between the two is that the air pressure inside the tube is only a small fraction lower than that of atmospheric pressure. This small pressure difference is just enough to ensure that only the bottom piece is taken and dragged towards the machine.

20140609_112456

This piece then is grabbed on either side by two jaws that then bend to curve the piece of cardboard around a metal mould of the cup. From above, a heated piece of machinery comes downward and presses itself onto the curved cardboard. Due to the heat applied the paper partially melts and the liquid produced acts as a glue to seal the paper while it is in the shape of a cup.  The temperature must be maintained so that it is high enough so that the paper only partially melts, but not too high to ensure it doesn’t completely become liquid.

20140609_112523The rounded and sealed paper then drops into a circular ring that rotates.

Step 3: Temporarily attaching the base: 

Simultaneously a thin roll of cardboard is fed into the machine and circular pieces are cut by a mould, which eventually form the base of the cup. The circumference of these circular pieces are equal to the length of the bottom curved section of the piece of cardboard in stage one. This ensures that the base fits perfectly into the cup.

20140609_112629

These small circular pieces of paper go into another circular ring that is identical to the one the rounded and sealed paper goes into in stage (b), but is at a higher level. The two circular rings rotate at a specific rate to not only ensure that the rounded, sealed paper/ circular pieces proceed into the hole, but also so that the holes of the two rings intersect. When they do intersect, a vertical rod from above moves downwards and pushes the cut circular piece of paper into the bottom of the rounded, sealed paper, forming a base. The circular paper simply doesn’t fall through as its circumference is equal to the bottom of the rounded paper. Therefore, it rubs against the sides of the rounded cardboard, creating friction which opposes the downward motion, eventually making it stop or get stuck, to form the base. The force with which the rod comes down should also be regulated so that the downward force is enough to make the paper stop at the base, but not too much to make the paper fall through.

20140609_112658

However, the base is only temporarily attached and would fall through if anything was stored in it.  Therefore, the paper cup is not ready yet.

20140611_150258

Step 4: Permanently attaching the base: 

To make the base stronger and more permanently fixed, the same heating effect is used to seal the base to the cup as in stage (2).

The rounded piece of paper with the base temporarily attached is pushed upward onto a steel mould of the cup. Immediately, a heated rod with a circular end (the same size as the base of the cup) is pushed upward and pressed onto the bottom of the cup. It pushes the base slightly upward before bending the rounded piece of cardboard upward. Due to the heat, the base and the rounded cardboard are stuck.

20140609_112805

The result of this process is a cup that can be used. However, one final step of the process remains.

20140611_150310

Step 5: Rounding the top of the cup: 

As you may have noticed, the top of paper cups are rounded. This not only makes it easier for drinking, but also makes the cup more rigid and stable. The same heating effect is used to curl the cups and then keep them in position, as shown below:

20140609_112907

Finally, the paper cups get stacked one on top of the other in a collector, ready to be packed and sent into the market.

20140609_112957

Paper Napkins

Blog

Here’s a look at how a paper napkin machine works!

Step 1. Raw Material Insertion:

First, a roll of tissue paper is fed into the machine, as shown in the photograph below.

20140609_133140

Step 2- Printing:

Three rollers are placed over a container of ink. The first roller rotates so that it gets covered in ink. Simultaneously, the other rollers (which are in contact with each other) also rotate. Thus, the first roller transfers the ink that it has picked up to the second roller. The second roller then rubs against the third one. The third roller, as you can see has rubber pieces stuck on it in a particular pattern, i.e. , the pattern that needs to be printed. The rubber pieces absorb the ink from the second roller. The first roller does not directly transfer the ink to the third one, as it picks up too much ink. However, only a fraction of that ink (the amount that is needed) gets transferred to the second roller, which in turn is absorbed by the rubber pieces on the third. Any ink that is not absorbed by the roller/ rubber pieces in returned to the container, ensuring minimum wastage of ink, making the process efficient.

20140609_133633

The paper moves forward and winds over the third roller. Like a rubber stamp, the rubber pieces of the roller transfer the ink to the paper in the particular design. The speed of the roller must be regulated so that it is not too slow (which would result in too much ink on the paper) or too fast (which would result in too less ink on the paper)

20140609_133700

Interestingly the machine has the capability to print two different designs at the same time. This is achieved as half of the third roller has rubber pieces of one design, while the other half has rubber pieces of the other design. The surface area of the roller is equal of the surface area of exactly two napkins. Therefore, two napkins with two different designs can be printed easily.

Step 3- Embossing:

The printed paper then gets embossed, i.e., gets pressed against a roller so that there are small raised portions and depressions of the paper. The roller shown in the photograph below has an extremely uneven surface with regular, small depressions. Once the paper rubs against this roller it fills in these gaps in the roller, which result in the paper also having an uneven surface.

20140609_133412

Why do this? Well, the embossing in the paper gives it a fluffiness. When the napkins are stacked one on top of another, the embossing means that there would be air gaps in between the napkins. Thus, this makes the tissue look more fluffy, which would attract consumers to buy these napkins.

Step 4- Folding and Counting: 

The printed and embossed paper is then folded, as shown below. The machine contains a triangular metal plate that is placed at an angle. The paper goes over this plate, thus is rises. Two rods are placed right after this triangular plate. The paper that goes over the top edge of the triangular plate proceeds into the rods. The rods rotate, which results in the rest of the paper also following, thereby getting folded.

20140609_133421

The small blue device in the picture is a counter. After it senses that a particular length of paper has passed it the count increases by one. The machine, therefore, also counts the number of napkins it makes.

Step 5- Cutting: 

Finally, the printed, embossed and folded paper, is cut. A vertical blade is placed at the end of the machine and as the paper passes through it, it gets cut in half. As the picture shows, the napkins are split into two batches, one with each design.

20140609_133441

The final product of the machine is printed, embossed napkins of two different designs that are also counted.

20140609_133758